
The following is the process of block sanding and buffing that works for me. I use clean water with a couple of drops of dawn dish soap in it. The soap acts like lubricant that makes sanding fresh paint easier. I also take the sand paper and let it soak in water to soften it up a little. The sharp edges of the paper can put scratches in the clear that you have to sand out. Letting it soak seems to help prevent the scratching.
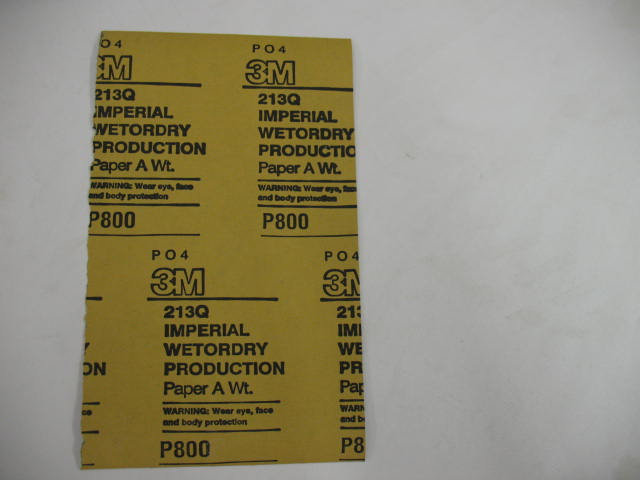
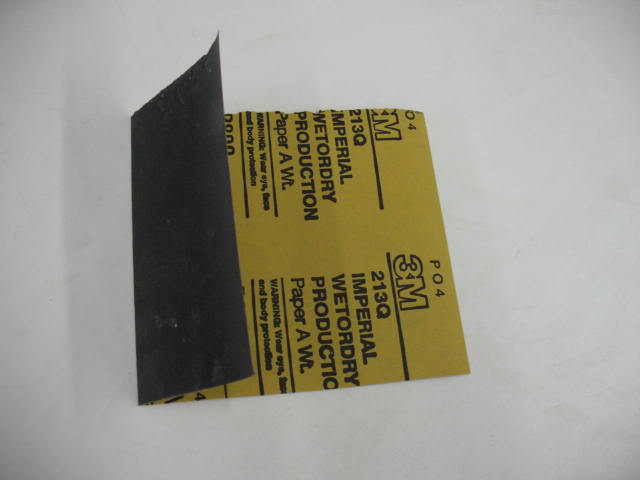
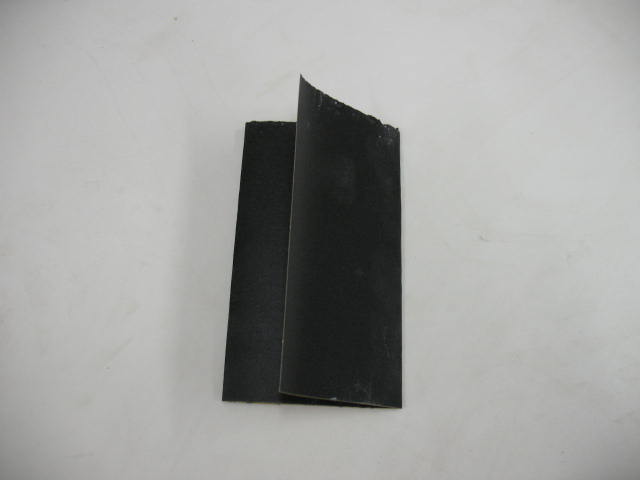
Take a sheet of sand paper and tear it in half. Then take the half and fold it in
thirds. Picture 1 shows all of the sandpaper I use; 800, 1000, 1200, 1500,
2000 and finally, 3000 is used on a orbital sander.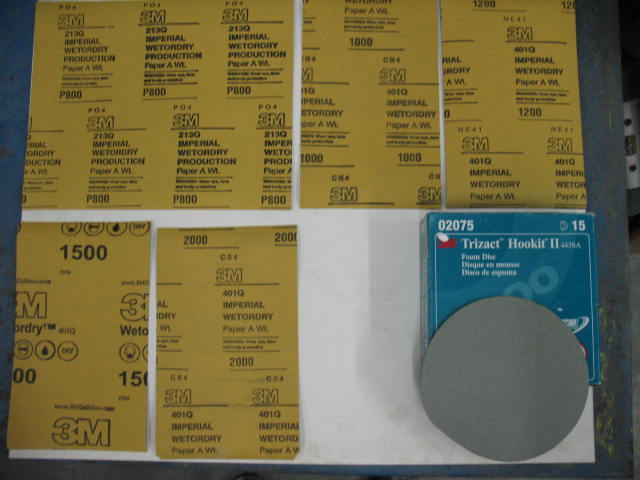 #1
#1
Pictures 2, 3, & 4 shows
how to fold the paper.
 #2
#2
 #3
#3
 #4
#4
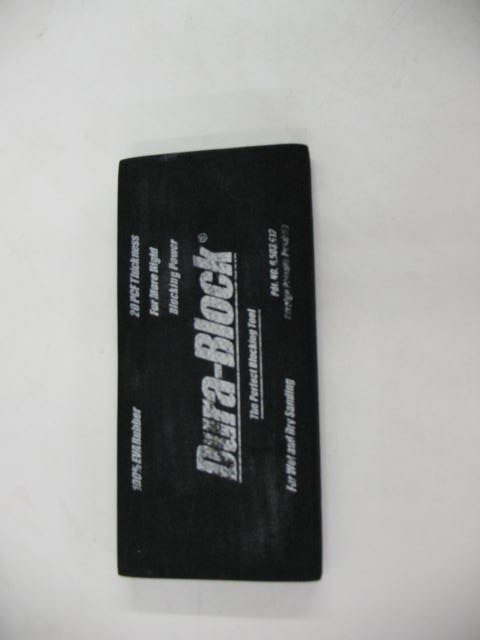
I start block sanding with 800 grit 3M sand paper and a rubber sanding block
made by Dura-Block. I'm sure there are several other makes out there that work
just as well. I also have another rubber block that I use to squeegee off the
sanding sludge and water. By doing this it will show you any places that need
more sanding.
Pictures 5 & 6 shows the rubber block and the paper around the block.
 #5
#5
 #6
#6
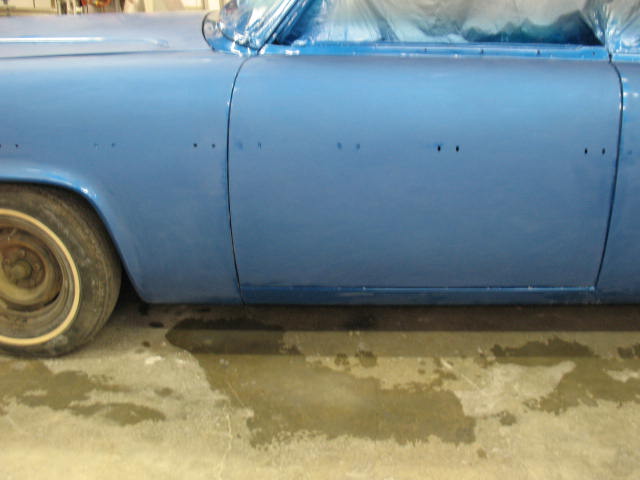
Here's what the left side looks like after sanding.
 #7
#7
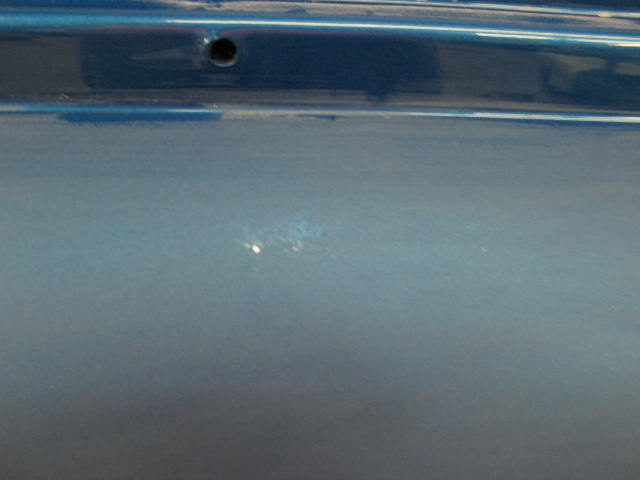
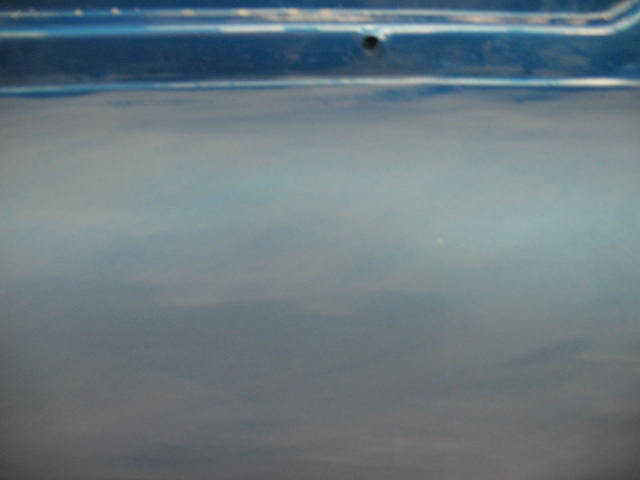
Here's an imperfection that hasn't been sanded out. This showed up after I used
the squeegee to clean the area off.
 #8
#8
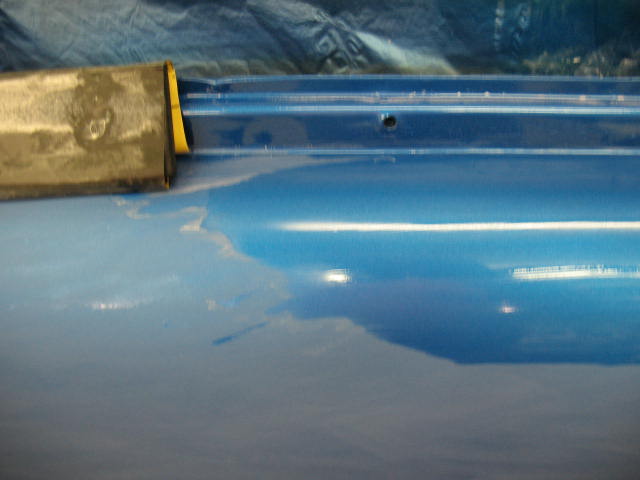
Blocking with 800 again.
 #9
#9
After it has been squeegeed the imperfection is gone. Now just repeat with
1000, 1200, 1500 and 2000 grit.
 #10
#10
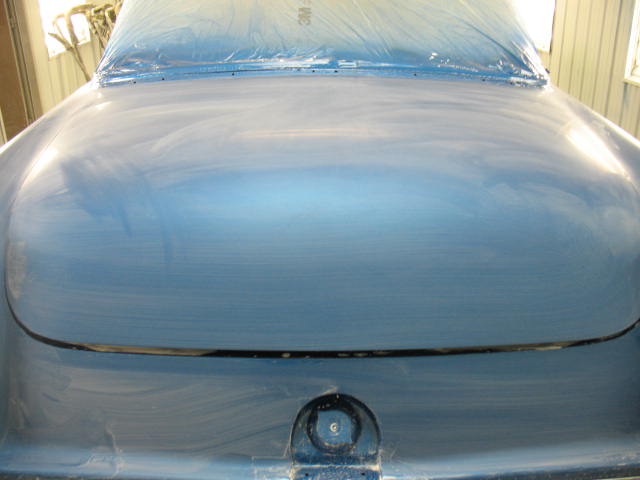
This is the final panel of the car sanded with 2000 grit.
 #11
#11
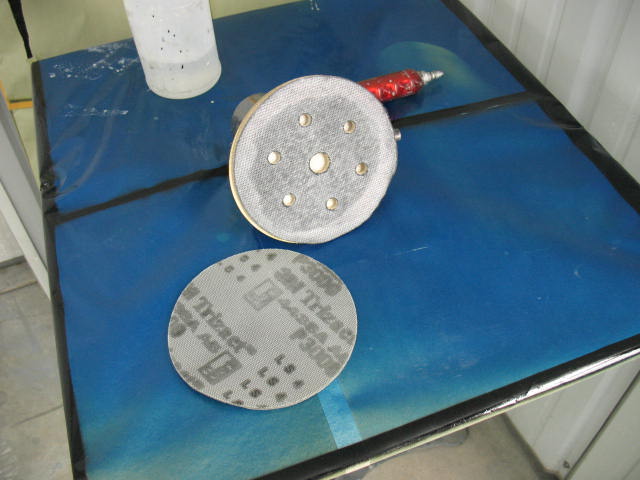
Here are the 3000 grit and the orbital sander. It is a Velcro setup. Water is
used in this process too. I use a squirt bottle with the water/soap combo in it.
 #12
#12
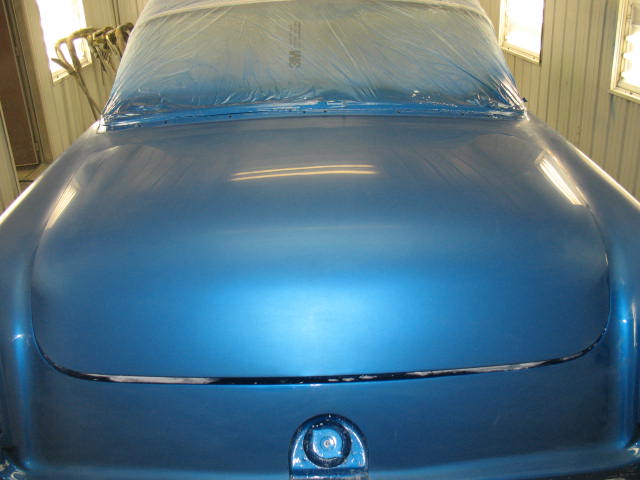
The final panel, done with the 3000 grit. It almost shines. By doing it this
way less aggressive buffing has to be done.
 #13
#13
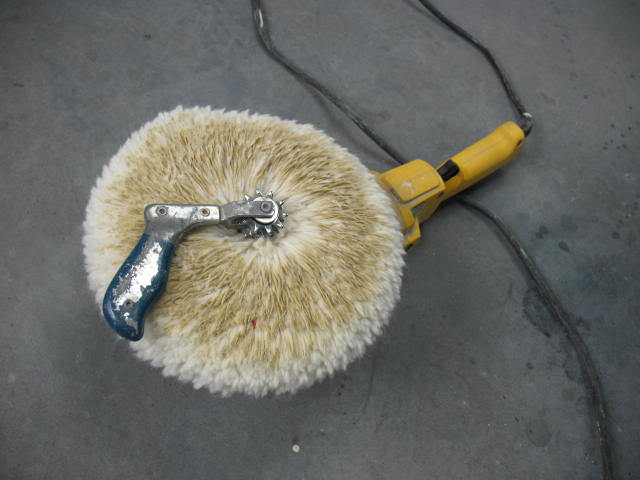
Now we are ready to buff. I use a electric buffer that has different rpm
settings. I set the speed to 1800 rpm with 3M rubbing compound and a wool
buffing pad that has a Velcro back.
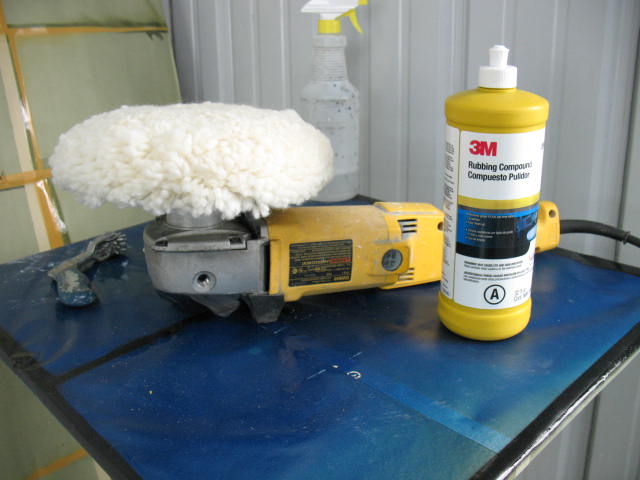 #14
#14
Just squeeze a couple of spots out on the panel about the size of a US half
dollar.. This will buff about a 2' square.
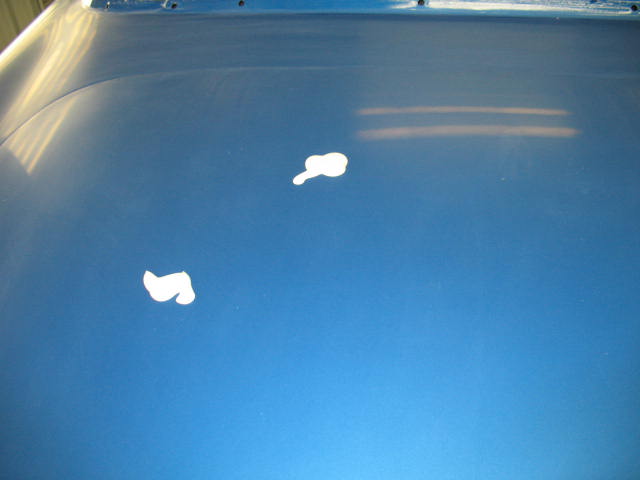 #15
#15
This is what it looks like after buffing:
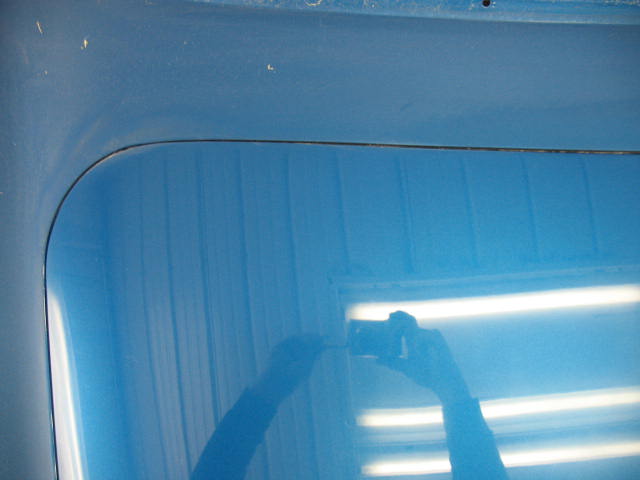 #16
#16
 #17
#17
Use masking tape on the protruding edge . The masking tape keeps the buffer from
burning through the paint on the edges.
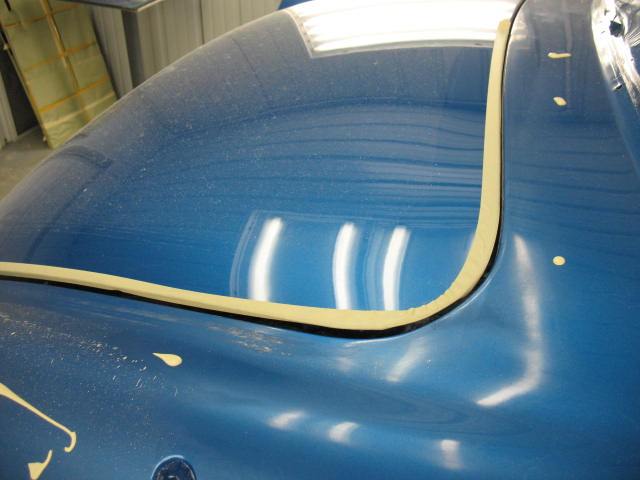 #18
#18
After you buff a couple of panels take the buffing spur and clean your pad.
 #19
#19
Here's the driver's door (LH Door).
 #20
#20
The drivers side of the hood:
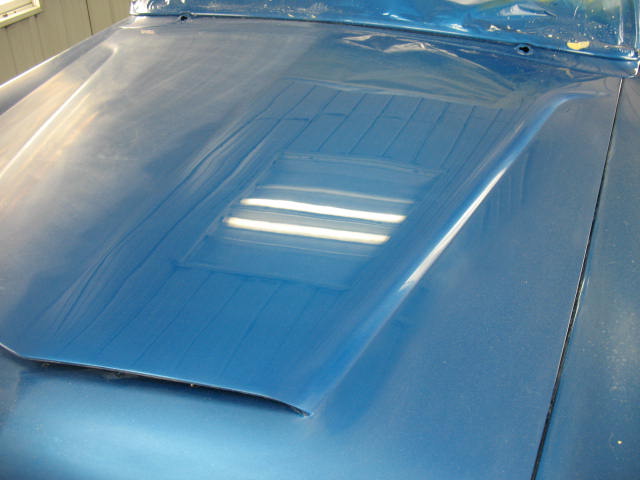 #21
#21
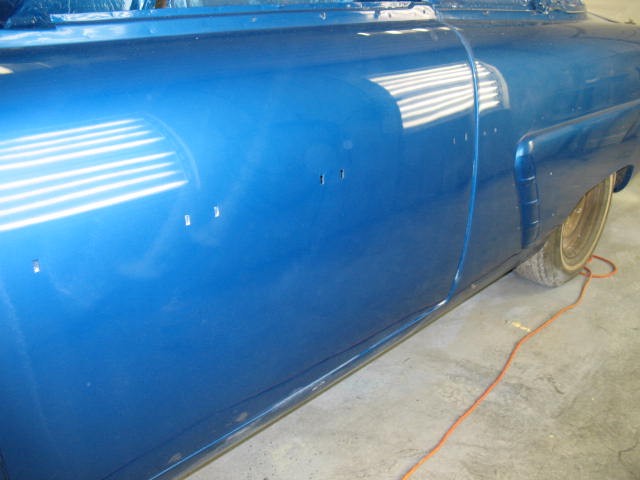
After your done buffing with the rubbing compound, hand wash the car and clean
all of the jambs free of the rubbing compound. The next step is the polishing
compound part. You do not want to get the coarse rubbing compound on your
polishing compound pad.
 #22
#22
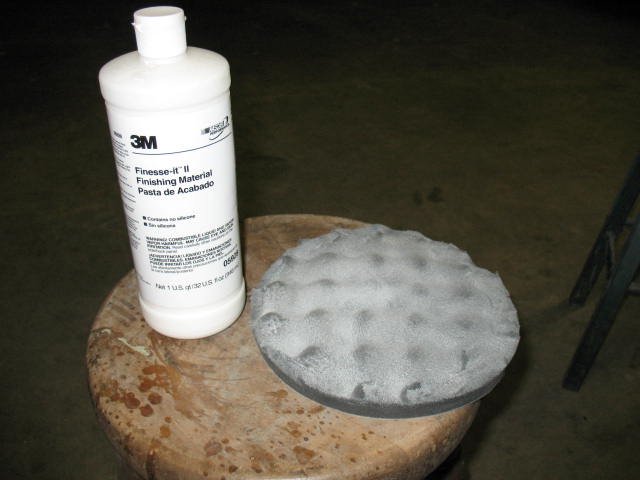
3M Polishing Compound and a foam pad that has a Velcro back. Repeat what you
just did buffing. I speed my buffer up to 2200 rpm's when polishing.
 #23
#23
After polishing...
 #24
#24
After polishing...
 #25
#25
After polishing...
 #26
#26
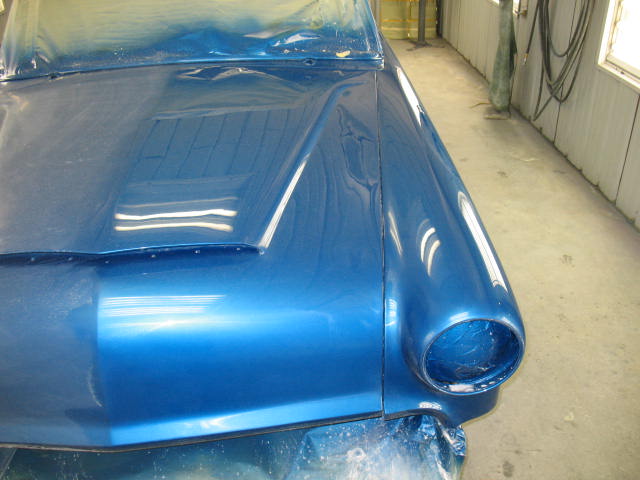
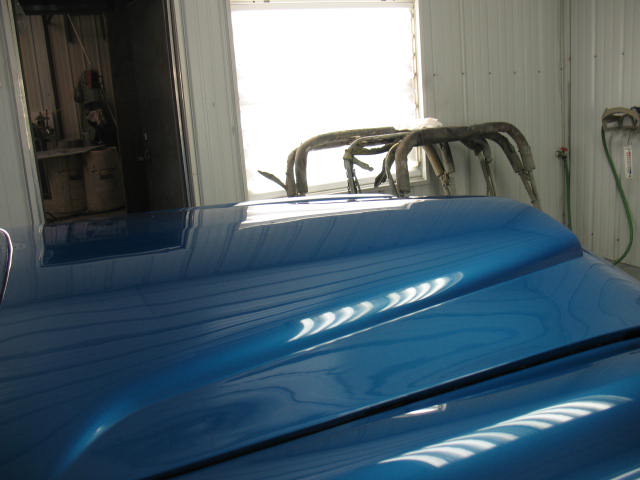
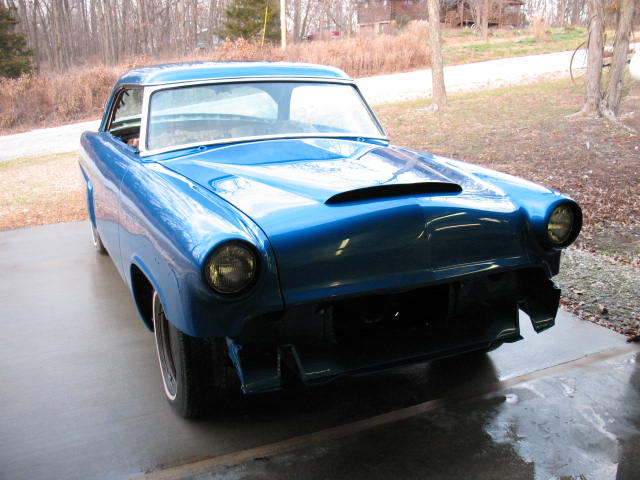
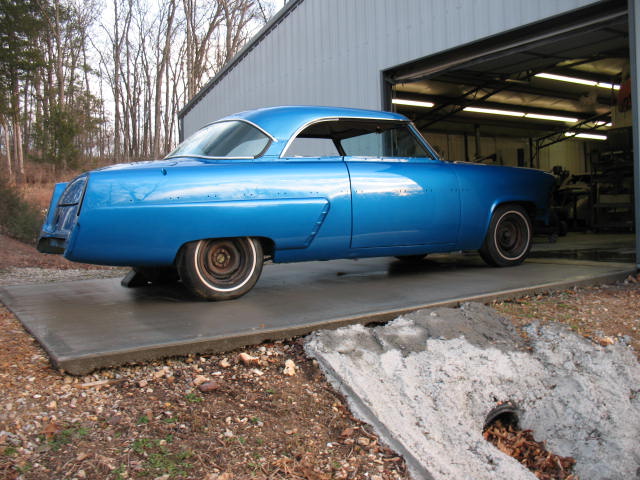
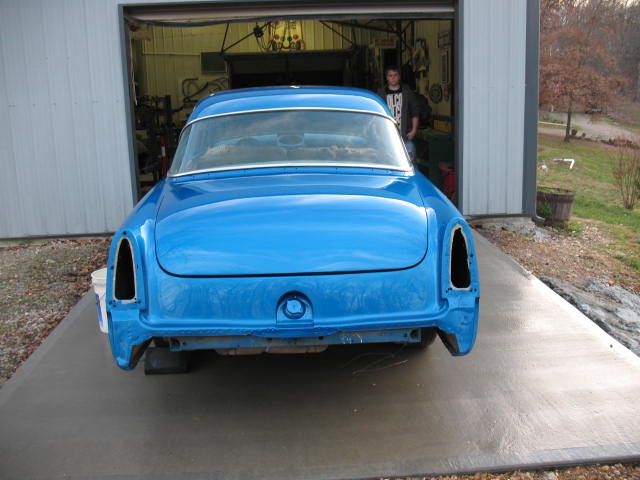
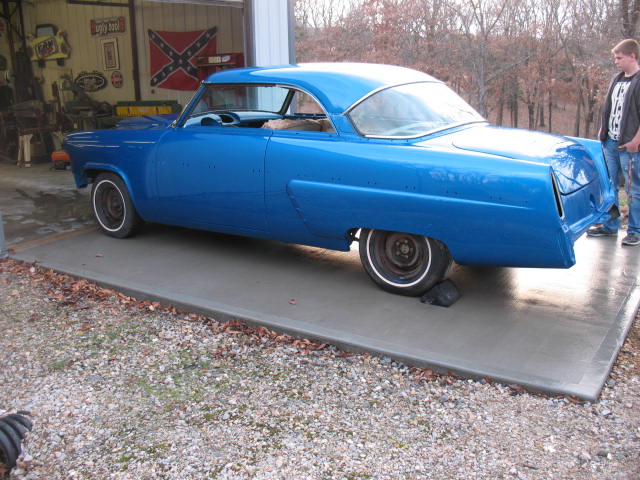
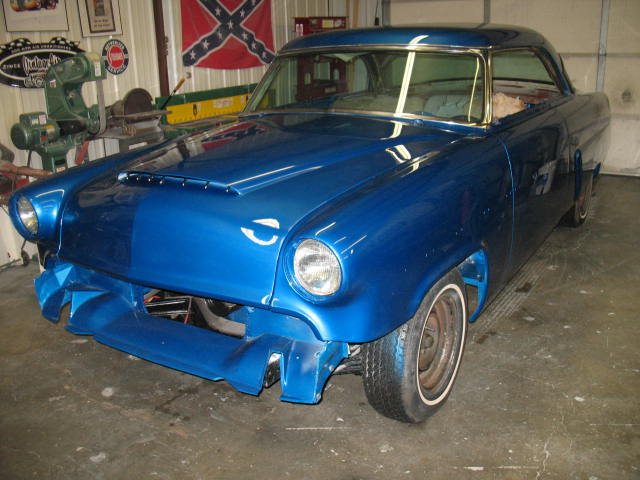
Here's the final result after polishing and washing again...
 #27
#27
 #28
#28
 #29
#29
 #30
#30
 #31
#31
