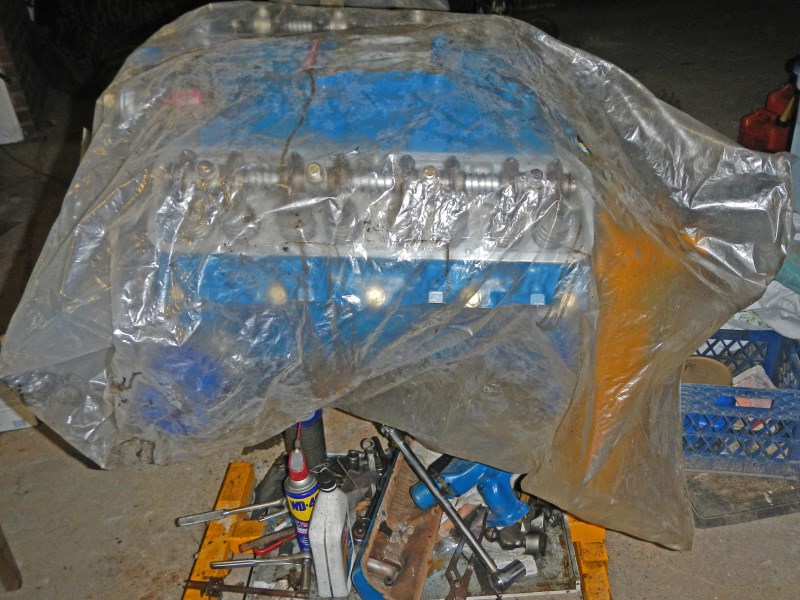
 #1
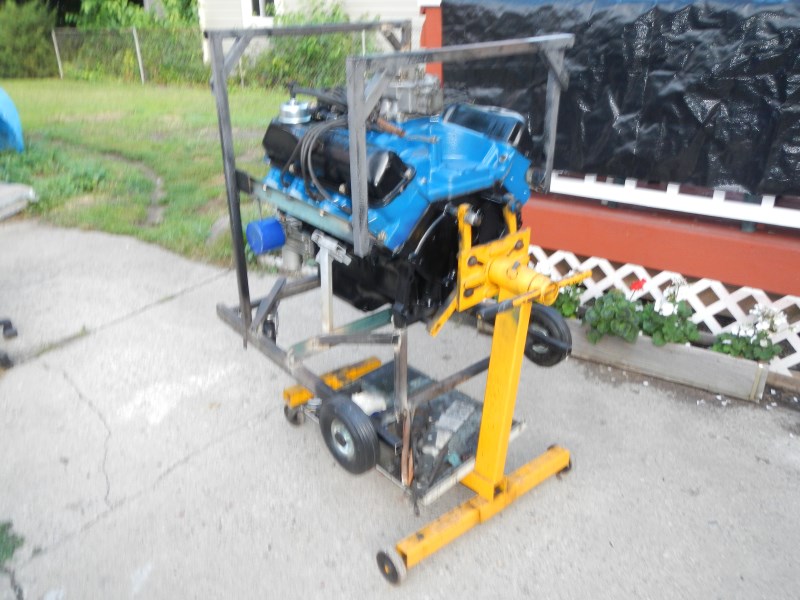
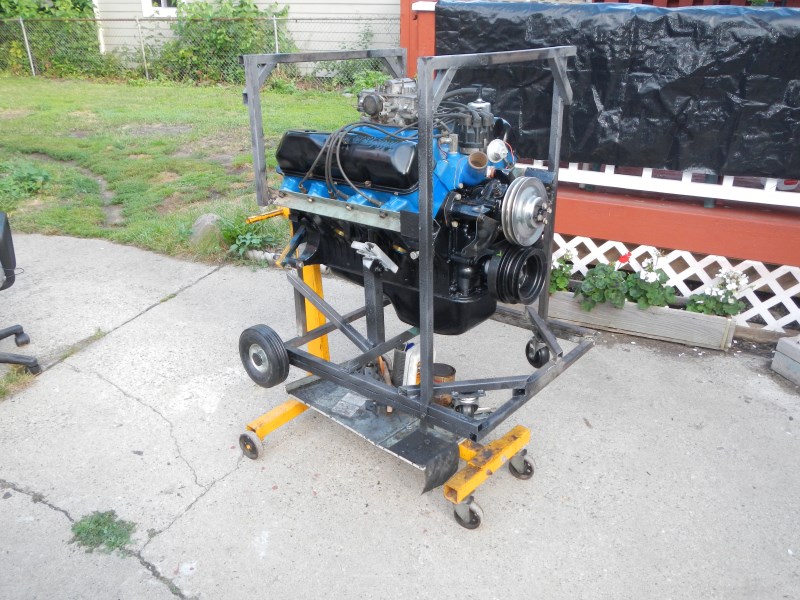
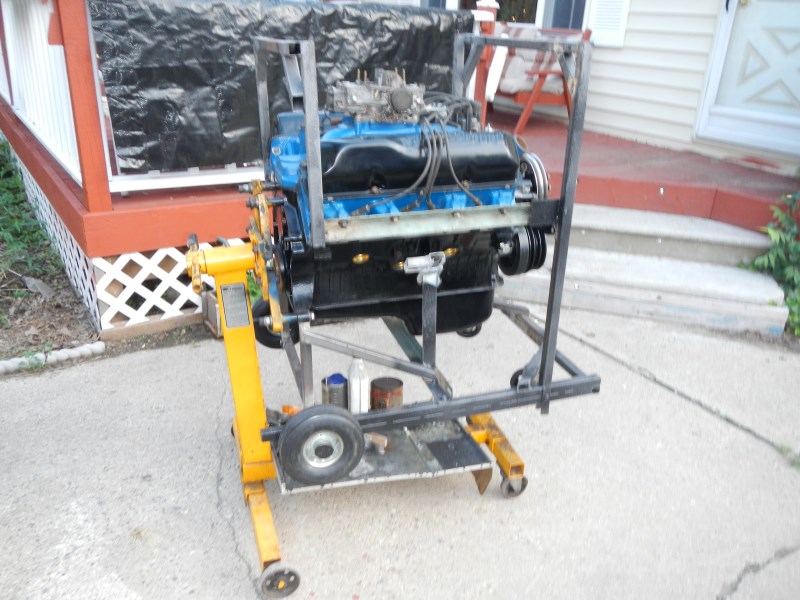
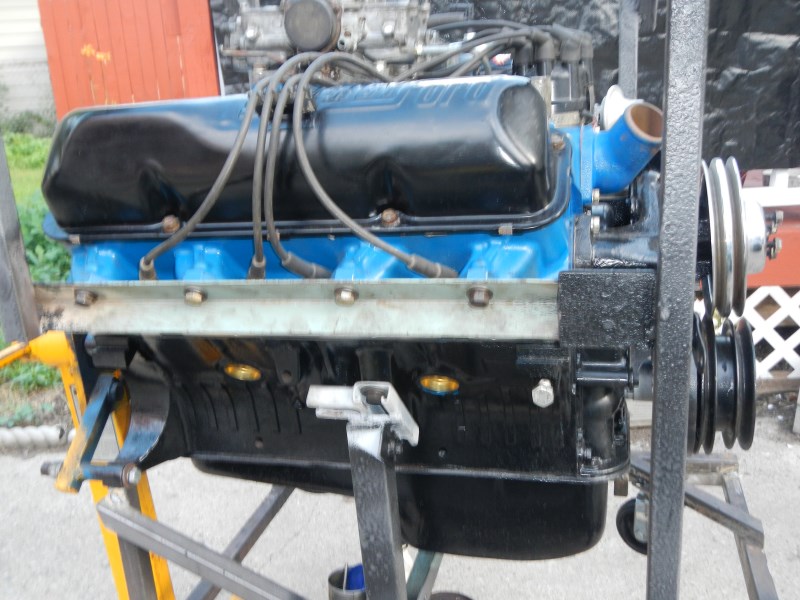
#1Time to take this engine off the engine stand and on to a new home.
CLICK HERE
to return to Home Page
 #1
#1
Time to take this engine off the engine stand and on to a new
home.
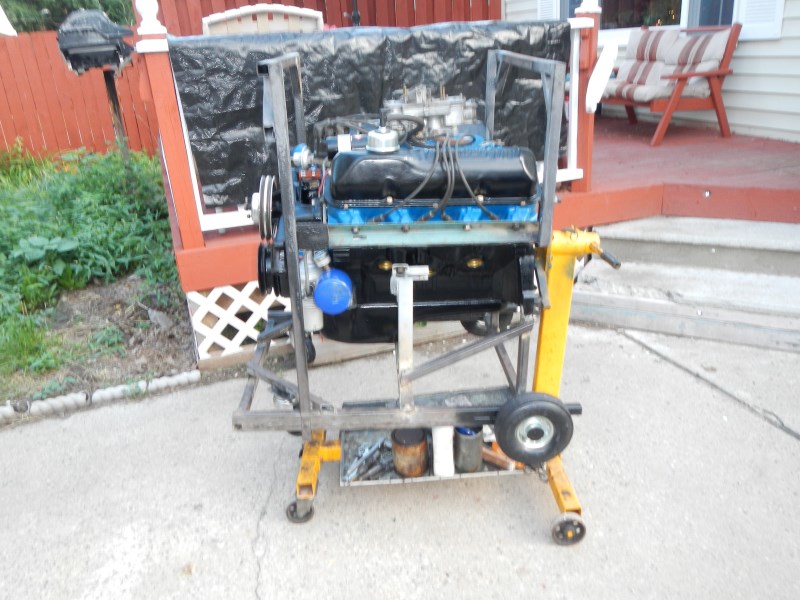 #2
#2
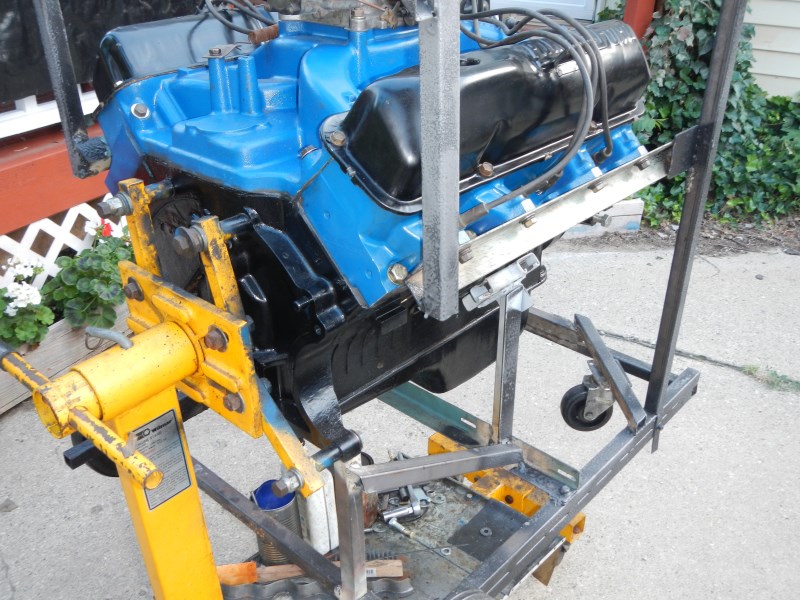
This is the unfinished engine test stand.
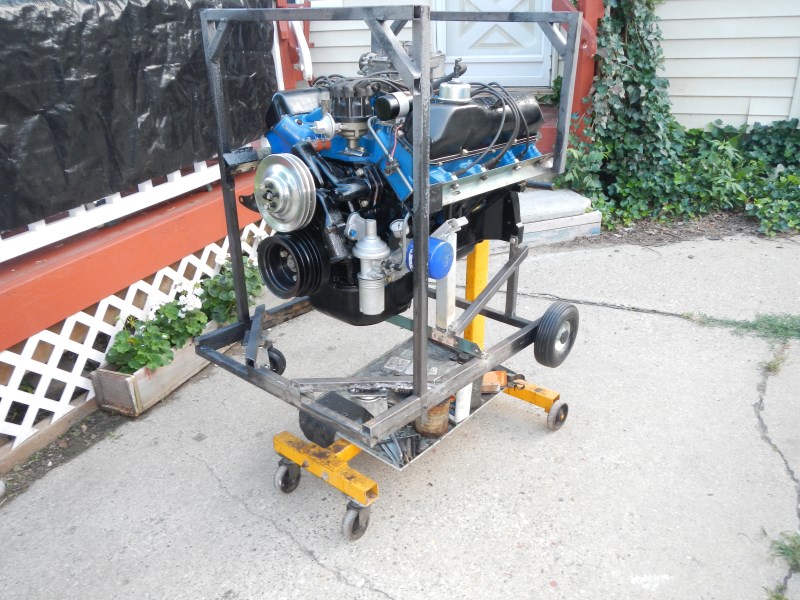 #3
#3
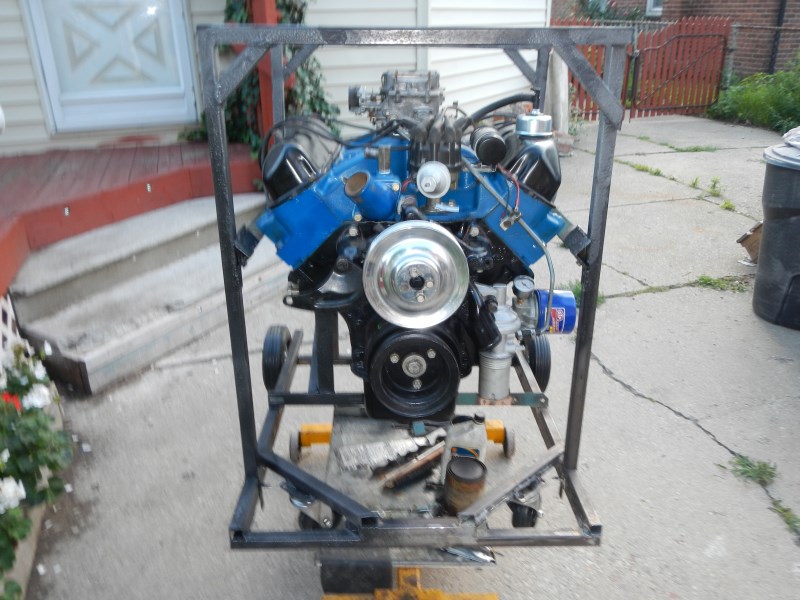 #4
#4
Time to strip the rocker arms and towers off the shafts. Start
with the bolts and cotter pins. Notice this end has no notch.
It's the other end of the same shaft.
 #5
#5
End rocker arms have spring washers to ensure alignment to the valve. Center rocker arms have springs between them.
Every time a push rod relaxes, springs push the rocker arms back
into position.
 #6
#6
Slide all the rocker arms and supports off.
 #7
#7
To remove the end plug, I drilled a hole and tapped it for a
common #10-32 machine screw. Using a couple washers and a claw
hammer, I simply pulled it straight out. To get the
opposite plug out, I sent a long rod down the hole and pushed it
out. Save all your parts to be reassembled later.
Warning... The inside contains dinosaur muck that will get all over you. It resembles dirty, light grease that stops oil flow to all the rocker arms. If you get it on your clothes, it won't come out.
Please do not use a
bore brush. They always shed bristles that can quickly
ruin your overhaul. Use plenty of solvent and a rag on a
stick but wash it out very well.
 #8
#8
After a good cleaning, hold the shaft up to the light, and look.
ROCKER ARMS
 #9
#9
Clean the rocker arms and notice the oil groove inside.
Worn rockers have these grooves 'washed out'. The groove
directs a small flow of oil from the shaft to the pushrod and
valve tip. Use a drill bit to ream the two holes, clean.
 #10
#10
I use a Dremmel tool with a diamond saw to regroove the rocker arm oil slits. Now they're good as new.
 #11
#11
I plug the tapped hole with a screw and knock the plug back
in the hole.
 #12
#12
The screw head neatly fits just under, but doesn't touch the
cotter pin.
 #13
#13
Time to reassemble the rocker shafts. Both shafts and arms are identical.
One shaft's notch will face the
front and the other shaft's notch will face the
rear.
 #14
#14
Top of Page
CLICK HERE
to return to Home Page