Ford 390 FE Engine Overhaul
TEARDOWN LOWER END 3
CLICK HERE
to return to Home Page
This site deals with General Engine overview. Subsets will address the top, bottom,
front, and rear portions of this teardown. That will make future reference for finding
specific tasks much easier.
 #1
#1
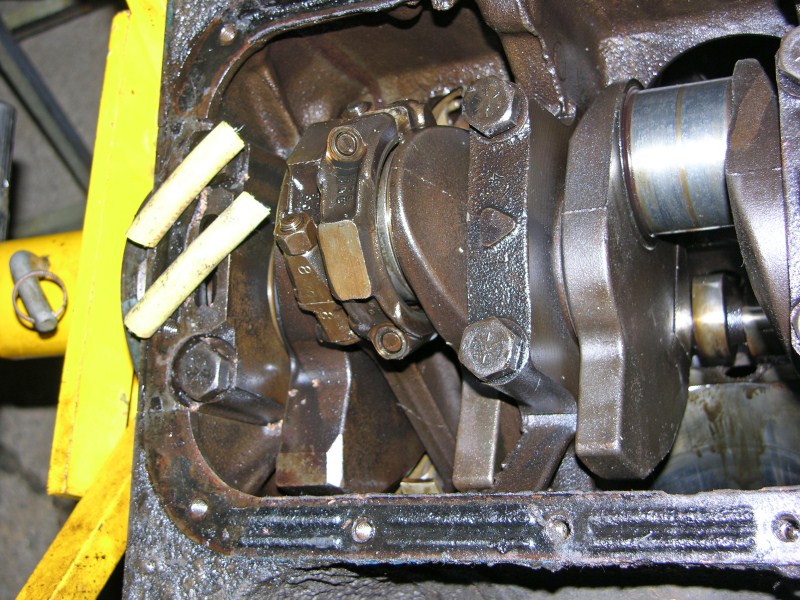
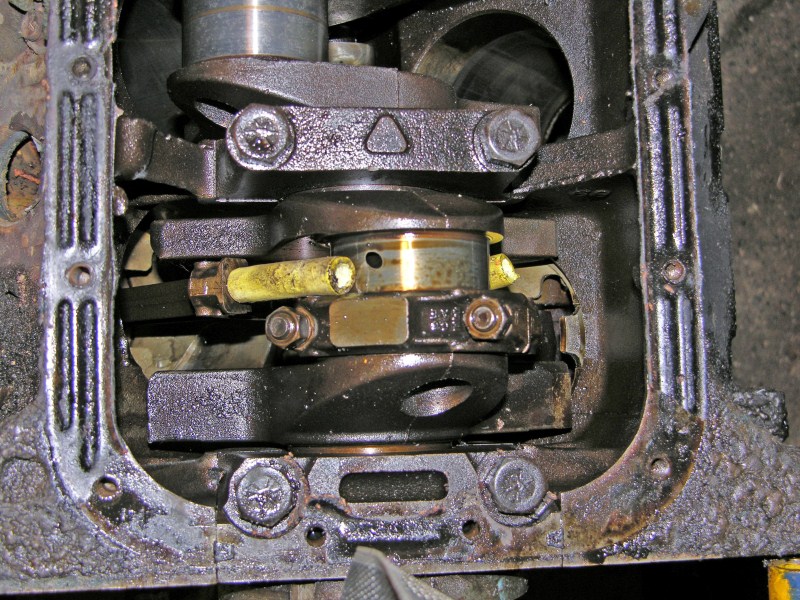
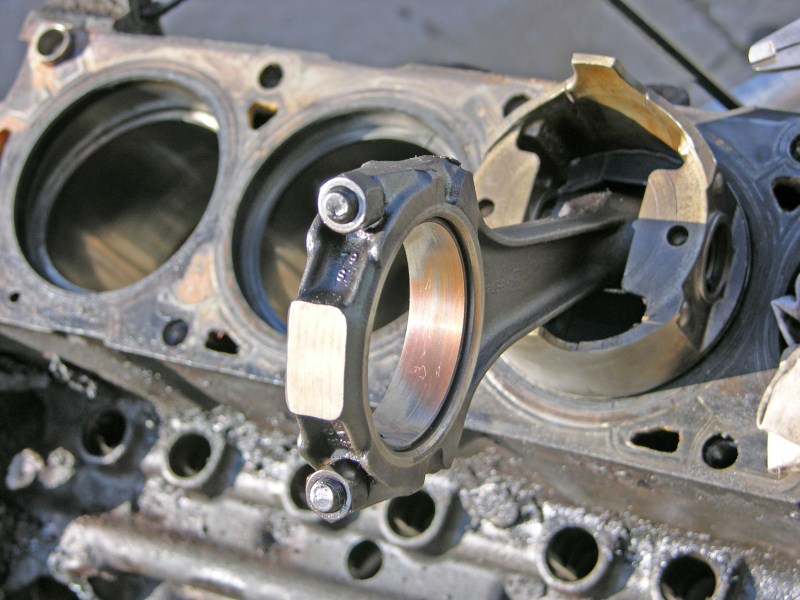
Rotate the crank until the connecting rod cap comes up to the top.
Remove the cap nuts. Tap the piston loose. Notice those
two yellow tubes on the left. I use them to protect the
crankshaft. The smallest nick in
the crank pin will wipe out a new bearing. So, I slip covers over
the con rod bolts to protect my work. You can use anything
that's soft, but thin. I pulled these off of extension cord I
had.
If you happen to nick the crank, stone out the flaw, immediately.
 #2
#2
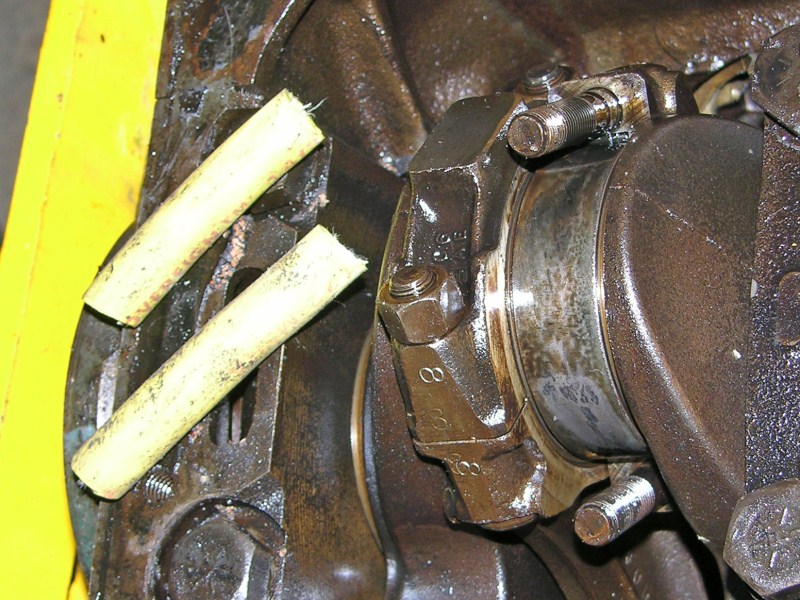
It's just electrical cord covering but for this use, a great
tool.
 #3
#3
The cap is off but the
bearing stayed on the crank... ok.
 #4
#4
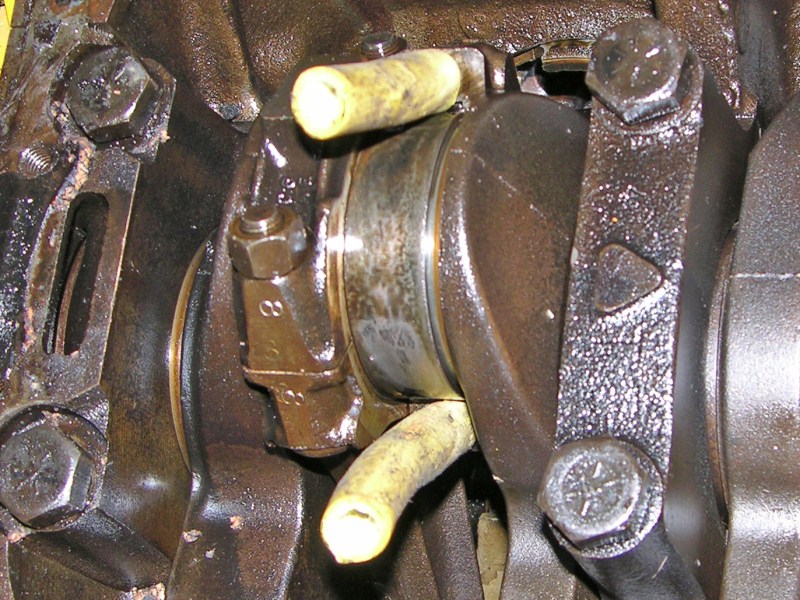
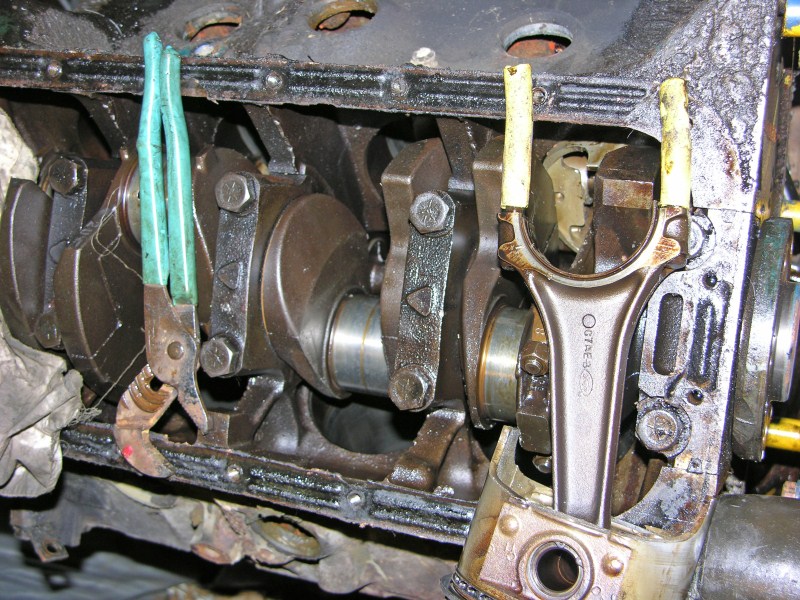
Push the covering over the connecting rod bolts...
 #5
#5
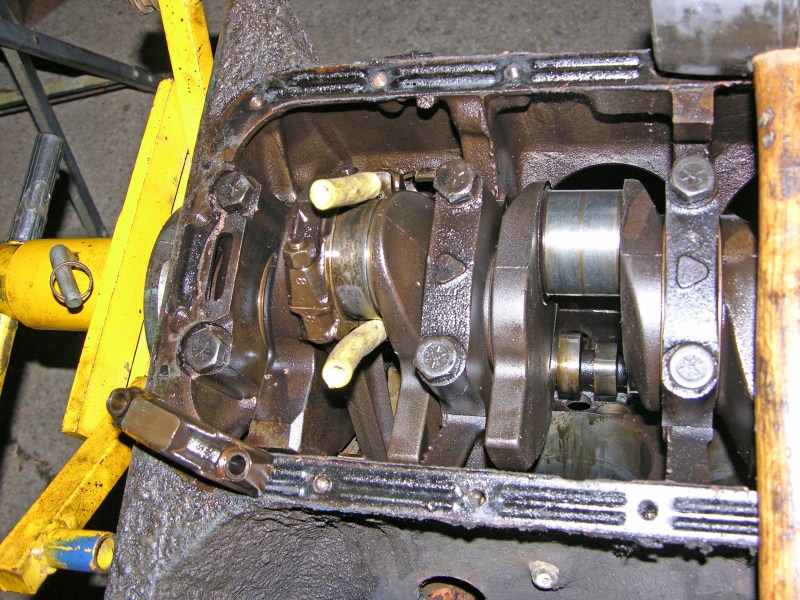
Now it's safe to pound the old piston out using a rubber
mallet or wood.

#6
Put your hand under the piston to catch it.
 #7
#7
This piston is on its way down. Assembly follows the
exact opposite procedure.
 #8
#8
Now pull the rubber sleeves off and get them ready for the next
piston.
 #9
#9
When all the pistons are out, loosen the main journal bolts
and pull each cap off.
 #10
#10
Set the caps off to the side. This Crankshaft is ready
to lift out.
 #11
#11
Each of these caps is stamped for position. I want to
keep them that way because the machine shop will align bore the
block. It's important to keep everything in order.
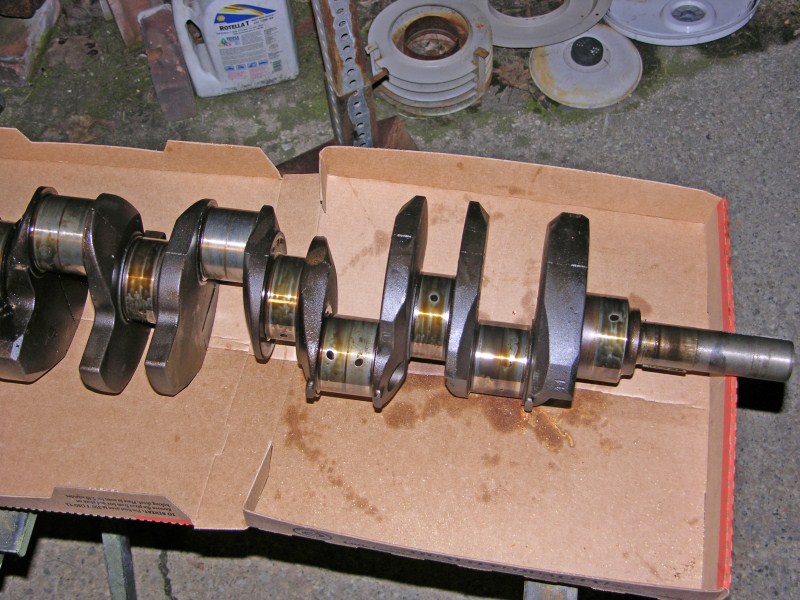 #12
#12
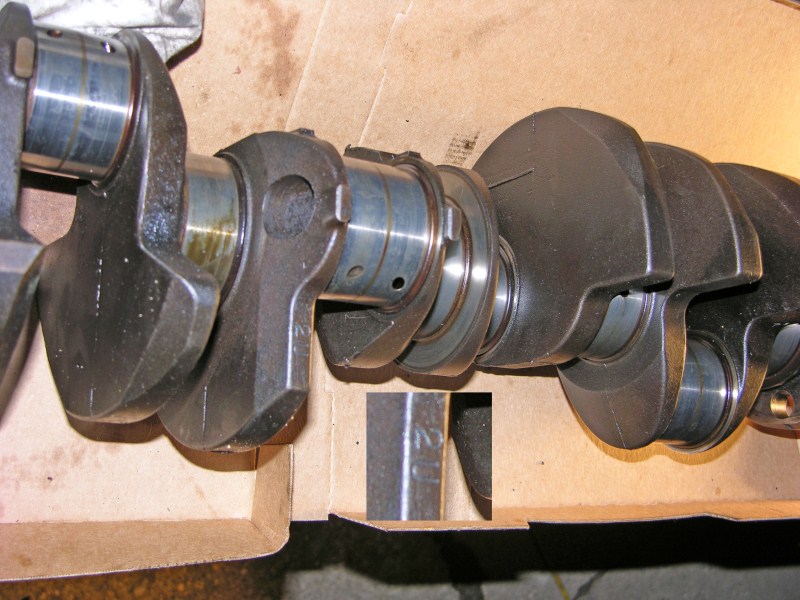
This Crankshaft is a 2U, one of Ford's strongest, and it
looks beautiful.
 #13
#13
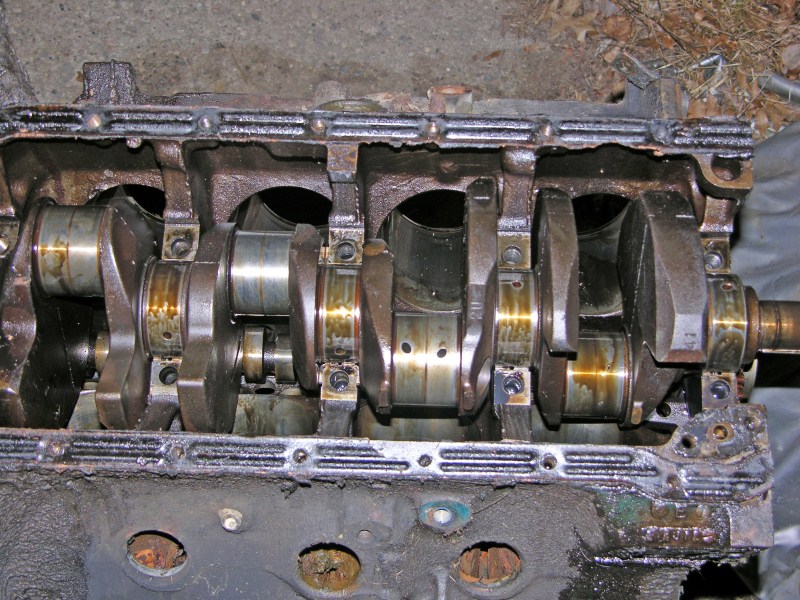
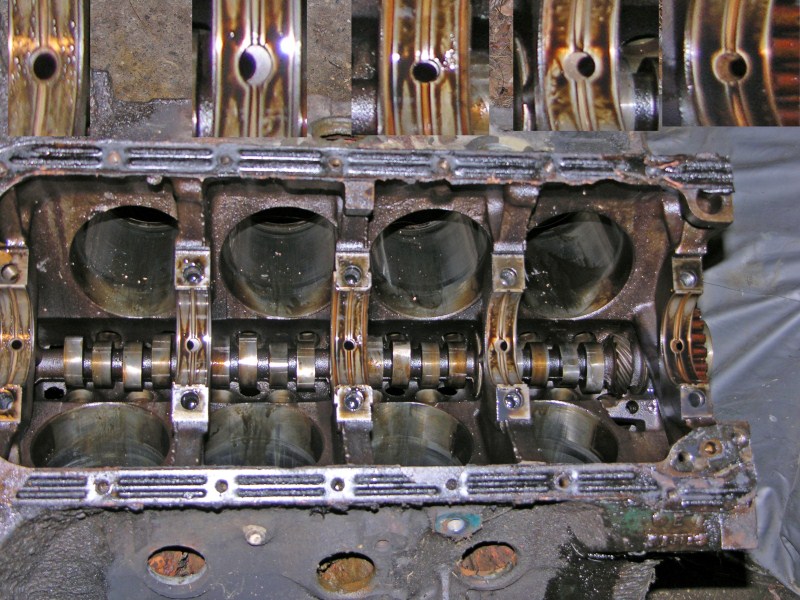
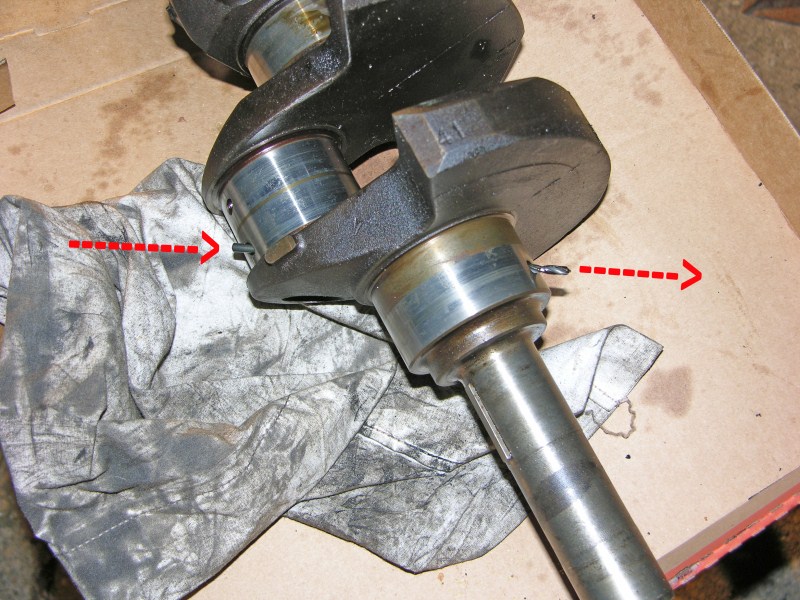
I took this picture to show the bearing oil holes and how
they are misaligned by the cradle oil holes. (See the
five close-up insets at the top of this picture.) The
machine shop will straighten this out.
Also notice, I left the cam to be removed last. Once the
crankshaft is out, I have access to the Camshaft with full
control using both hands inside and outside of the block.
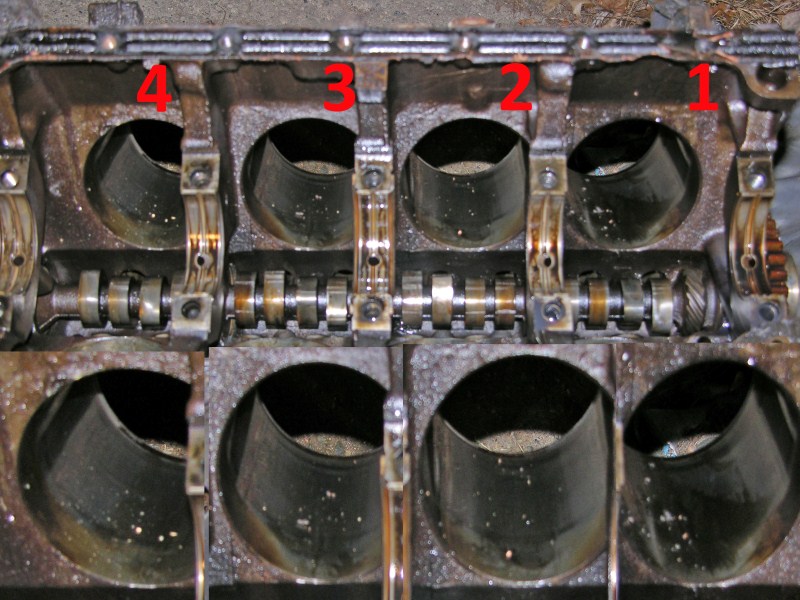 #14
#14
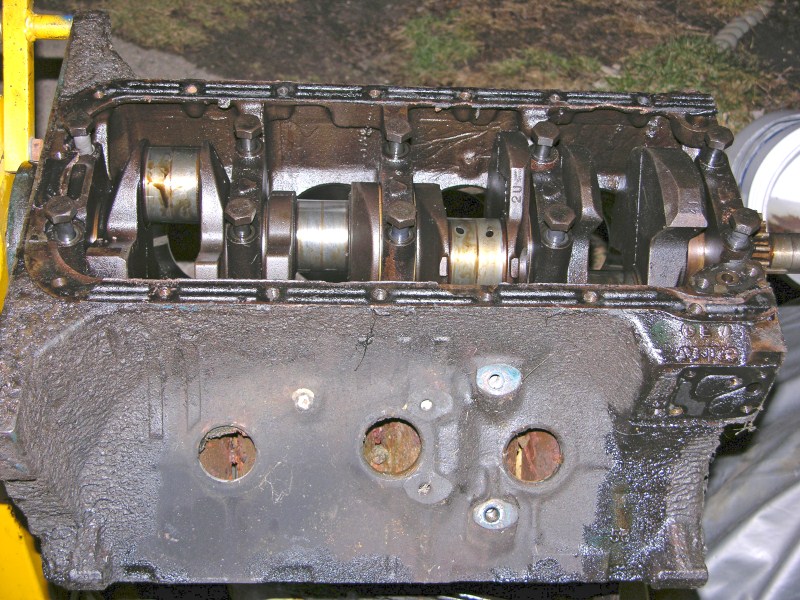
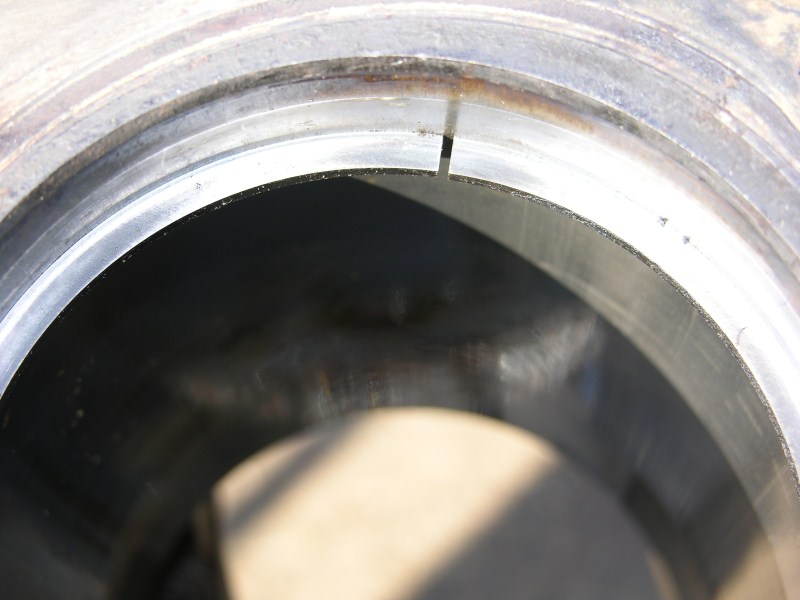
Even though this block will be bored, it's noteworthy to show
the cylinders 'before'. The junk in there is gasket
material and oil, but no scoring.
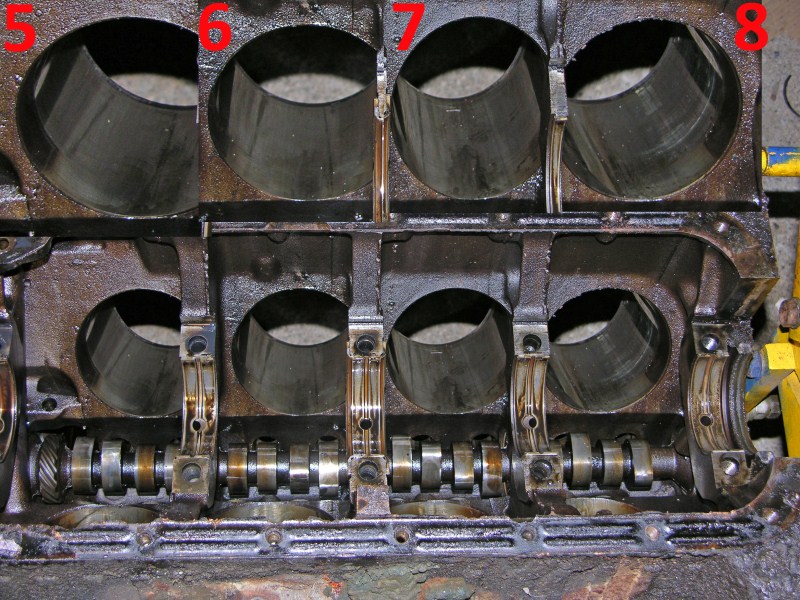 #15
#15
... and the LH cylinders.
 #16
#16
The engine plant uses very long drill bits to make these oil
holes. I check and clean every oil hole.
 #17
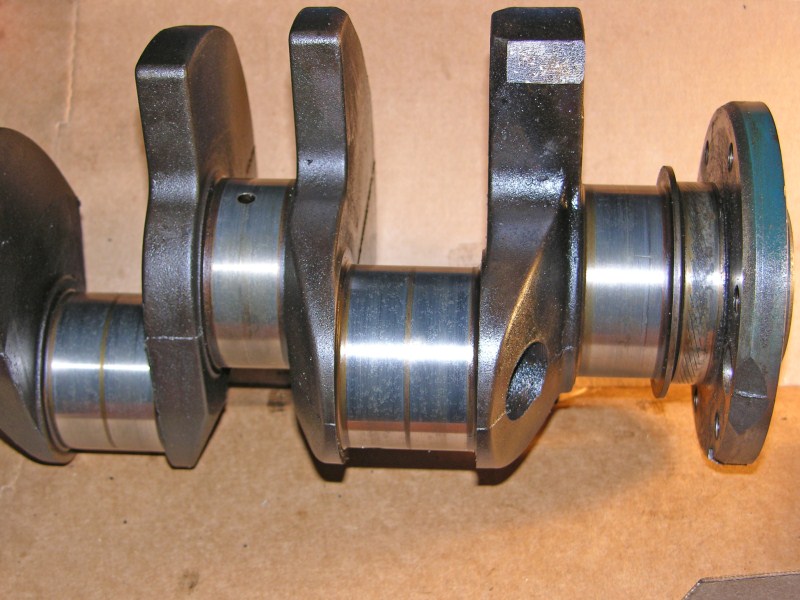
#17
The main and pin bearing surfaces look great.
 #18
#18
The inset shows "2U" identification... clearly a
car or light truck
crankshaft.
 #19
#19
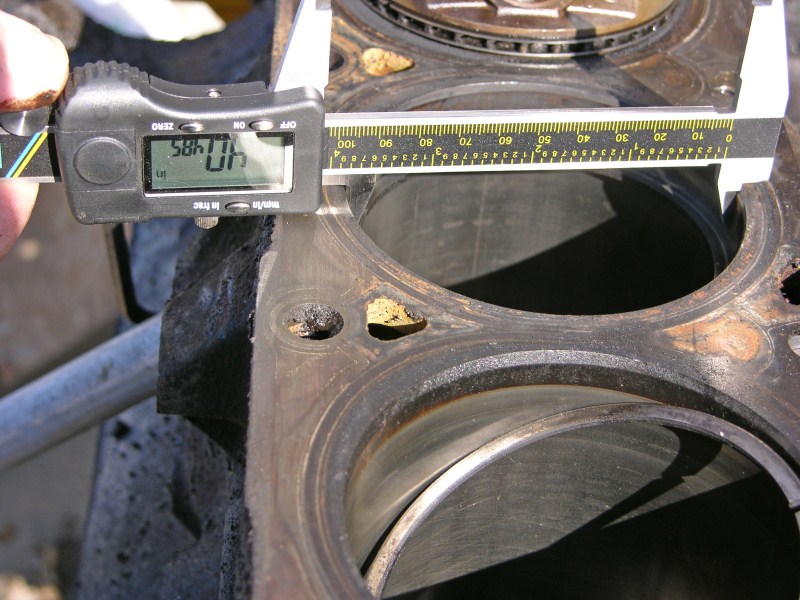
Original bore is 4.050". This block proves to be
original in every way.
 #20
#20
This piston bearing is typical of all eight. They are worn out from
low-rpm but high torque.
 #21
#21
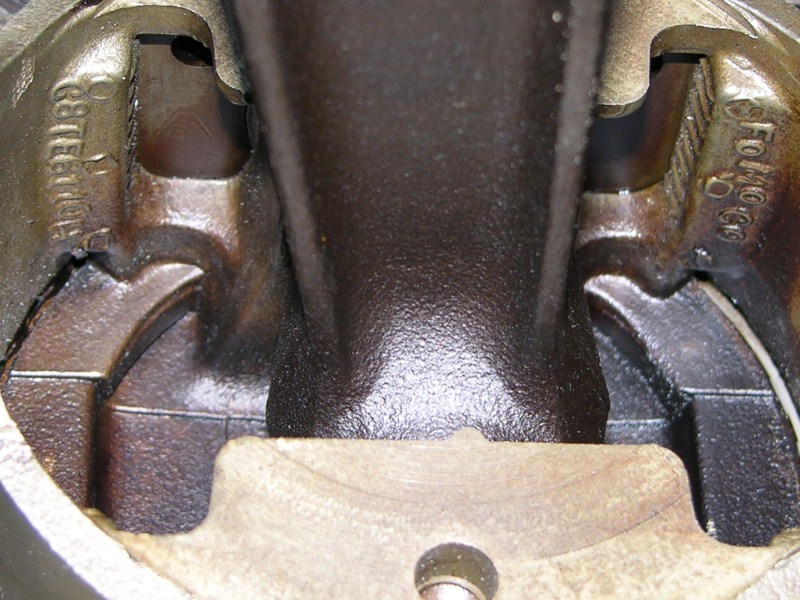
The inside of this piston reads: "C8TE6110H" (1968 Truck
Engine...) on the left, and "FoMoCo" on the right. It's
heavy duty and high quality, with a full-floating wrist pin held
in by snap rings.
 #22
#22
I pulled this ring off to measure the end gap. .040",
and the cylinders have hardly any ridge.
 #23
#23
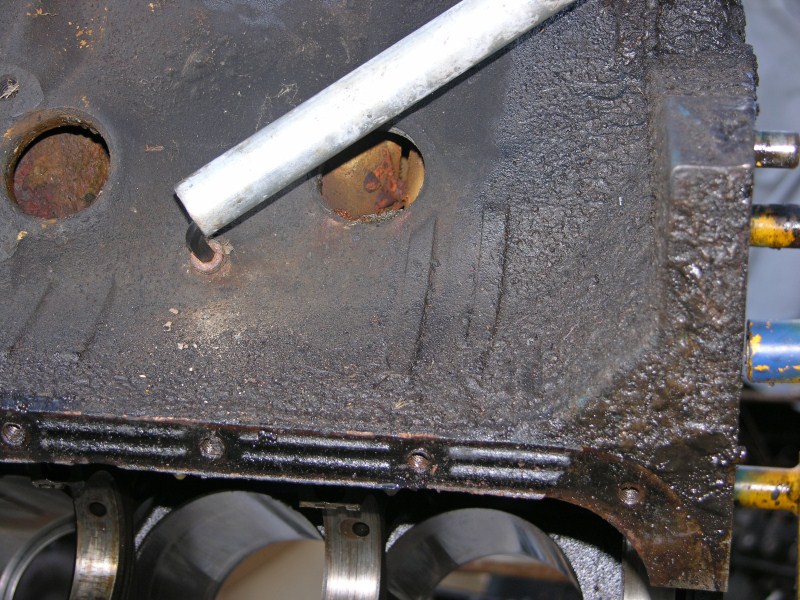
Remove six oil and water pipe plugs with an Allen wrench.
 #24
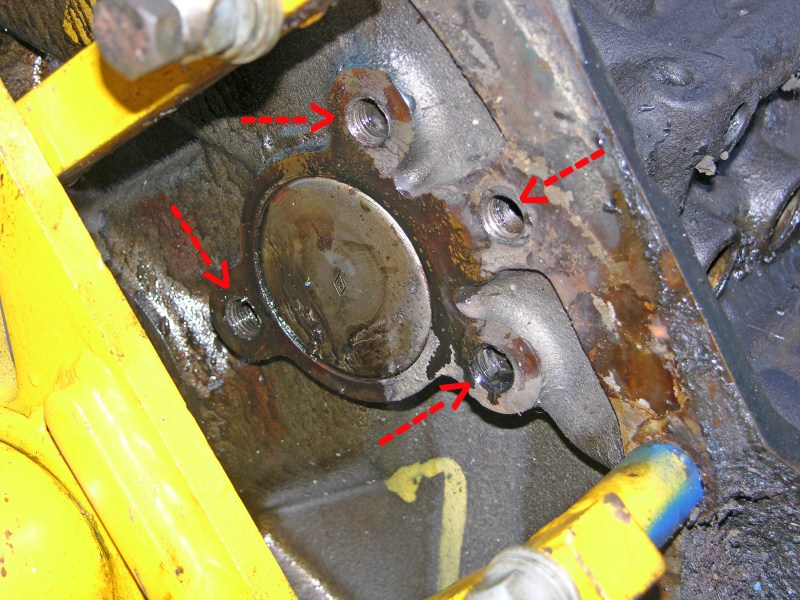
#24
These four pipe plug holes surround the Camshaft Plug in the
back of the engine. Now, this block is absolutely bare and ready for the hot tank.
Back to top
CLICK HERE
to return to Home Page