Ford 390 FE Engine Overhaul
TEARDOWN
& REFURBISH ROCKER ARMS AND SHAFTS
BACK TO MAIN MENU
ROCKER ARM REMOVAL
& SHAFT CLEANING
 #1
#1
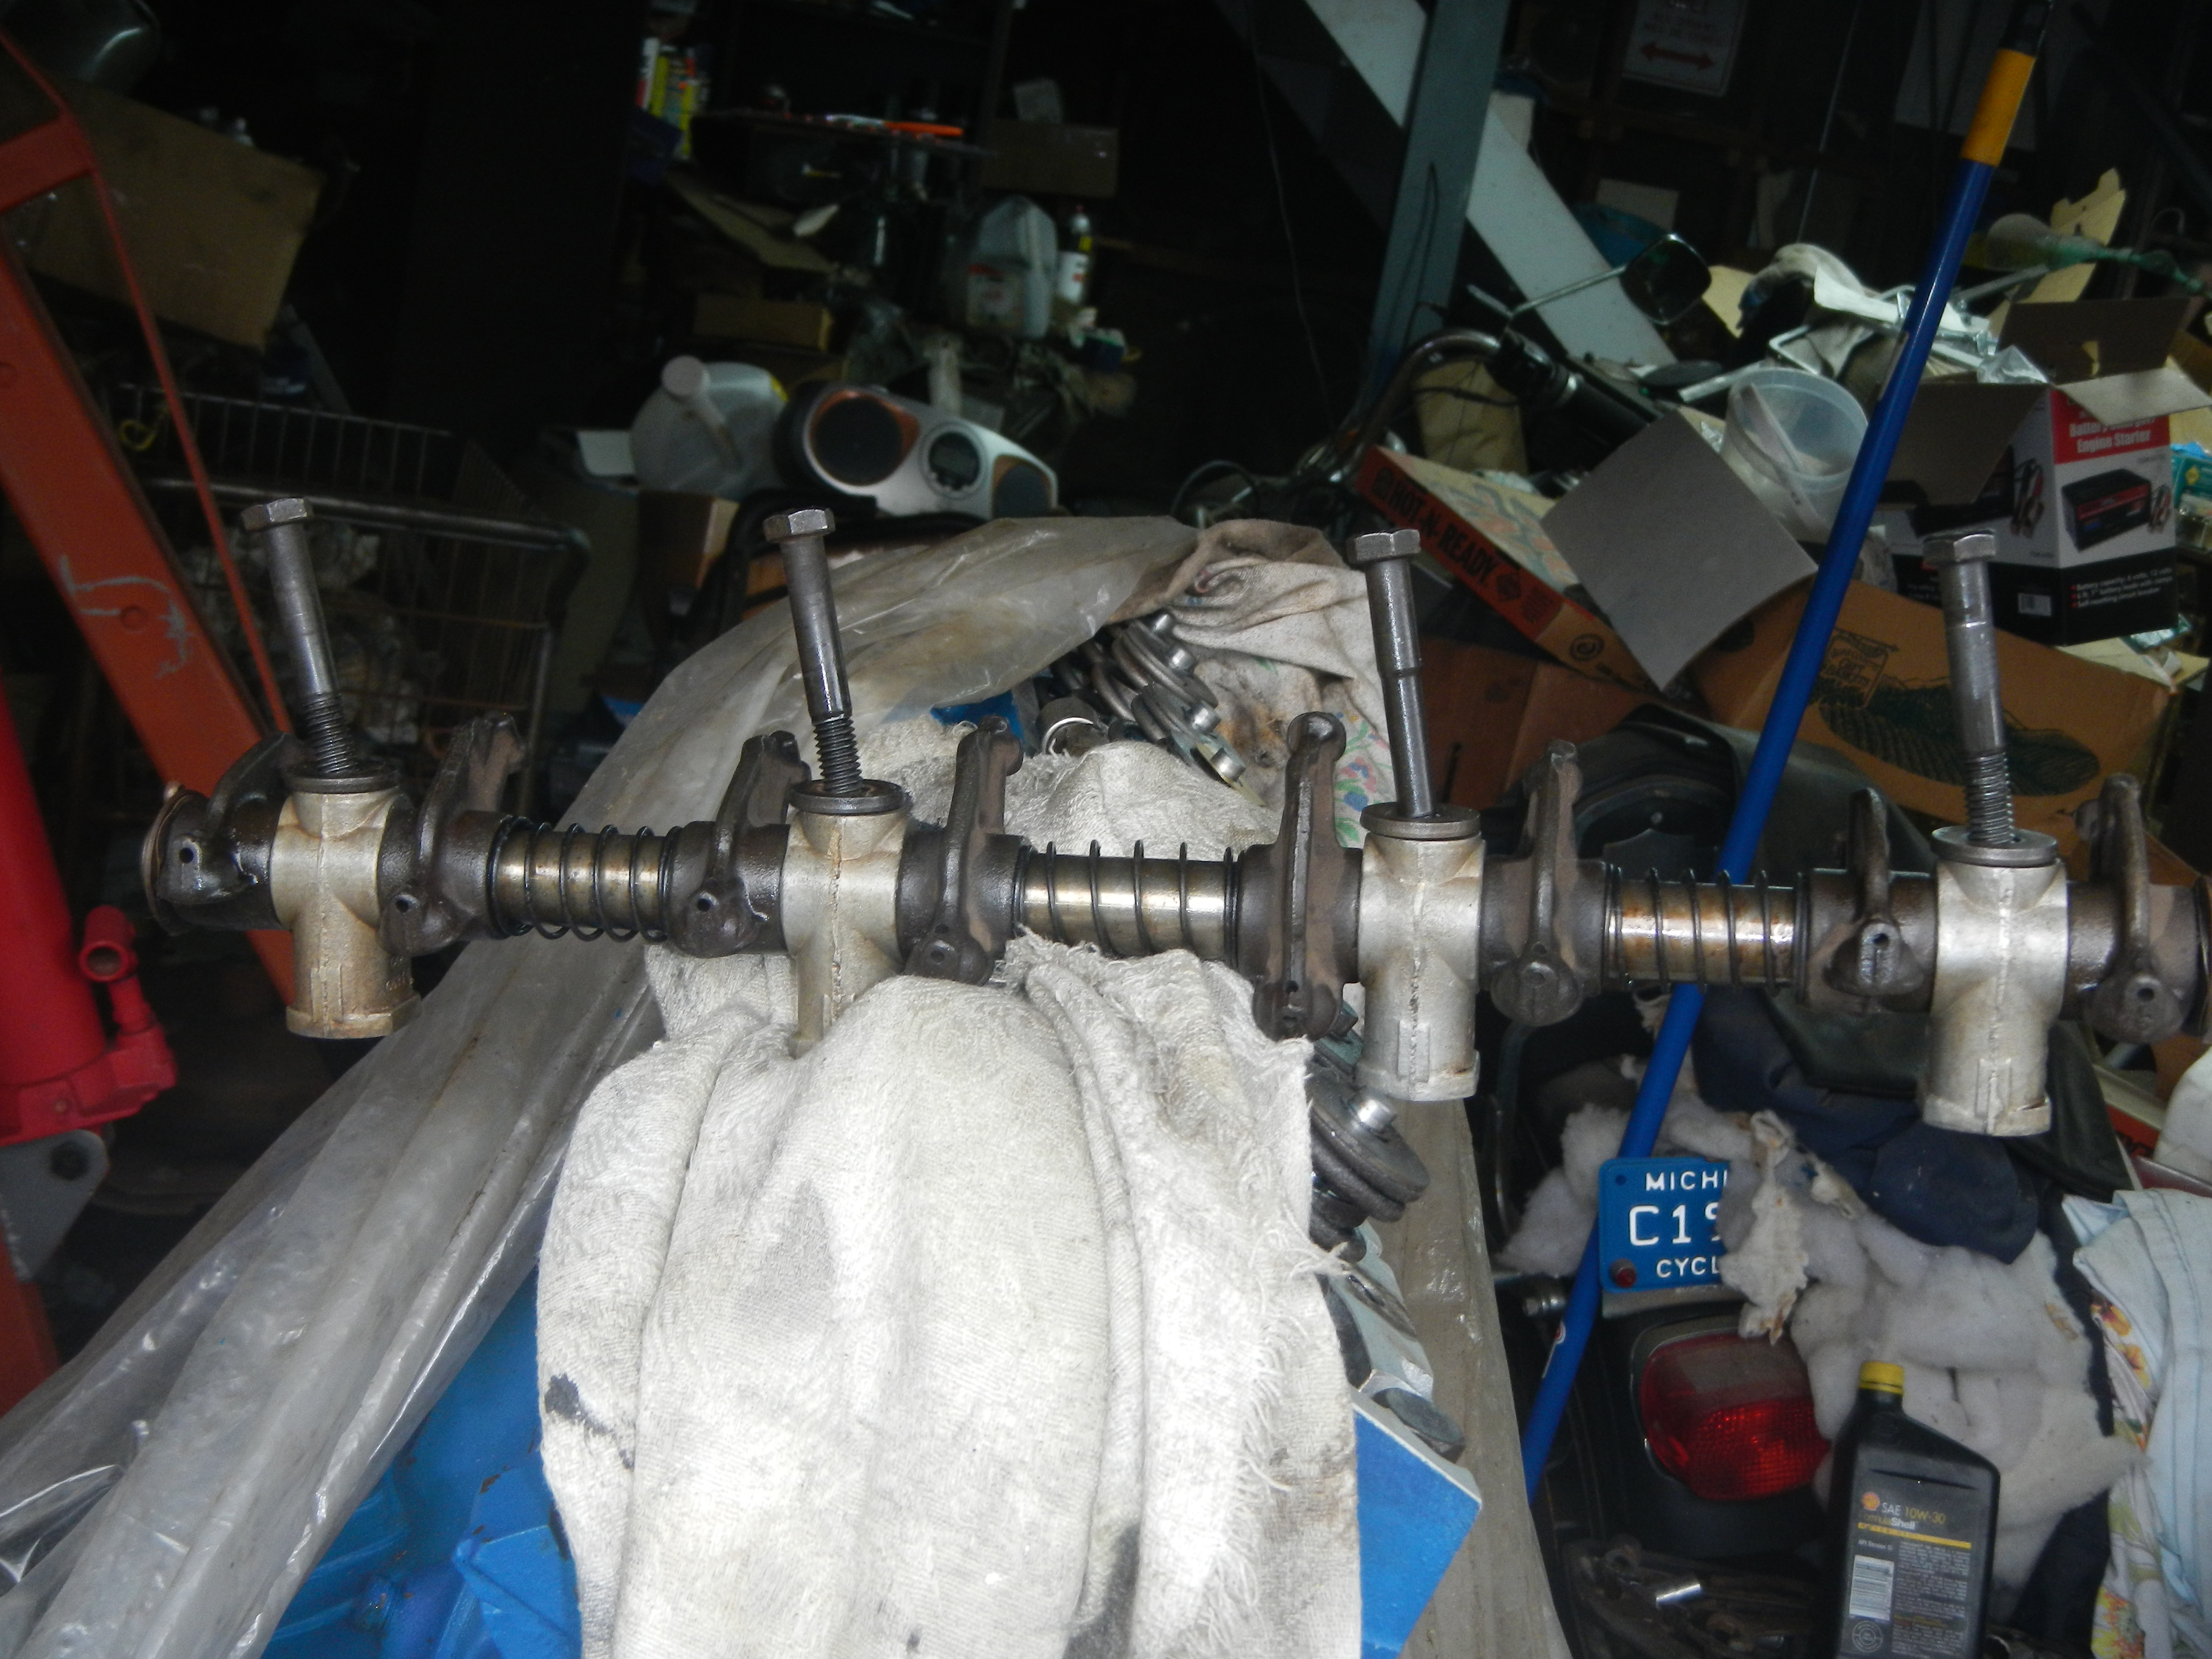
Rocker shafts are the same for both sides but they have a top
and a bottom.
Notice the stands' bolts are not all the same. The 2nd bolt has a skinnier
diameter shaft.
Oil must go up the head and around the second stand's
bolt to enter the shaft. Do not mix up these bolts.
This was covered in OIL MODS.
 #2
#2
 #3
#3
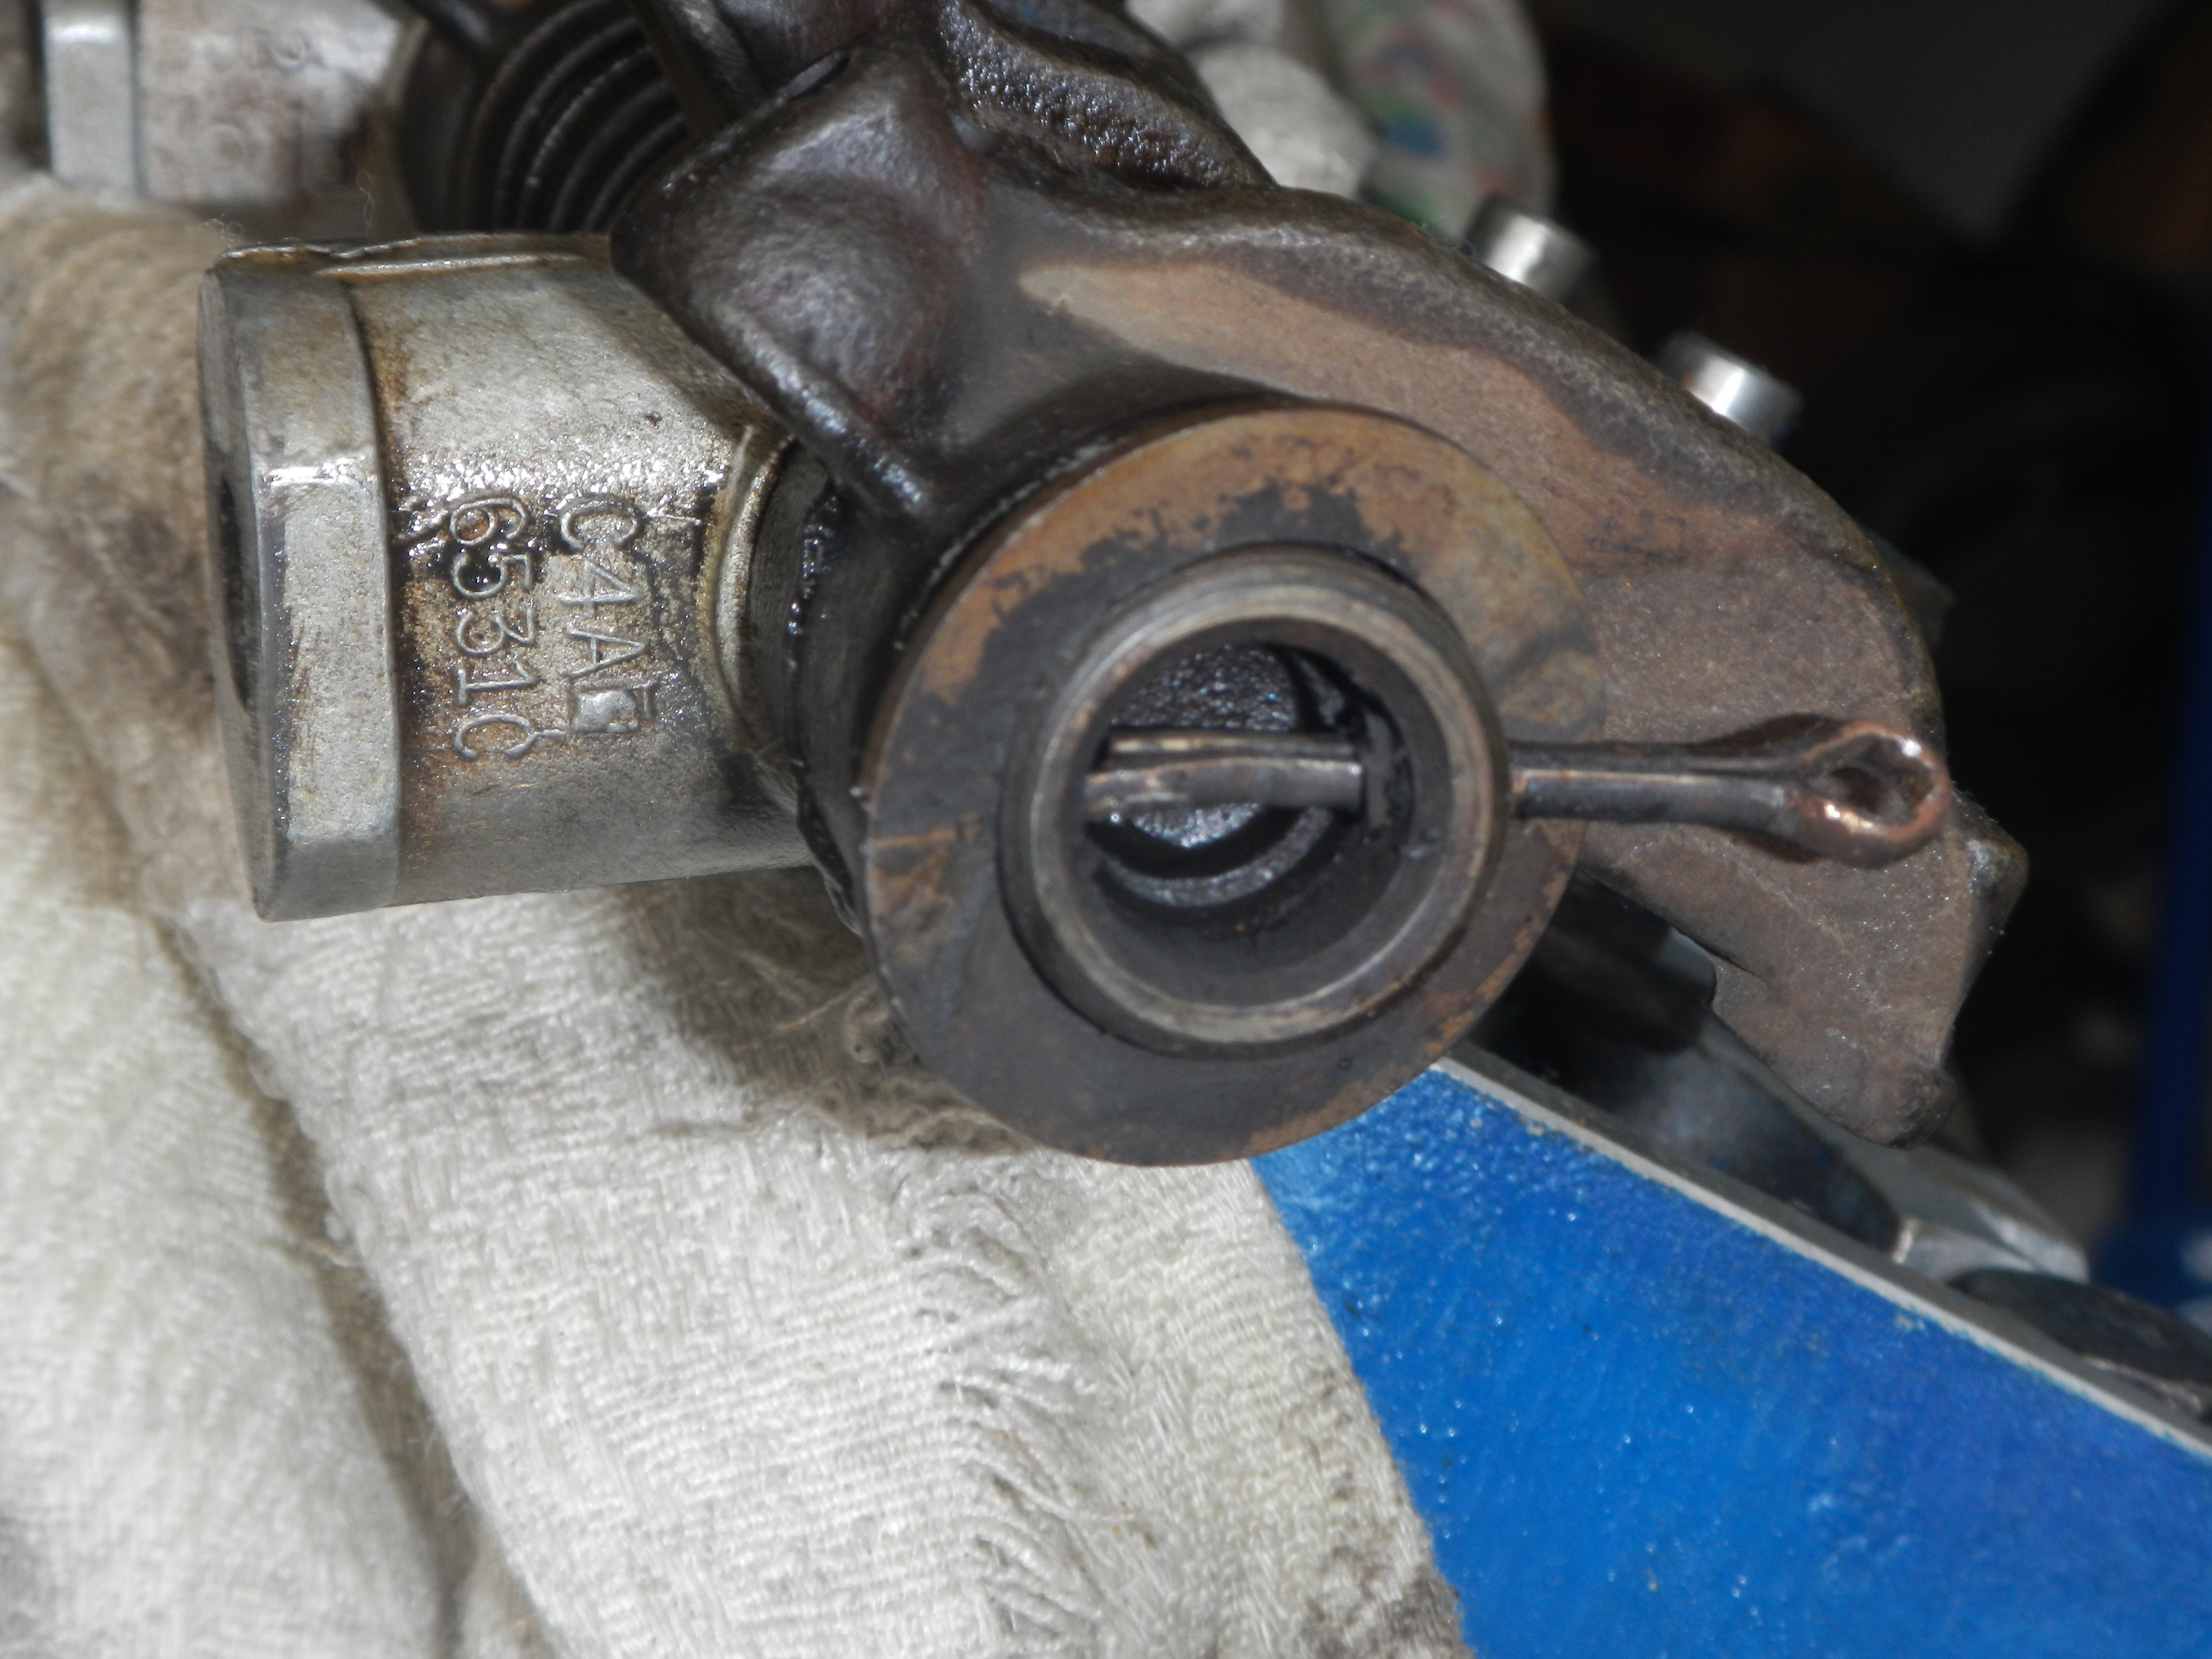
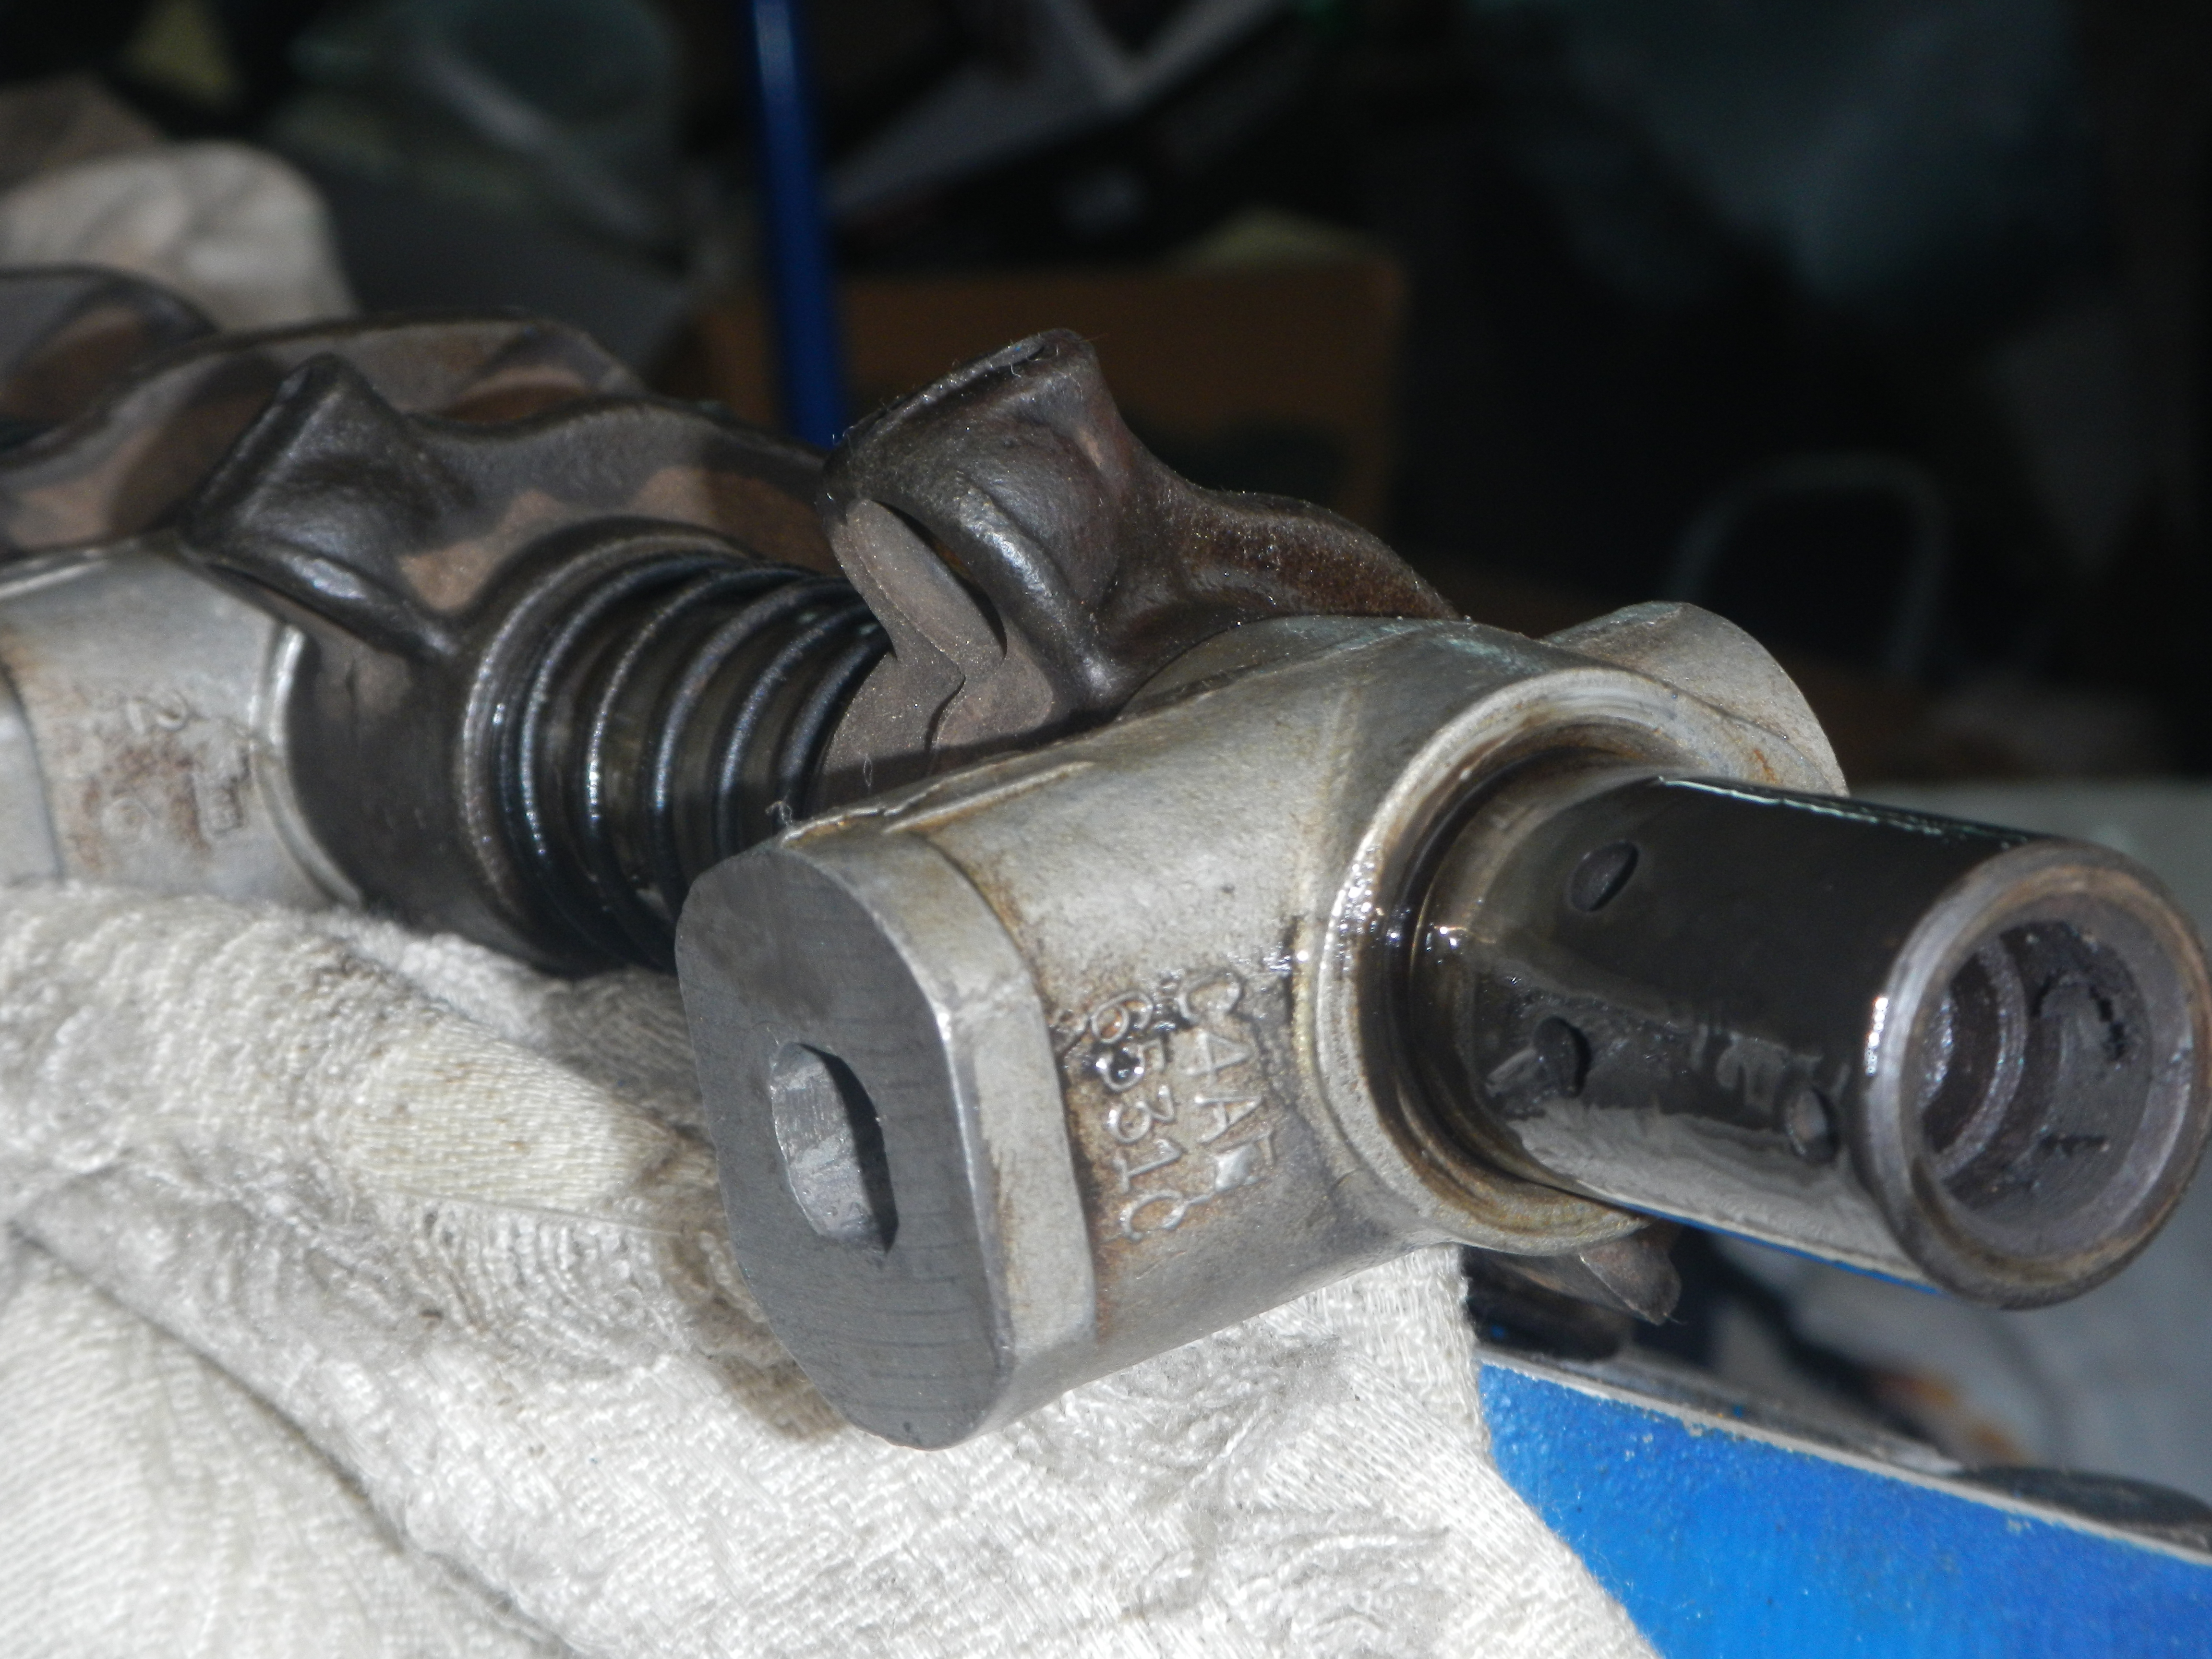
Notice the notch on the
end of this OEM shaft. It only appears on one end. When properly
assembled,
the notch should be at the 5 O'clock orientation and
the rocker arm tips should face the left.
That ensures the shaft's oil holes are at the bottom.
 #4
#4
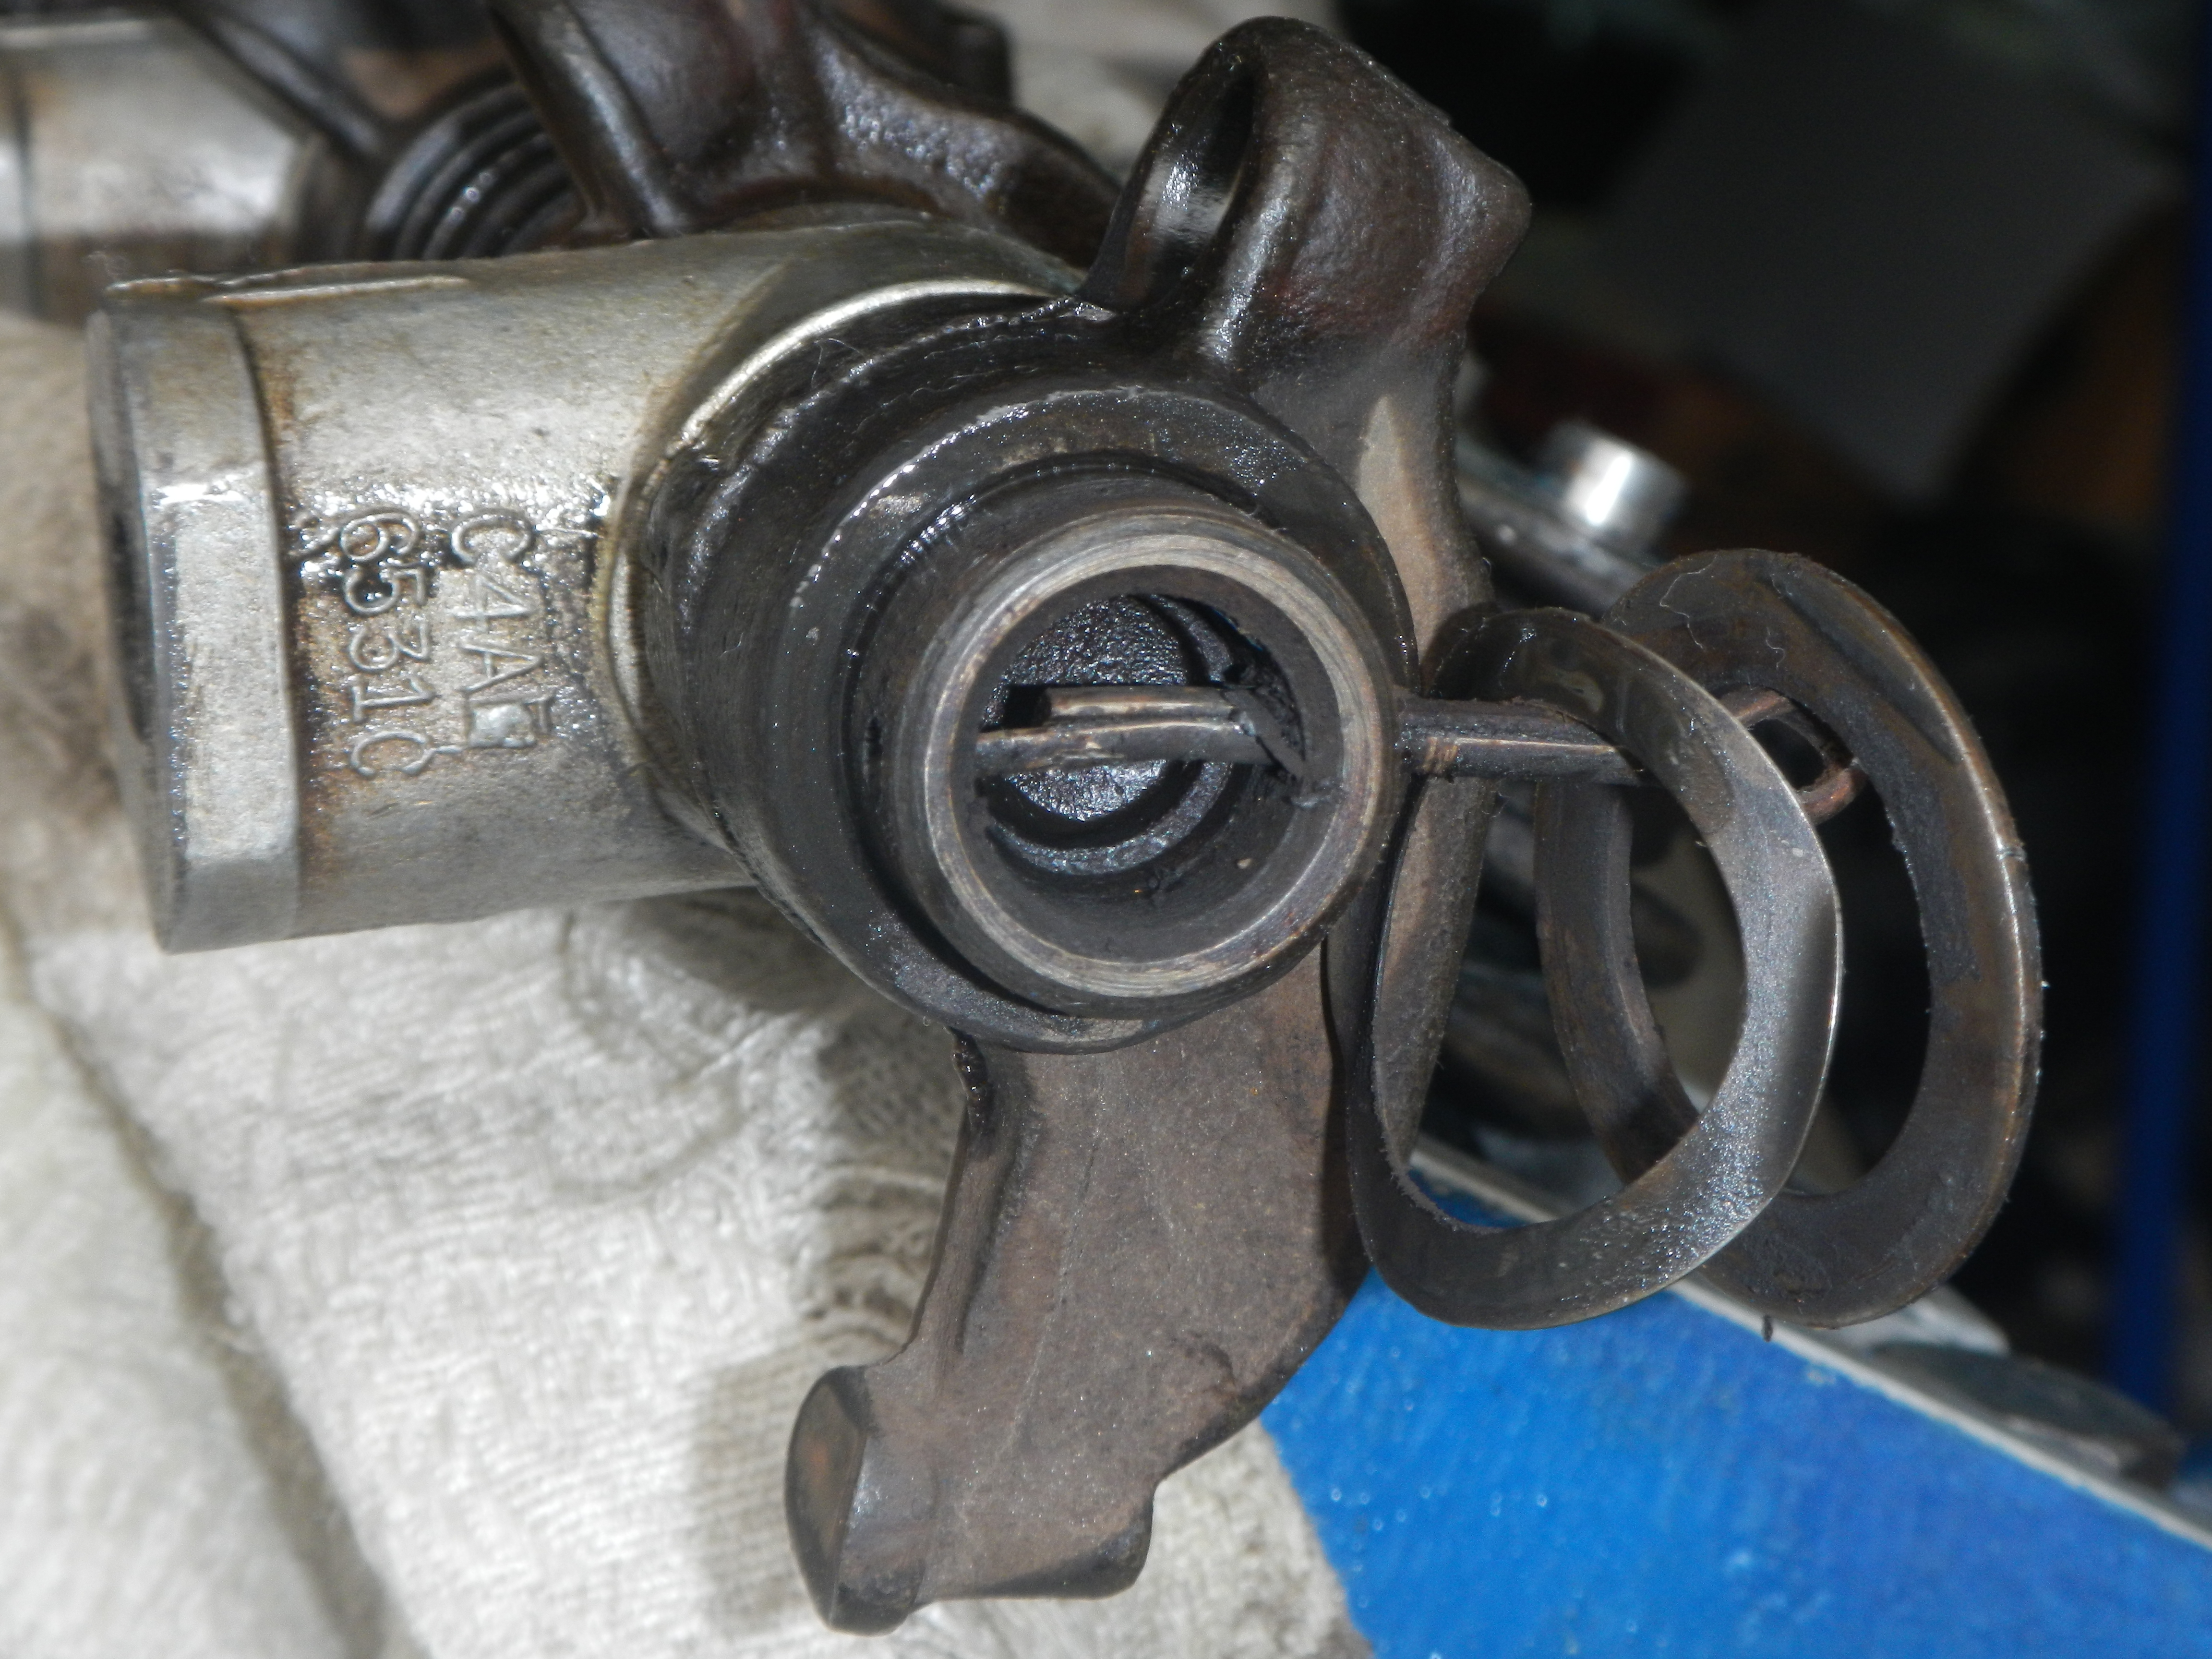
Time to strip the rocker arms and stands off the shafts. Start
with the bolts and cotter pins.
Notice this end has no notch because it's the other end of the same shaft.
 #5
#5
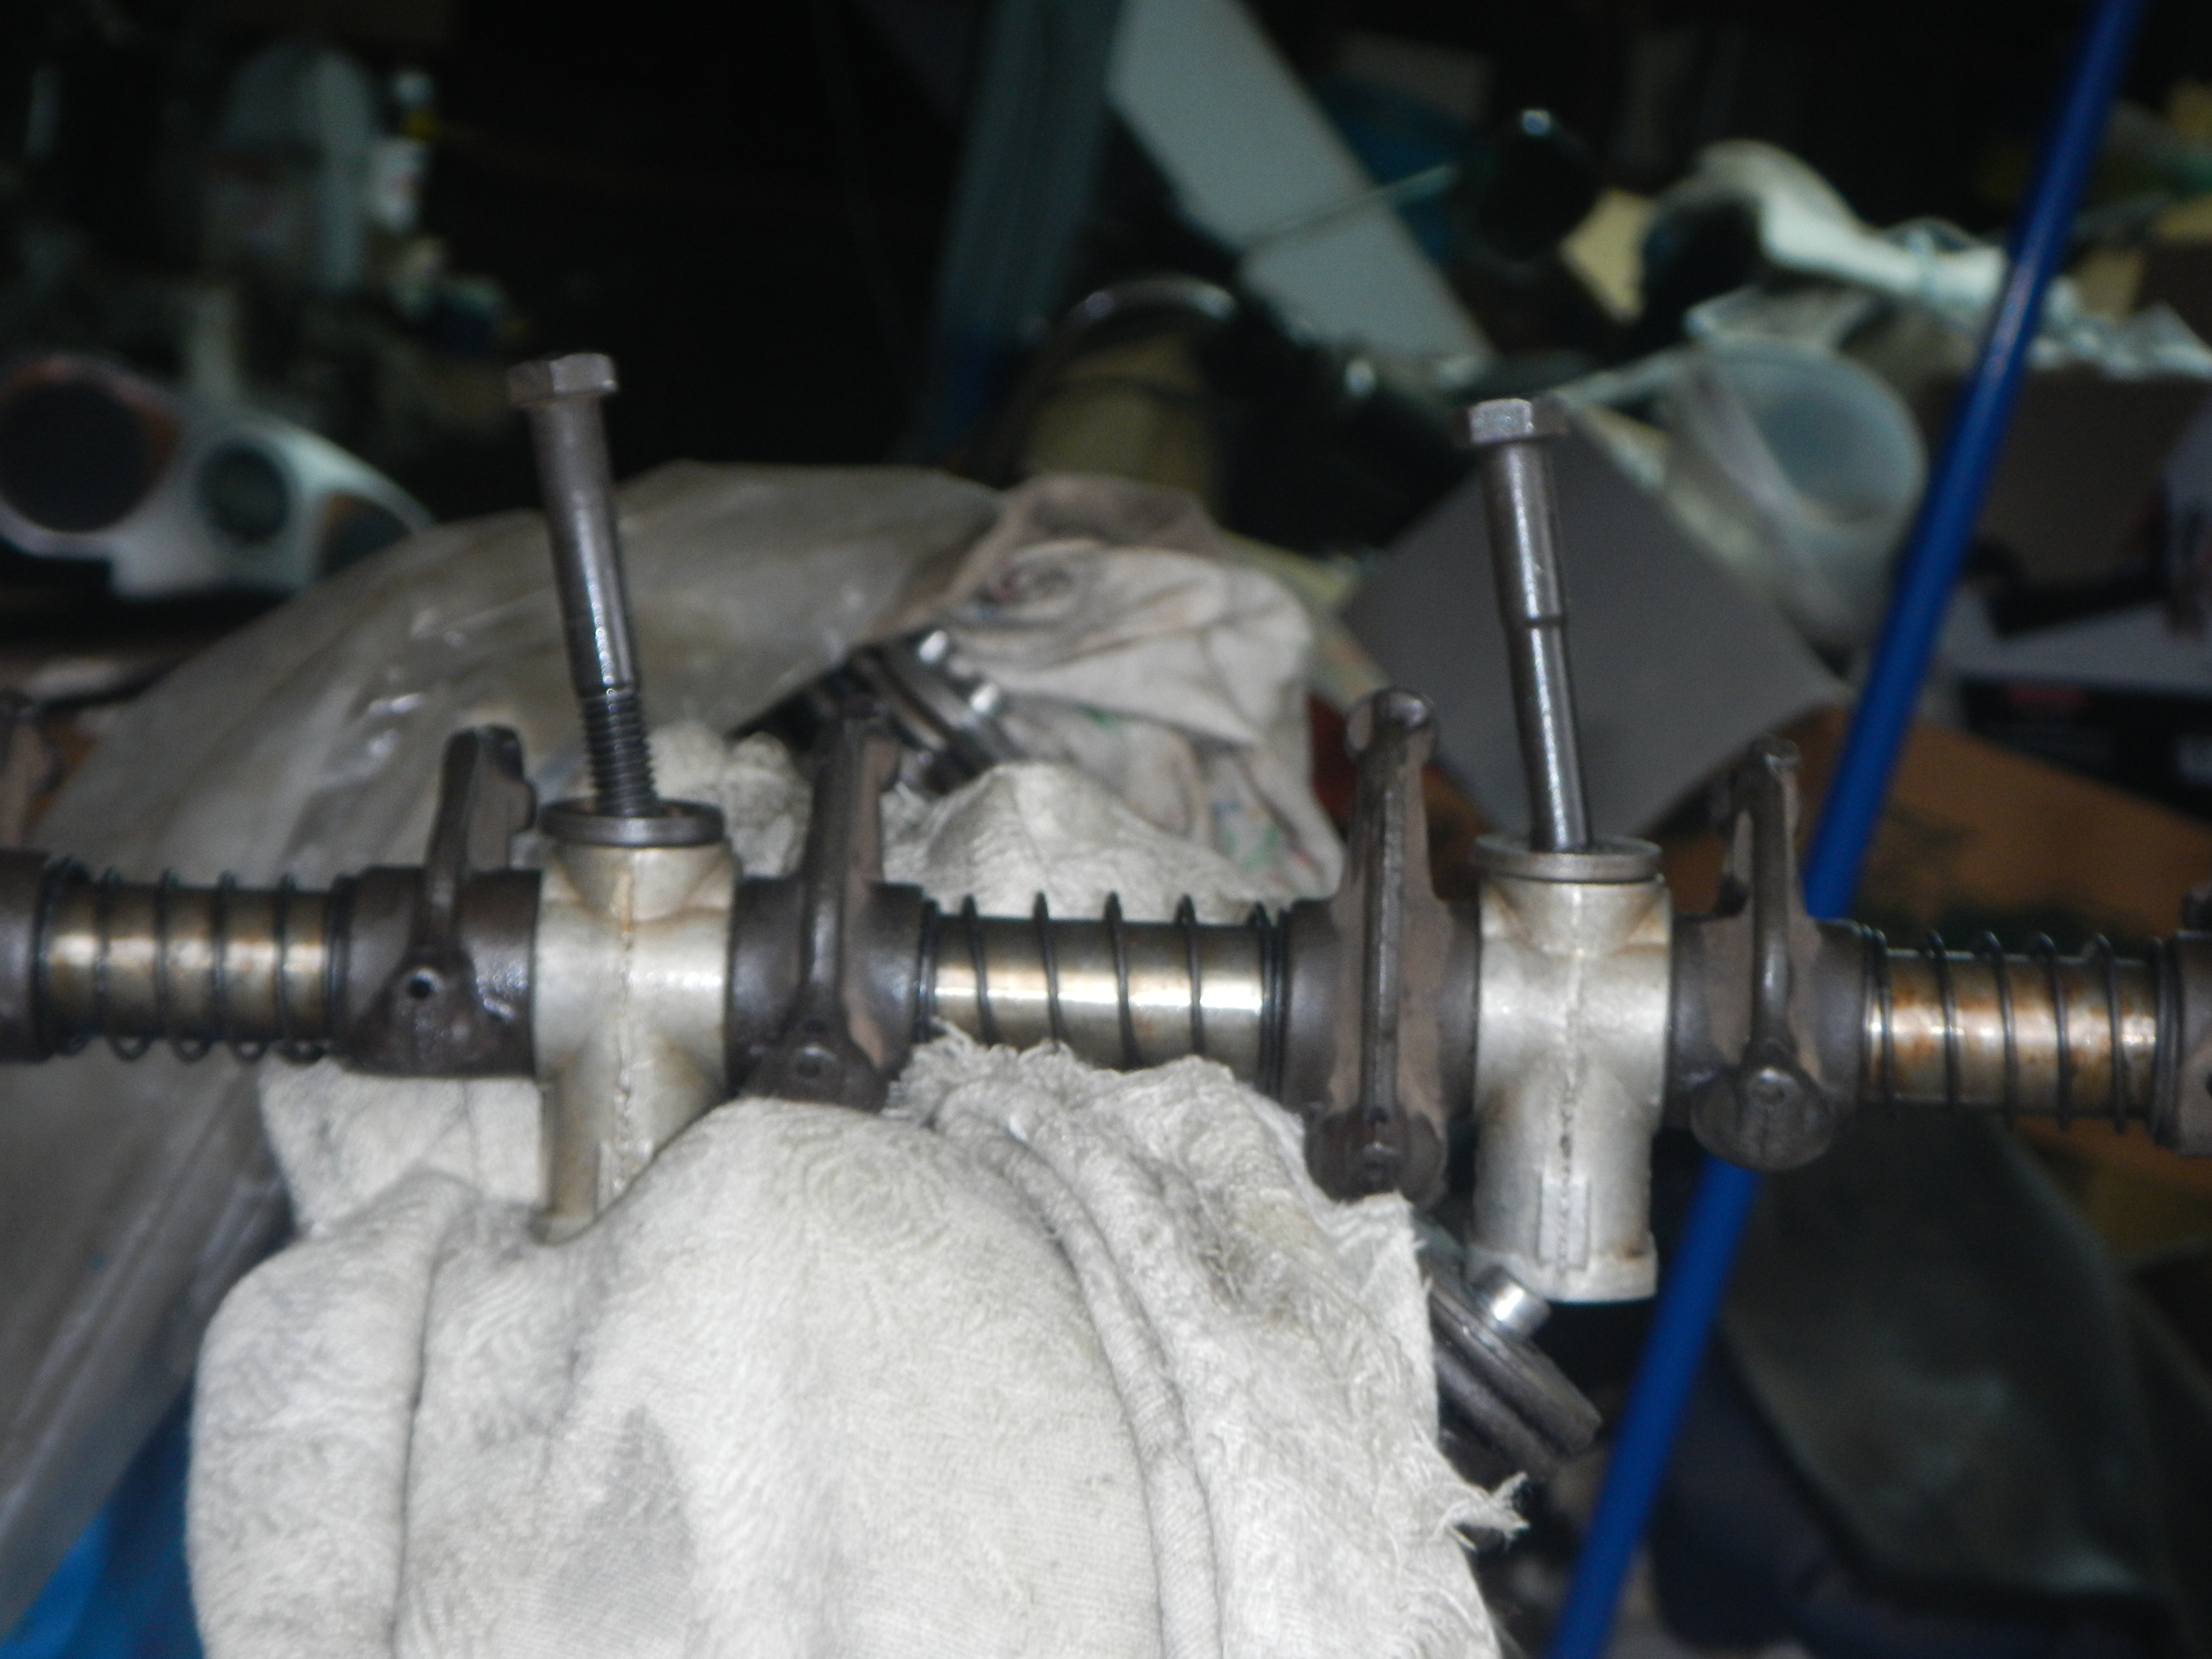
Rocker arms on each end have spring washers to ensure alignment to the valve.
Center rocker arms have
springs between them.
Every time a push rod relaxes, the shaft springs push the rocker arms back to it's
stand.
 #6
#6
Slide all the rocker arms and stands off.
 #7
#7
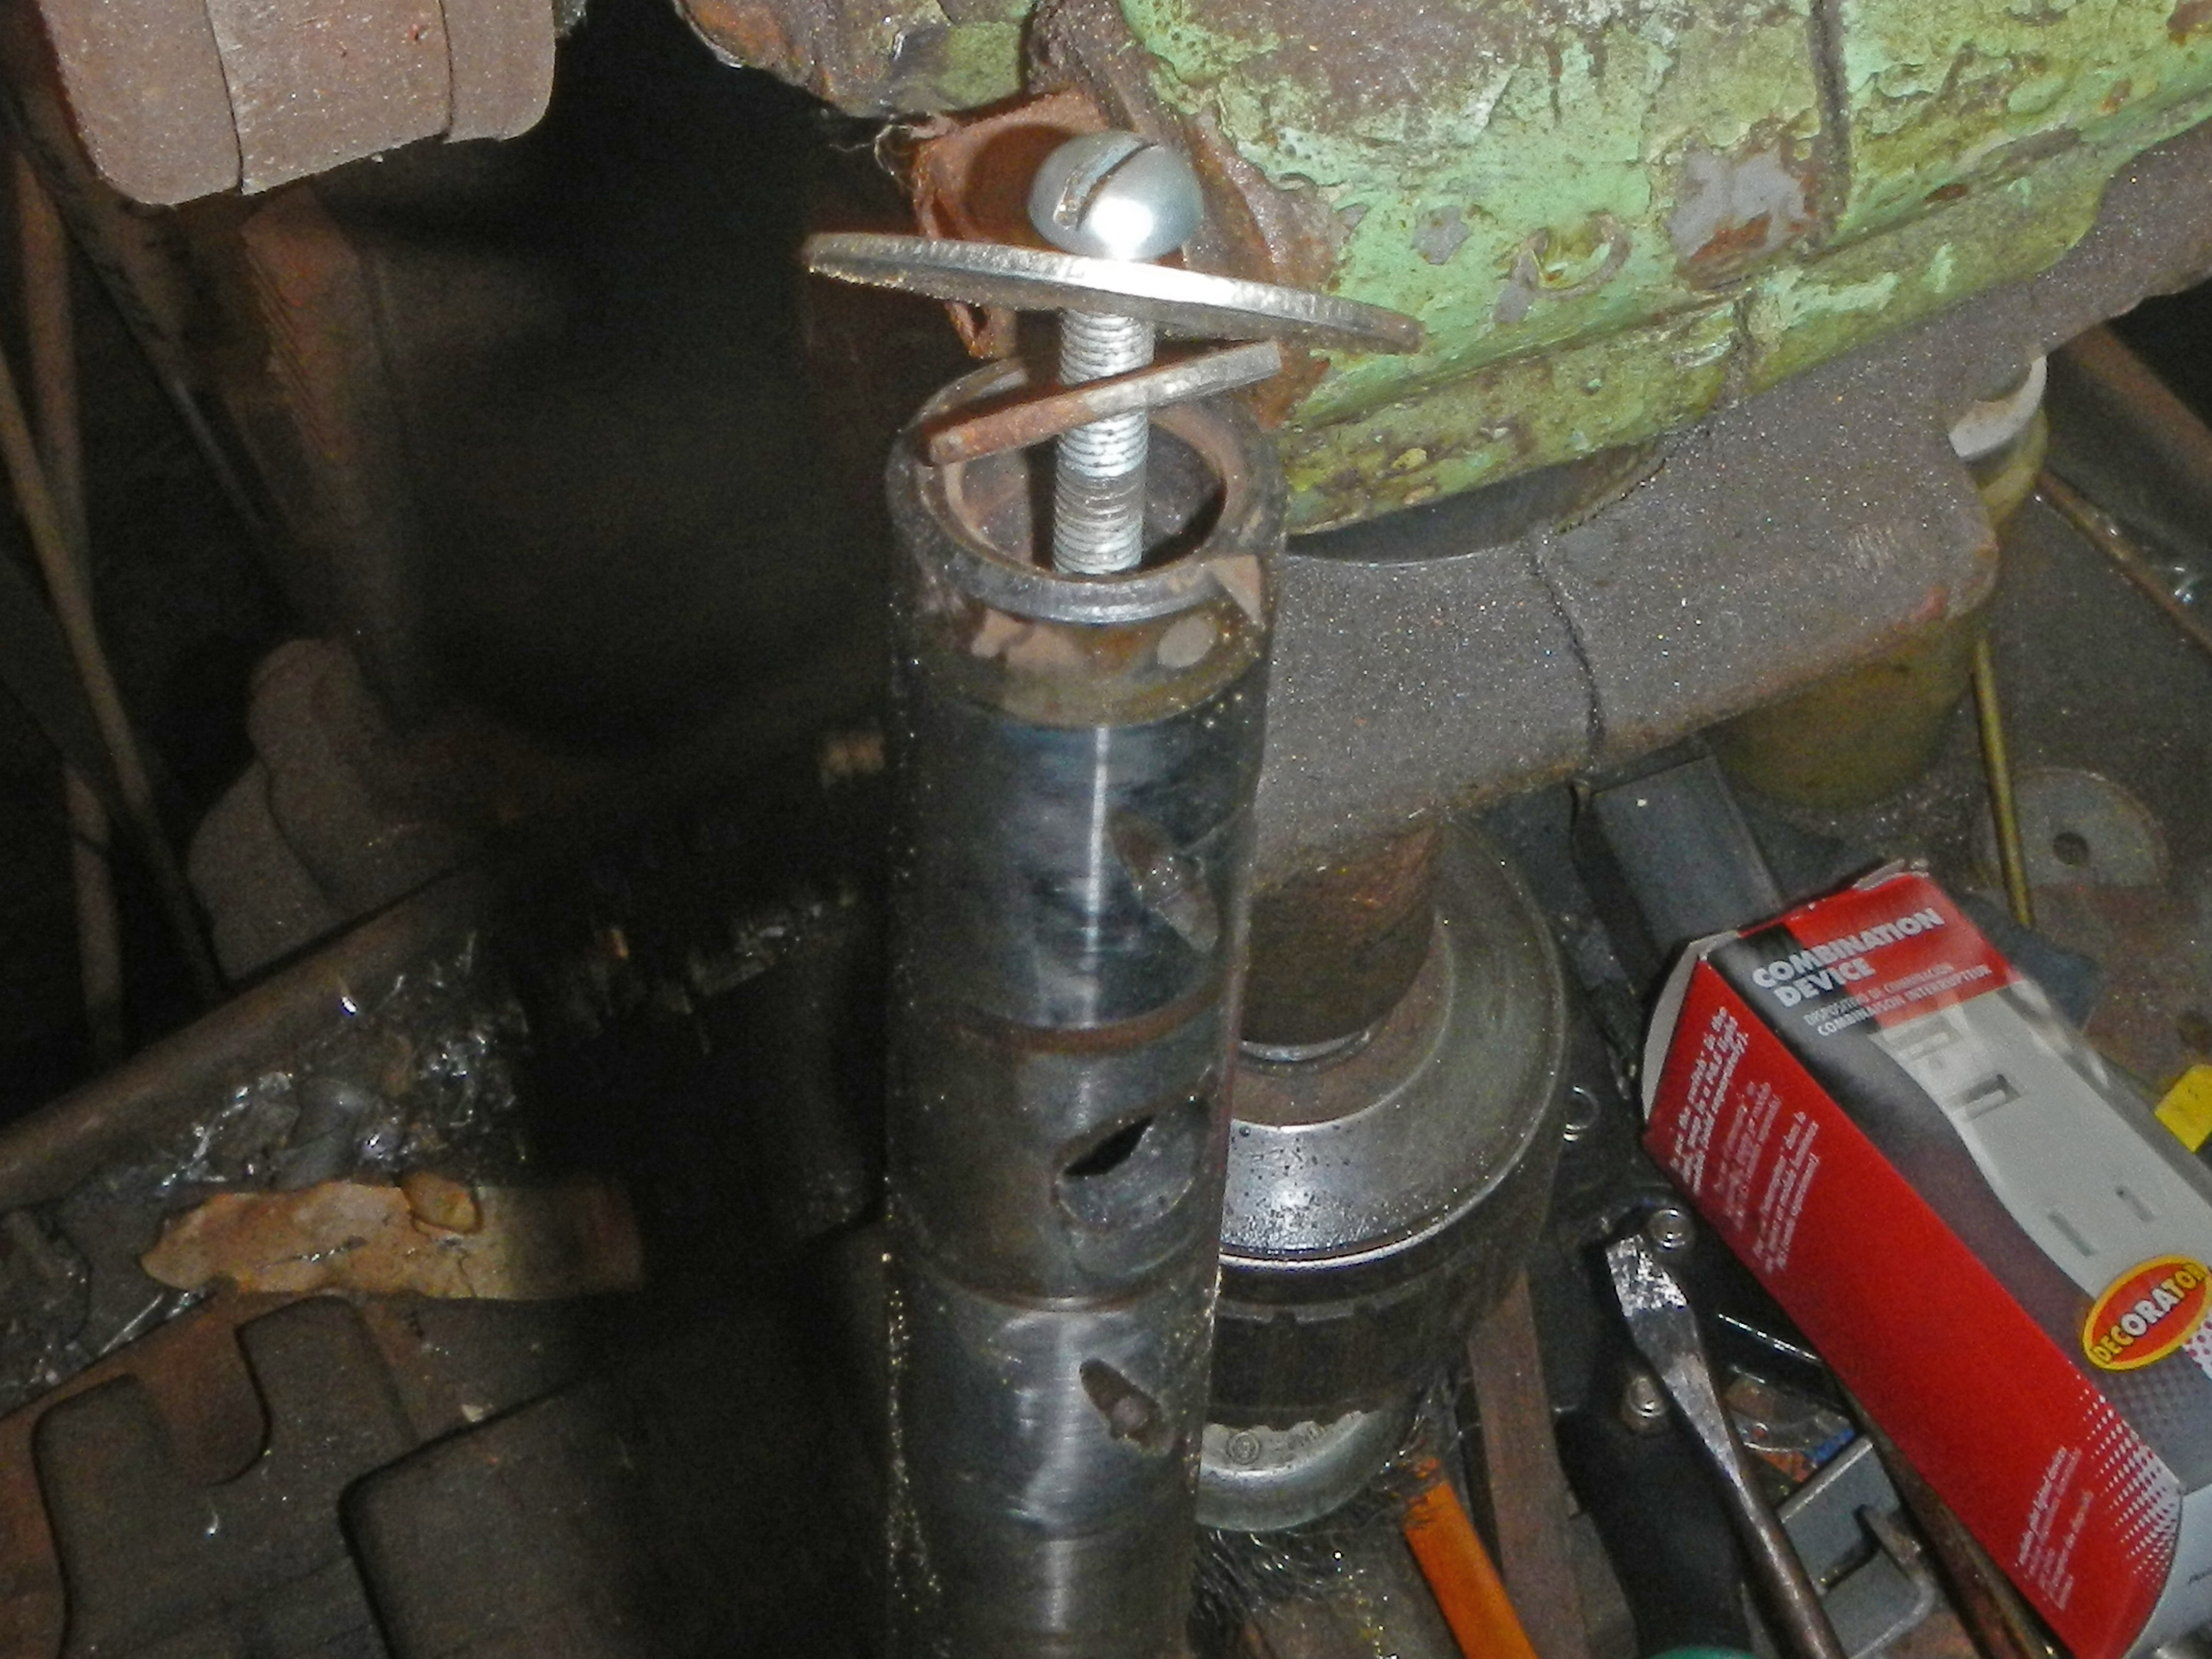
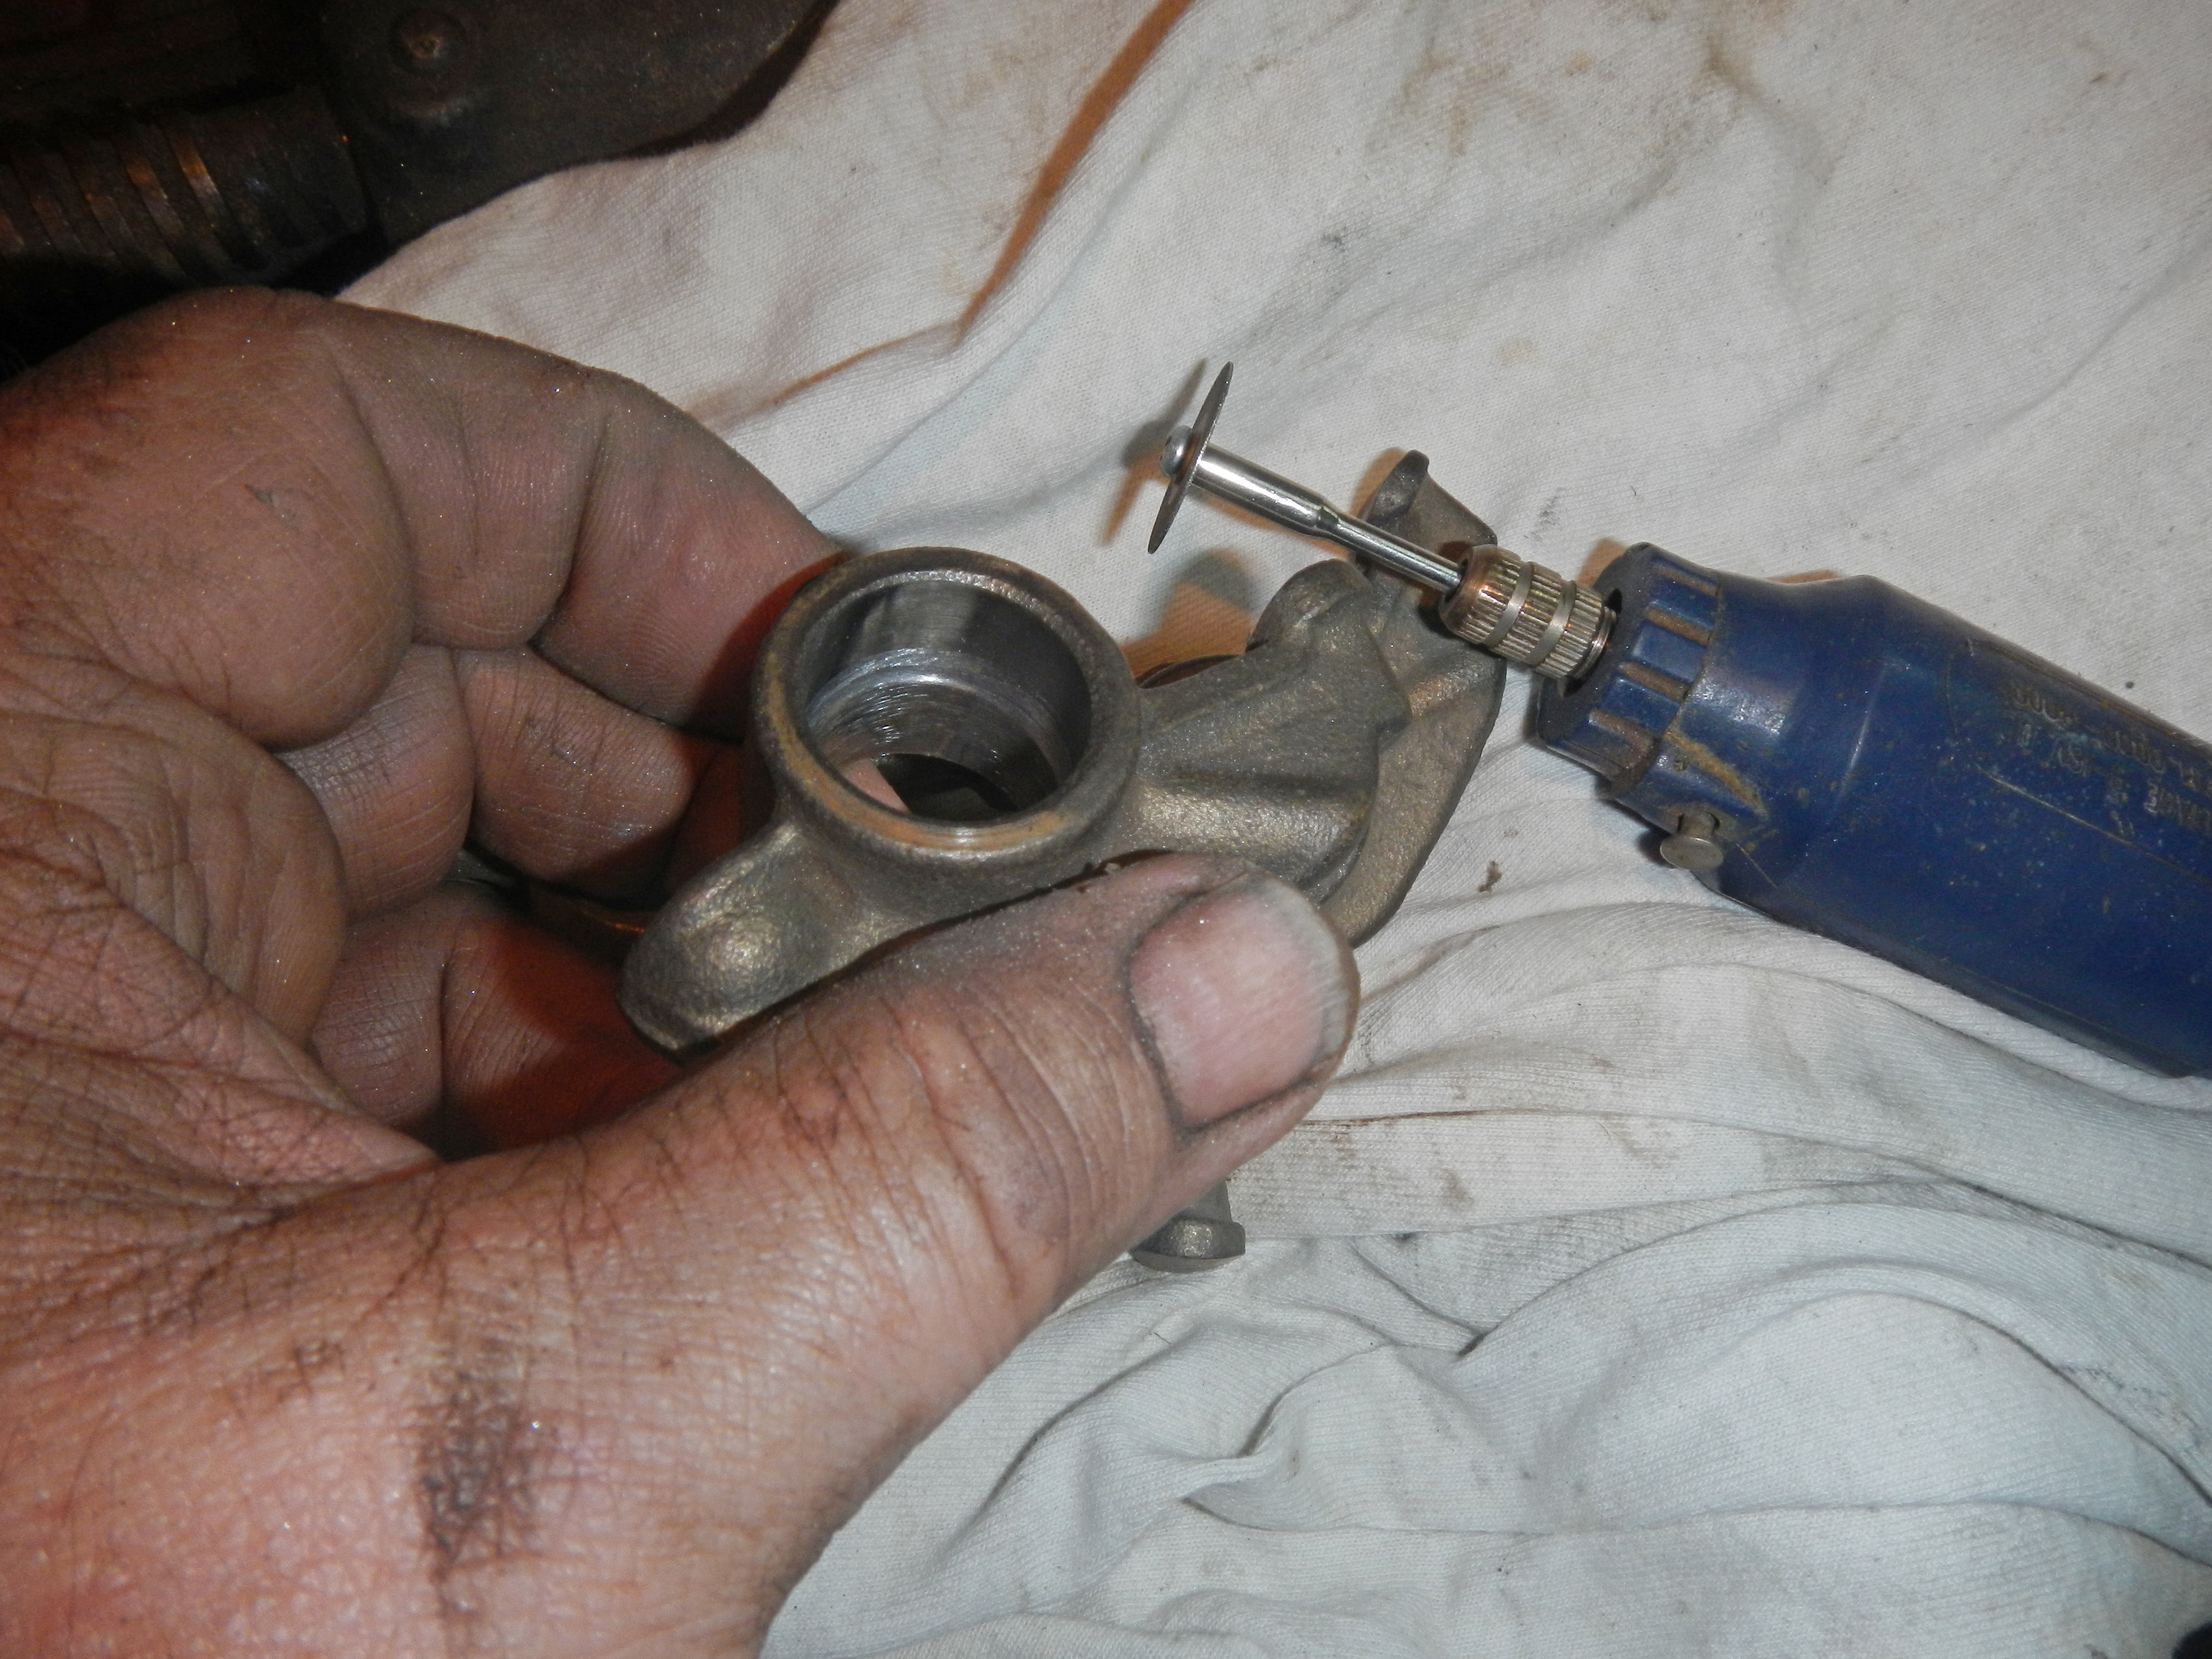
To remove the end plug, I drilled a hole and tapped it for a
#10-32 machine screw. Using a couple
washers and a claw
hammer, I simply pulled the plug straight out. To get the
opposite plug
out, I sent a long rod down the hole and pushed it
out. Save all your parts to be reassembled later.
Warning... The
inside contains dinosaur muck that will get all over you. It
resembles dirty but light grease
that stops oil flow to all
the rocker arms. This goo is nasty.
Please do not use a
bore brush! They always shed bristles that can quickly
ruin your overhaul. Use plenty
of solvent and a 'lintless' rag on a
stick then wash it out very well.
 #8
#8
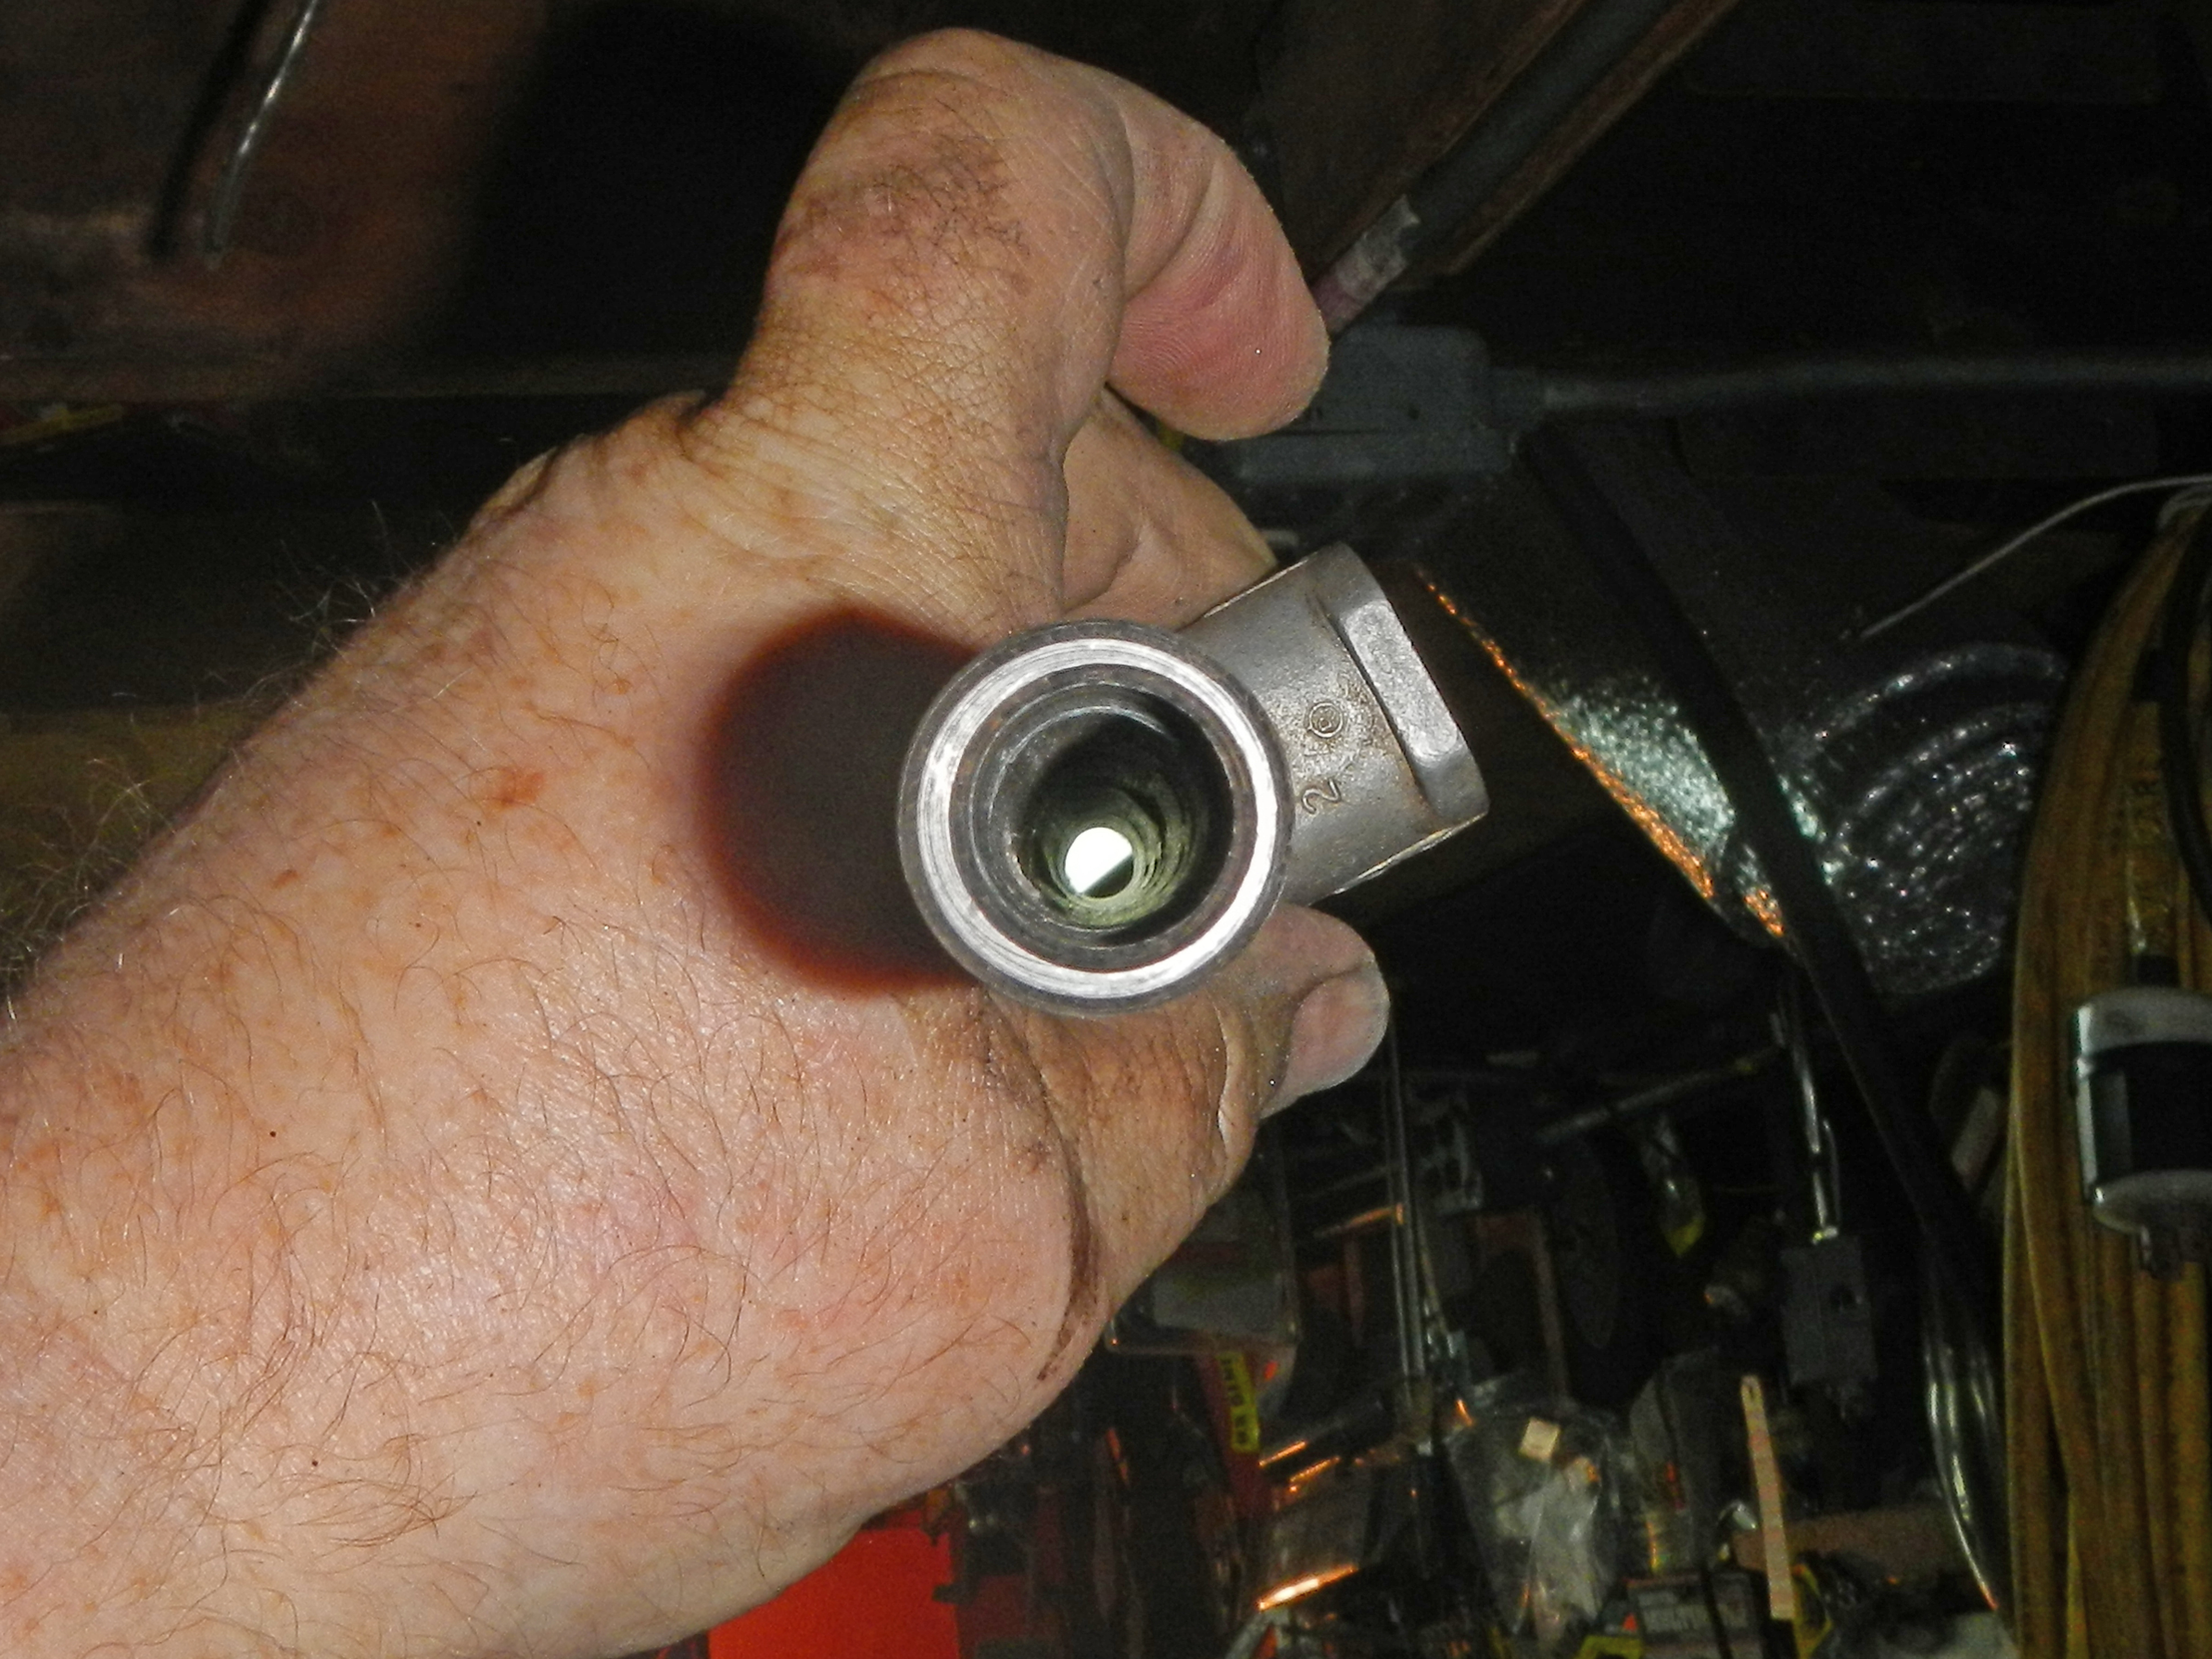
After a good cleaning, hold the shaft up to the light, and look.
ROCKER ARMS
 #9
#9
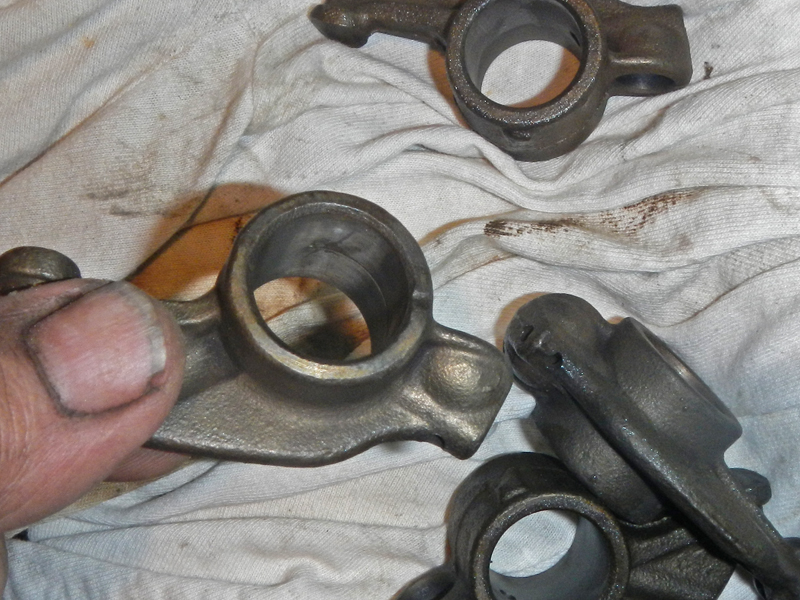
Clean the rocker arms and notice the oil groove inside.
Worn rockers have these grooves 'washed out'.
The groove
directs a small flow of oil from the shaft to the pushrod and
valve tip. Use a drill bit to hand-ream
the two holes, clean.
 #10
#10
I use a Dremmel tool with a diamond saw to regroove the rocker arm oil slits. Now they're good as new.
 #10a
#10a
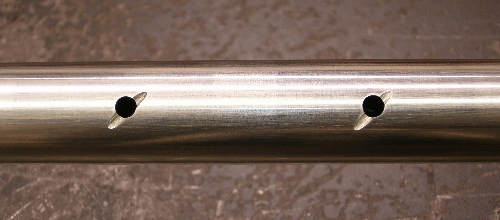
Draw your attention to these slots ground into the hardened shafts. They are there because some
rocker arms sit so far off they miss the oil hole on the bottom. This is the counterpart of those rocker
arm grooves. If you buy an aftermarket rocker arm shaft and these slots are missing, get a hand grinder
and put them in.
 #11
#11
I plug the tapped hole by leaving the screw all the way in. Knock the plug back
in the hole until it hits the stop.
 #12
#12
The round screw head neatly fits just under, but doesn't touch the cotter pin.
 #13
#13
Time to reassemble the rocker shafts. Remember,
laying next to each other, both shafts and arms
are identical.
One notch will face the
front on one shaft and the other shaft's notch will face the
rear.
 #14
#14
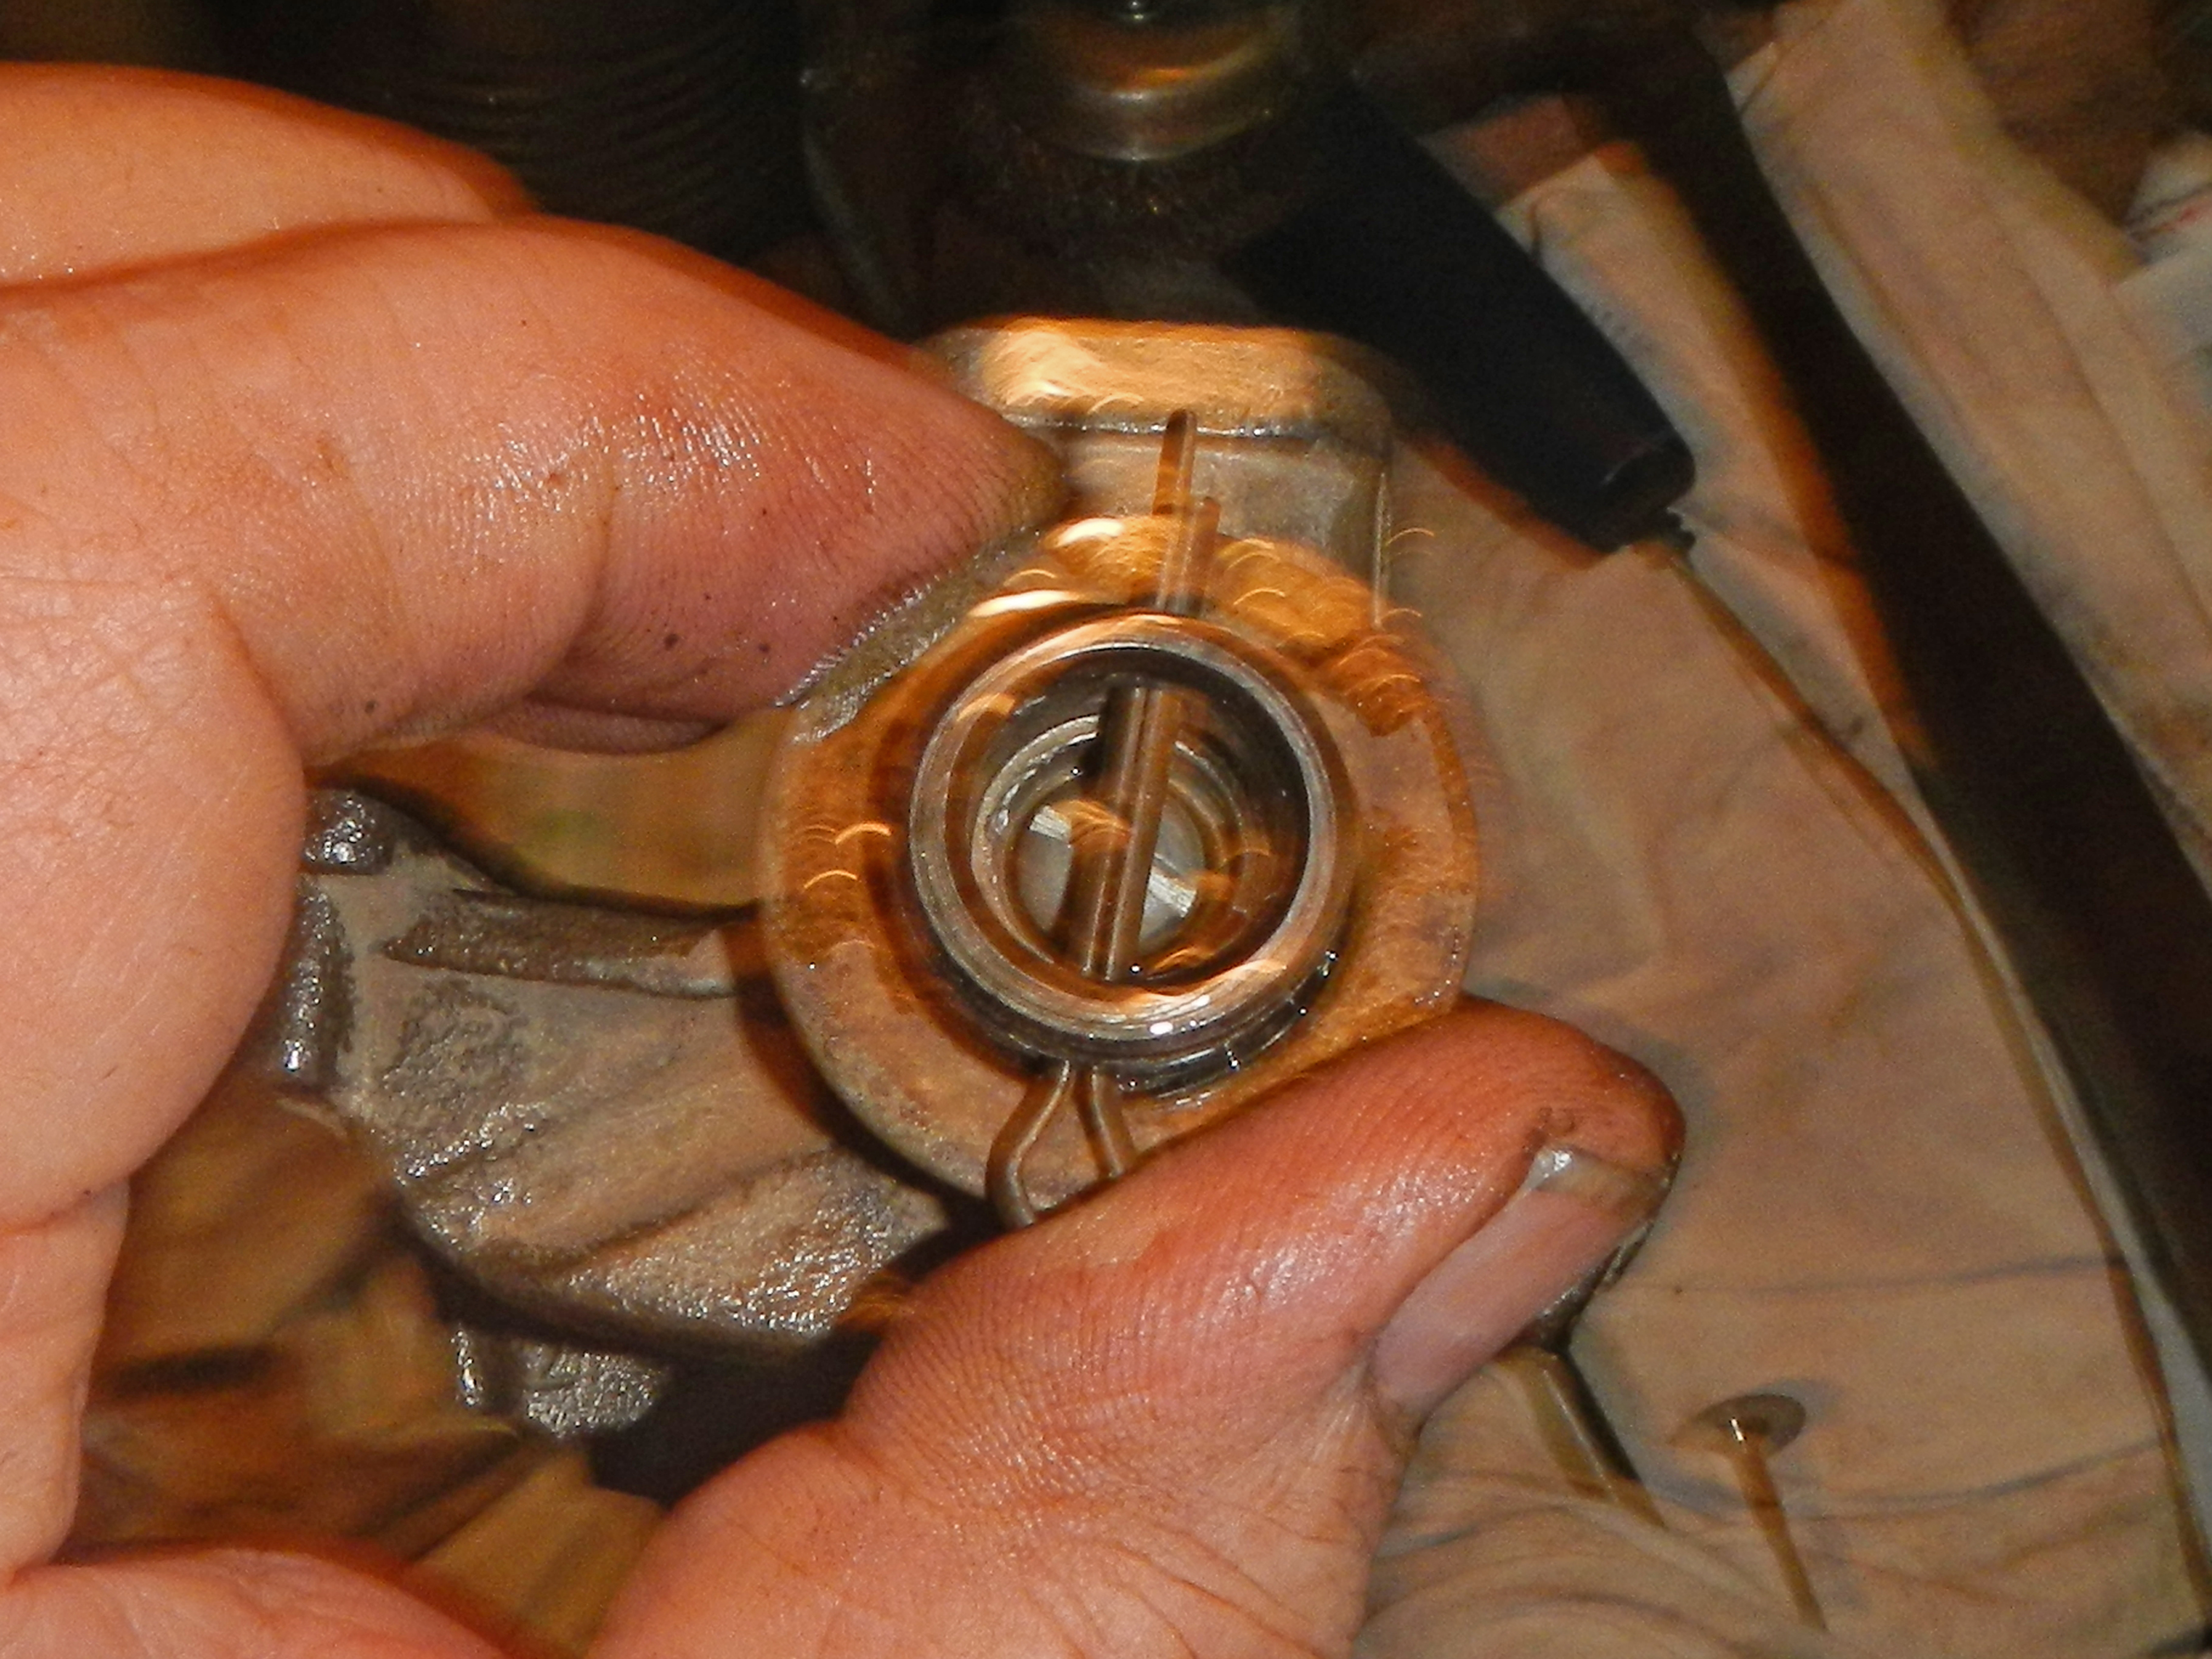
Now that the valve train is ready, BEFORE clamping the
rocker shafts down, it's important to measure
valve-to-piston
clearance.
This is a new setup with different pistons,
valves, lifters and pushrods. There is NO way to calculate
this
measurement beforehand. Notice the #1 spark plug has
an air hose fitting screwed in. I'm about to put
the piston on bottom, pressurize the cylinder and remove the
springs from #1.
Top of Page
or
CLICK HERE
to return to Home Page