 #1
#1
#1
 #2
#2
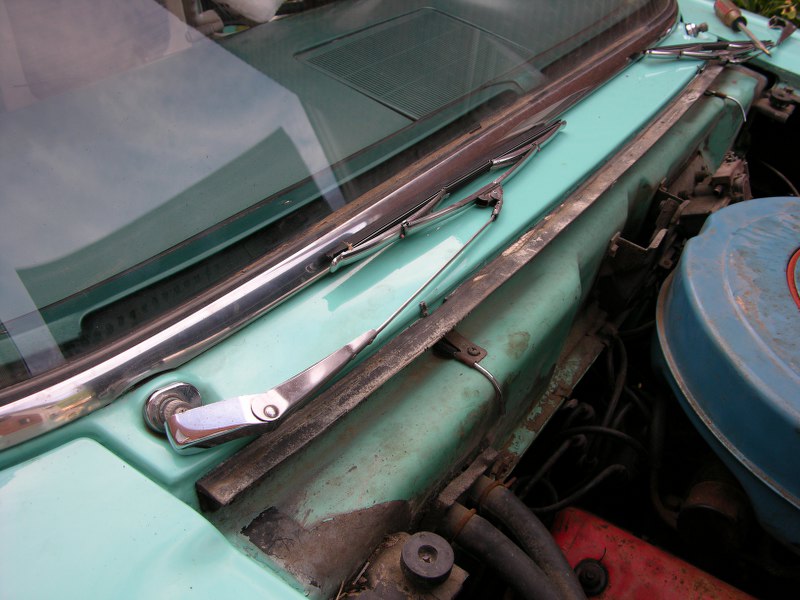
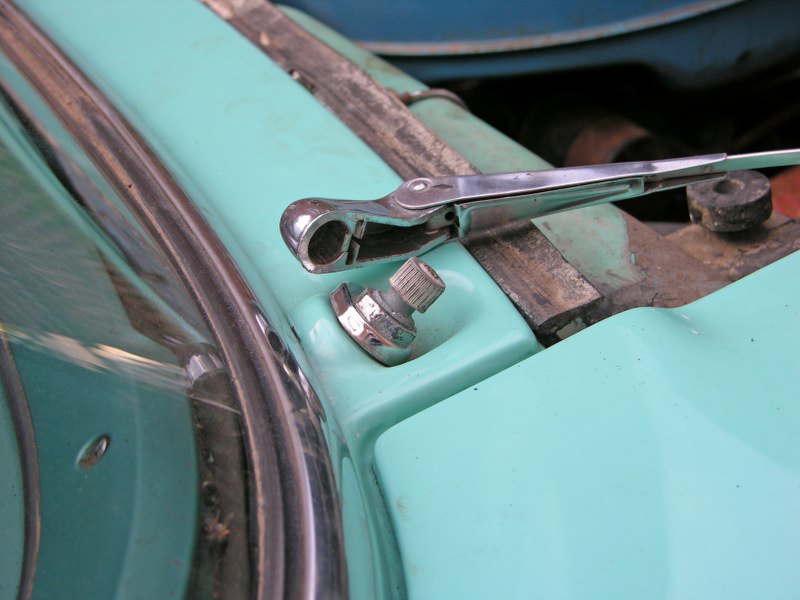
I took my wiper arms off before I started for two reasons:
1)
I don't want any mistakes or surprises,
2) I want to adjust the arms to the proper settings when I'm done.
 #3
#3
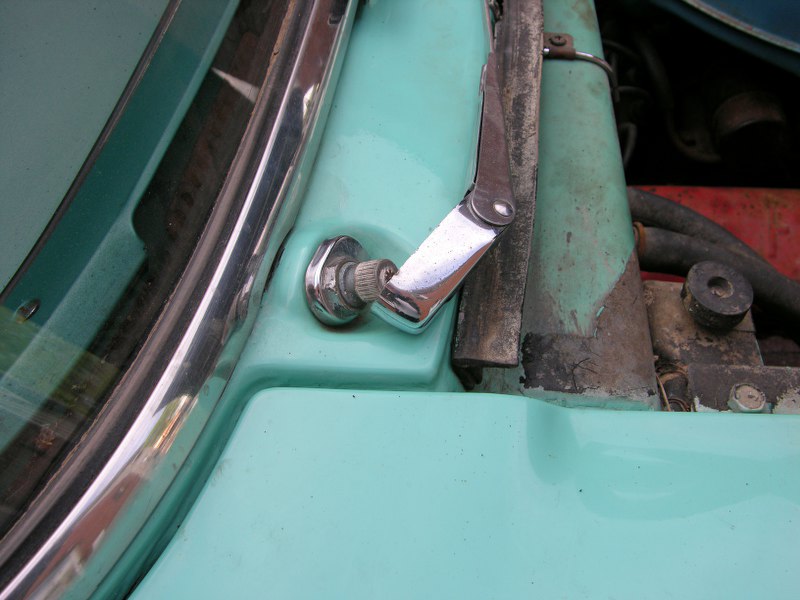
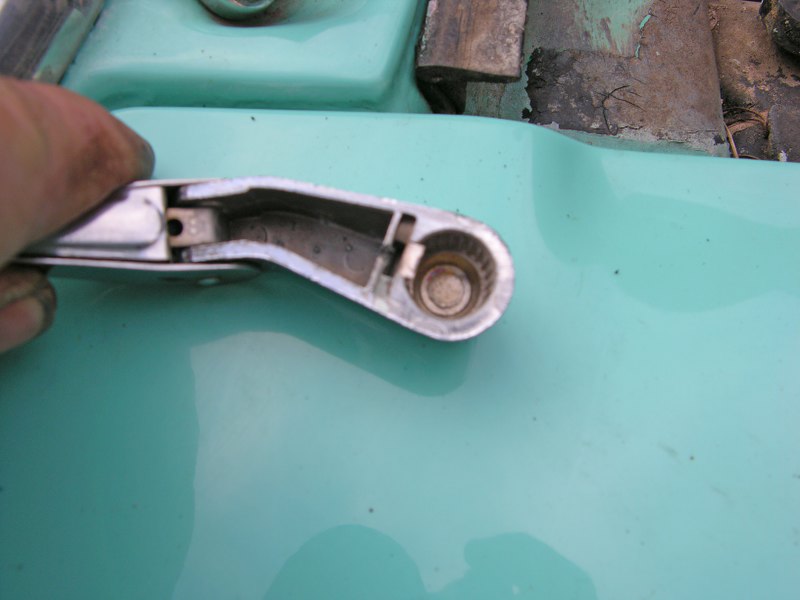
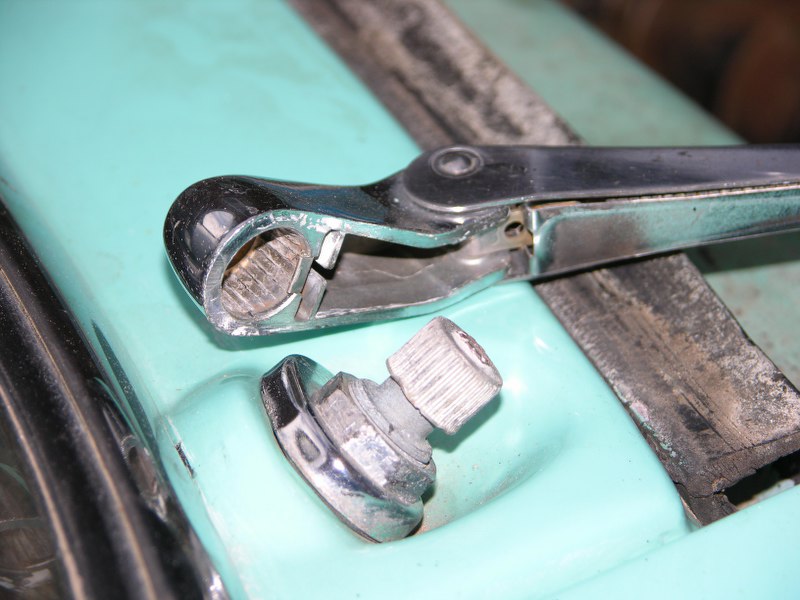
The little tang is spring loaded to hold the arm in place.
I pop the arms off using a big screwdriver.
If done carefully, you won't mess up the paint on the car, or the chrome on the
wiper pivot bezels.
 #4
#4
 #5
#5
 #6
#6
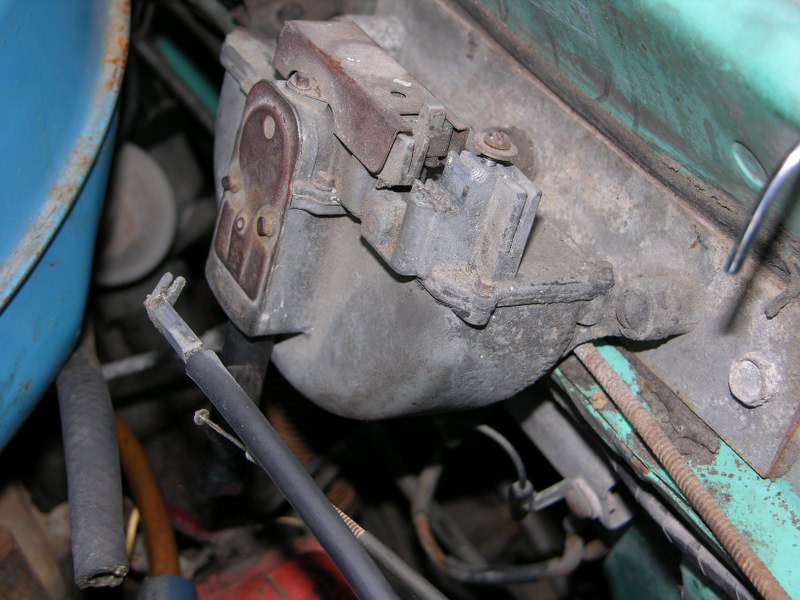
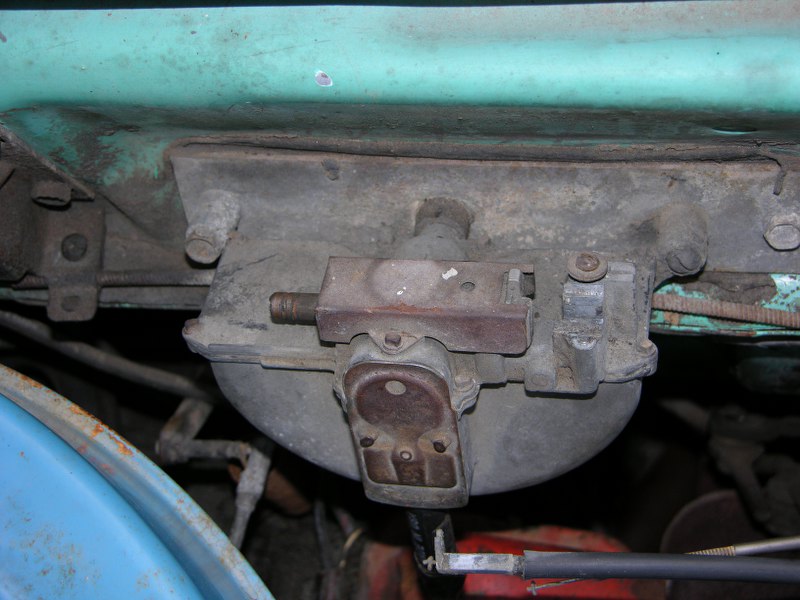
Finally, here is the Trico vacuum motor, held in by two bolts. Notice the
vacuum hose going to the
intake
Manifold.
There are two cables on top. One comes from the "WIPERS" dash knob, the
other from
the
'squish-bulb'
(mounted on the floor).
 #7
#7
Both cables are held by one screw. The vacuum line is pulled off.
 #8
#8
 #9
#9
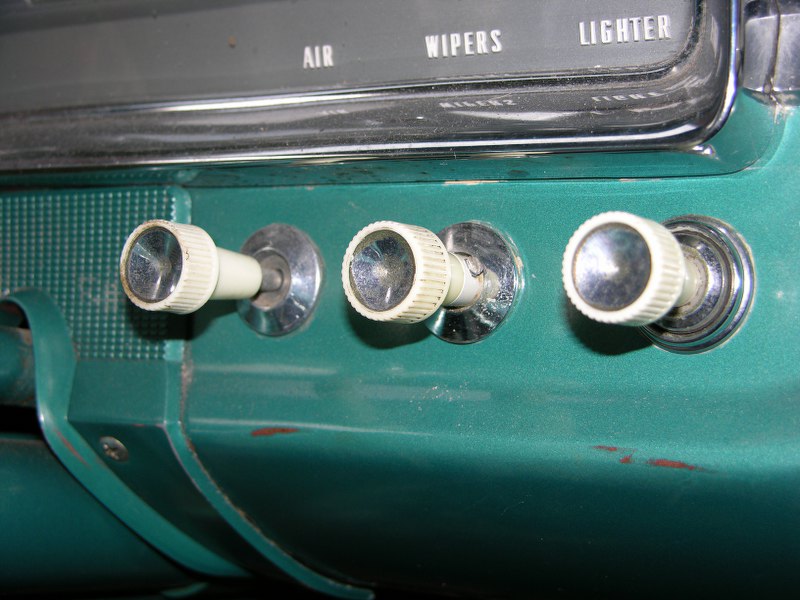
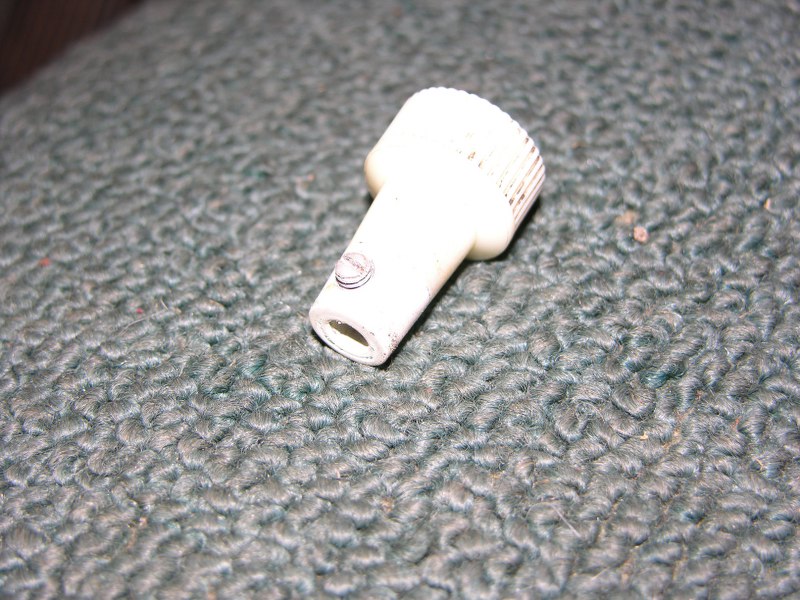
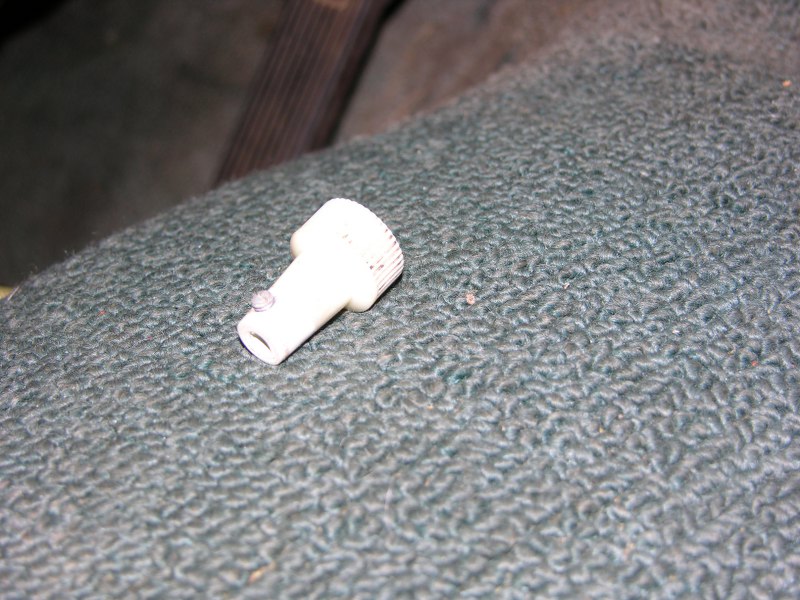
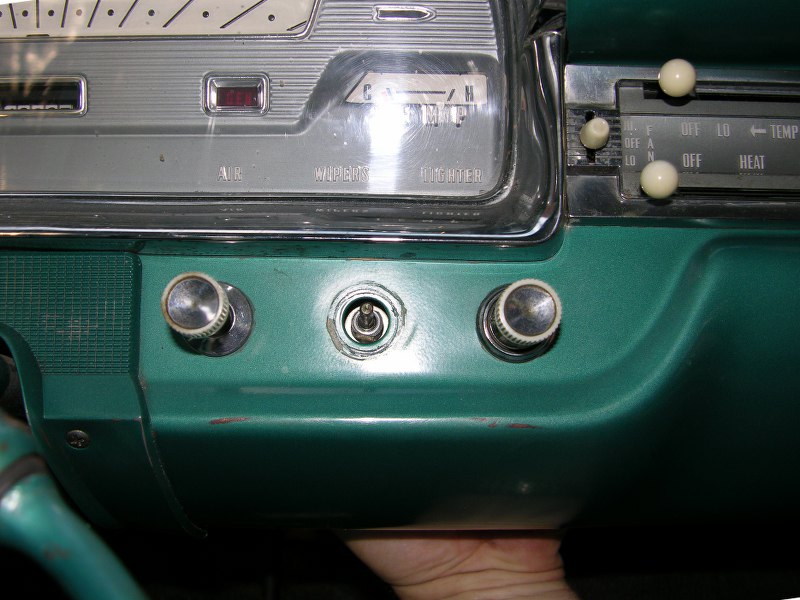
Here's the knob and bezel, ready to be removed.
 #10
#10
The knob is held by one simple slot-head set screw.
 #11
#11
 #12
#12
With the knob removed, it's time to remove the bezel.
 #13
#13
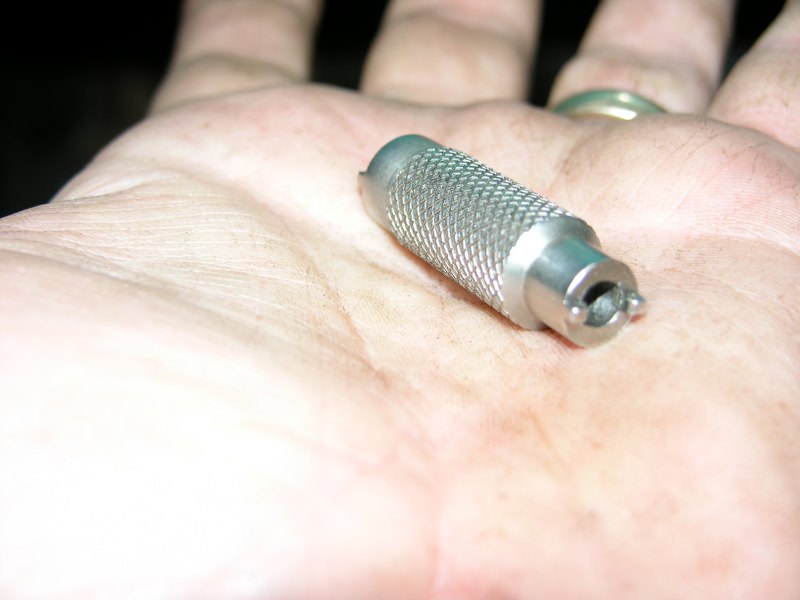
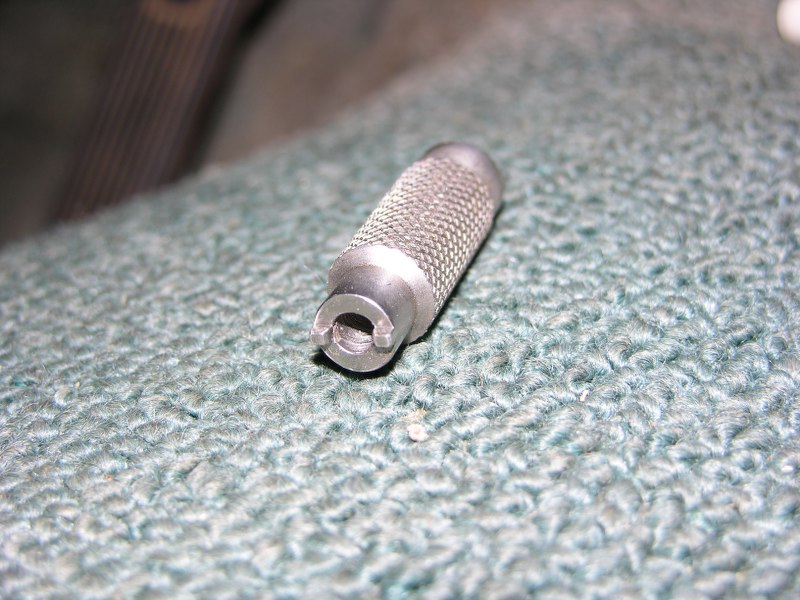
This is a dash bezel tool. It's made of stainless
steel and I sell them on eBay. Notice the
tool
must have a hole deep enough to go over the knob
shaft.
 #14
#14
 #15
#15
"The right tool for the job" means no mistakes and no scraped dash paint.
 #16
#16
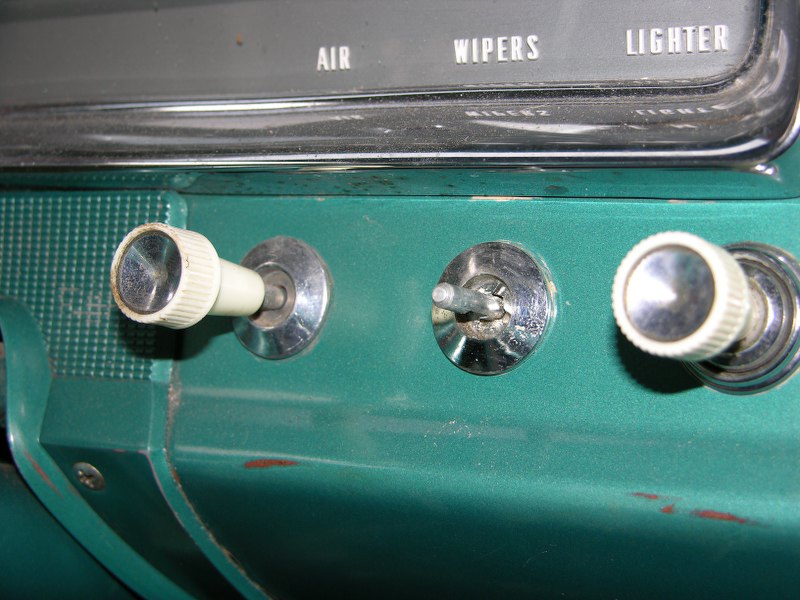
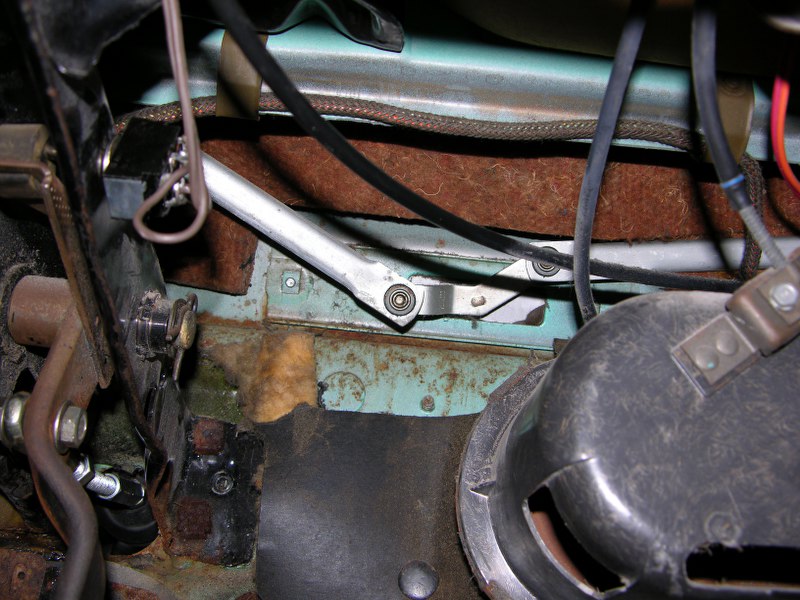
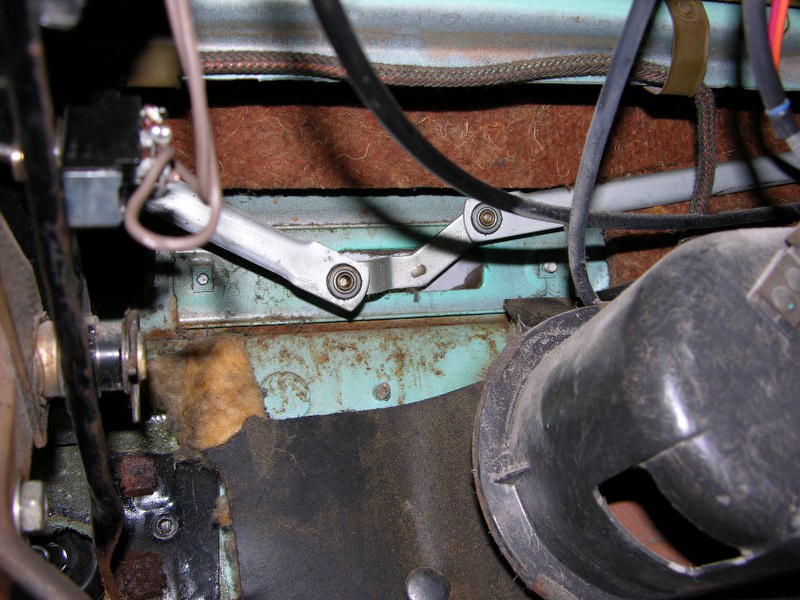
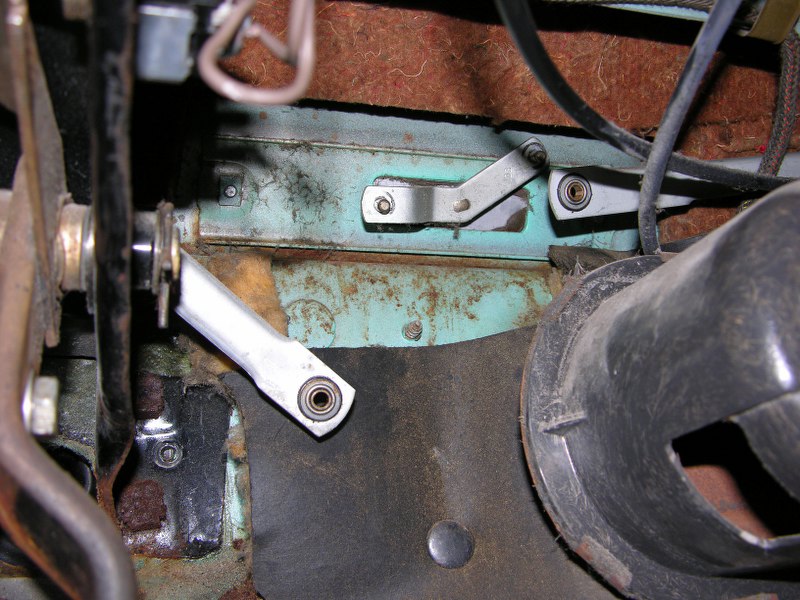
Here's a good shot of the wiper arms, brake pedal assembly, and heater duct.
 #17
#17
 #18
#18
I have disconnected the wiper motor arms by pulling out two small clips.
 #19
#19
 #20
#20
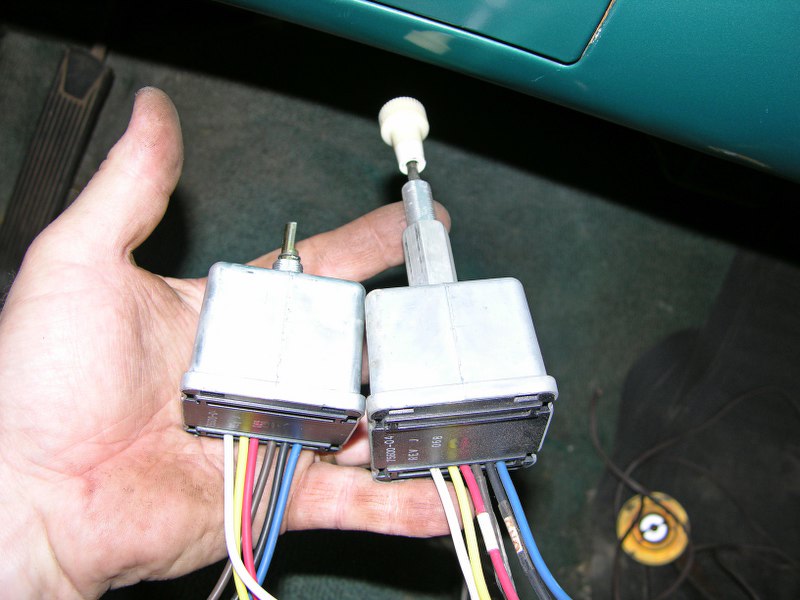
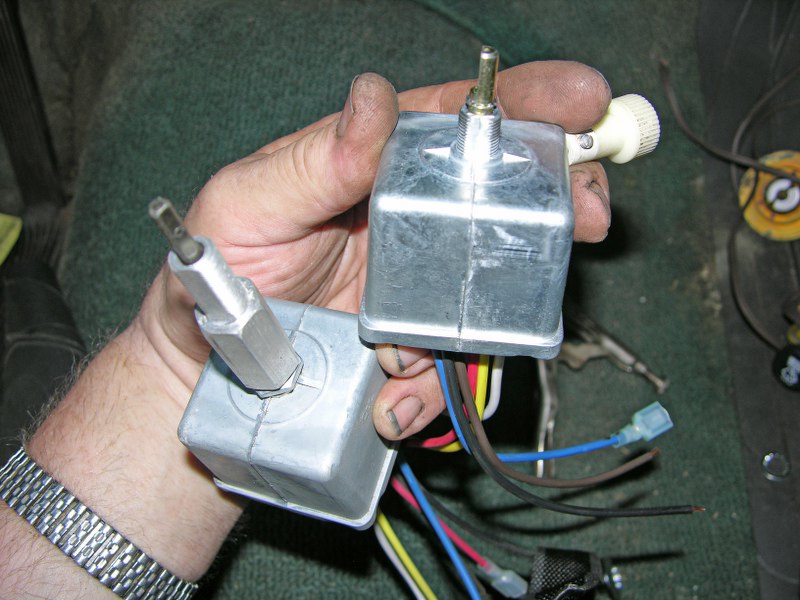
Here are two 'interval wiper controllers' from New Port
Engineering, located in Missouri. I ordered
the complete kit specifically for this car, and they assured me that I didn't
need the knob extension.
What a pack of lies! I happened to have a controller with the extension
for my '55 Customline,
so I used that until the new parts arrived (for an extra $20). New Port
said these switches are
purchased parts that they don't make. Great! I probably could have
got them at a better price
somewhere else. Anyway, the switches have several functions; Hi, Lo,
Interval, and when the
button is pushed in, a switch passes +12-volts out the brown wire for the
squirter motor.
 #21
#21
 #22
#22
 #23
#23
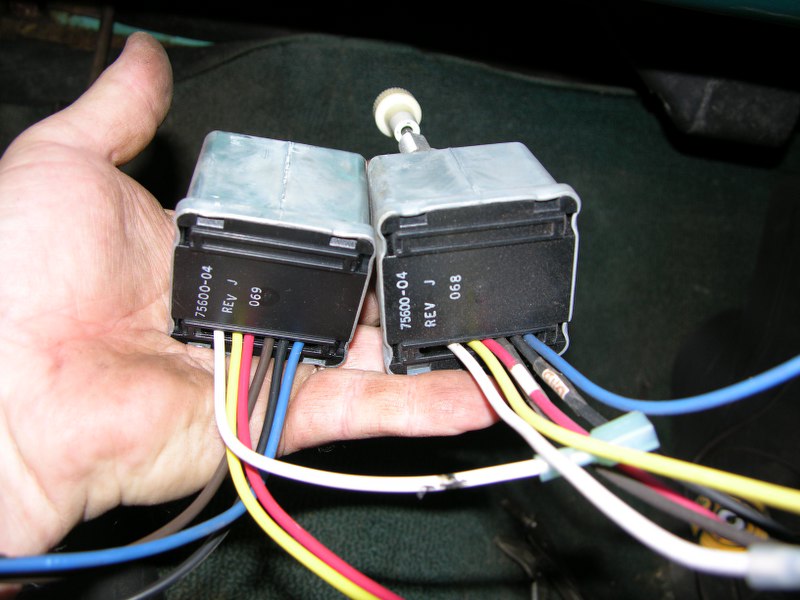
This cranked me a bit. The short controller has a
fatter stem and will NOT fit my dash knob
Notice the long extension is smaller at the end? It DOES fit my dash knob
without any problems.
 #24
#24
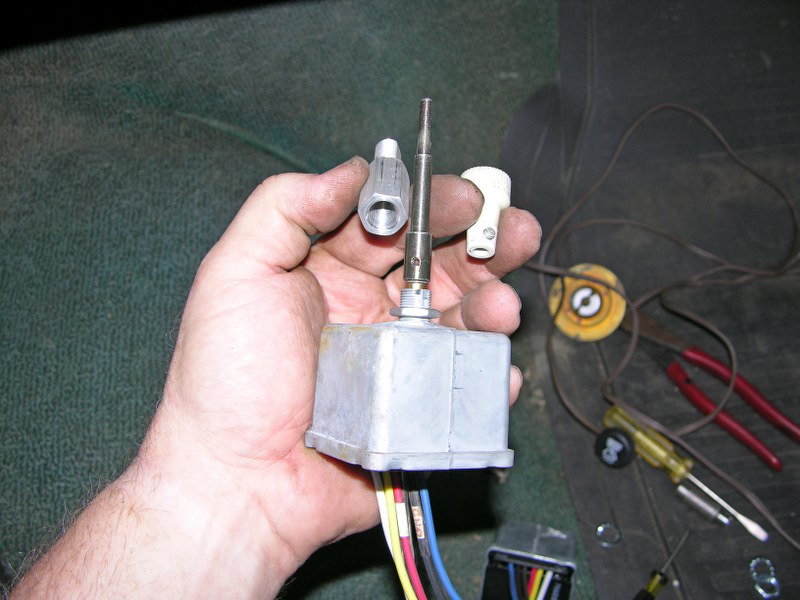
The new stem gets a nut in front AND behind.
 #25
#25
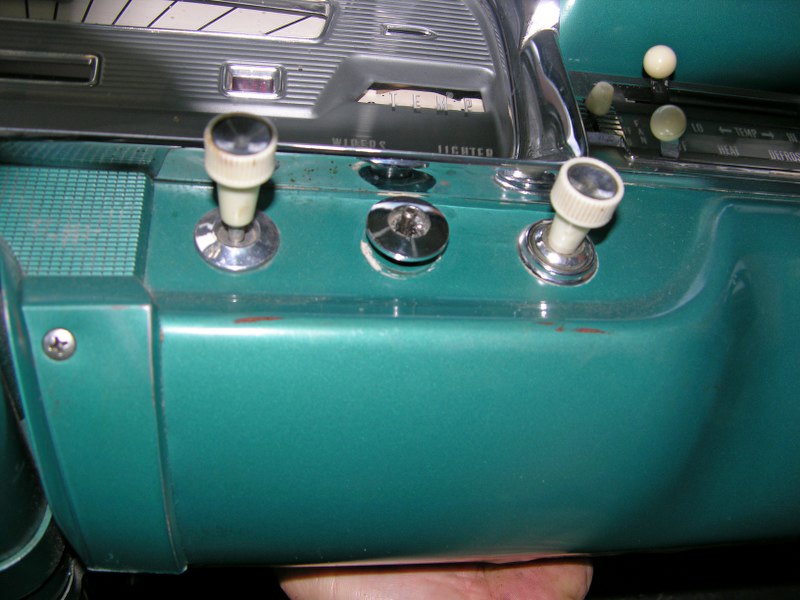
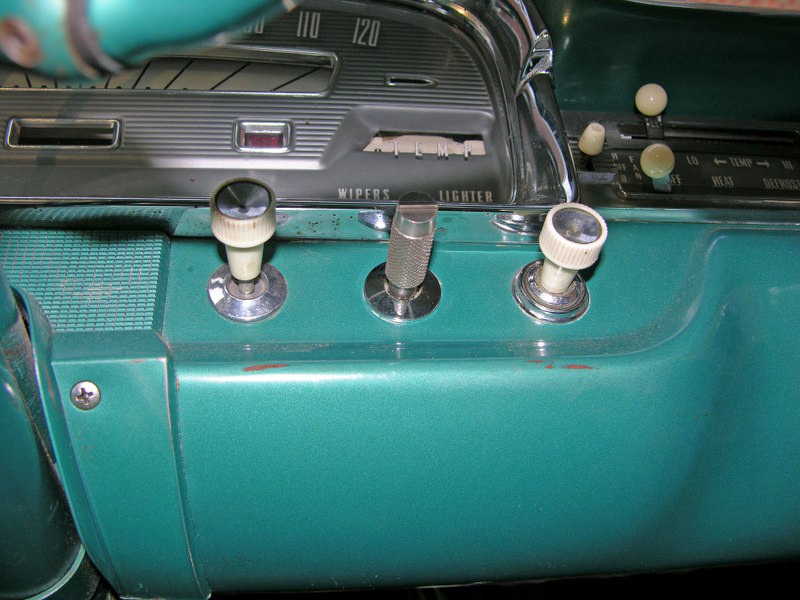
A close-up showing the nut and more threads for the bezel.
 #26
#26
Dash bezel is loose, ready for the tool. (Notice,
the tool must have a deep hole to fit over the stem.)
No problem, here.
Another close-up.
Now, ready for the knob...
Care is taken, not to put the knob on too far (there's
plenty of room), or the squirts won't push in.
The new motor is very strong and works like a charm.
 #27
#27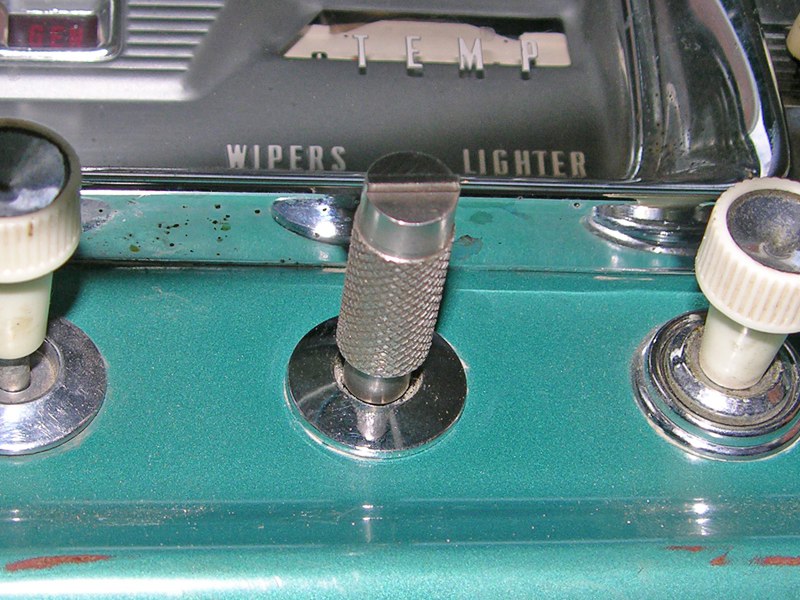 #28
#28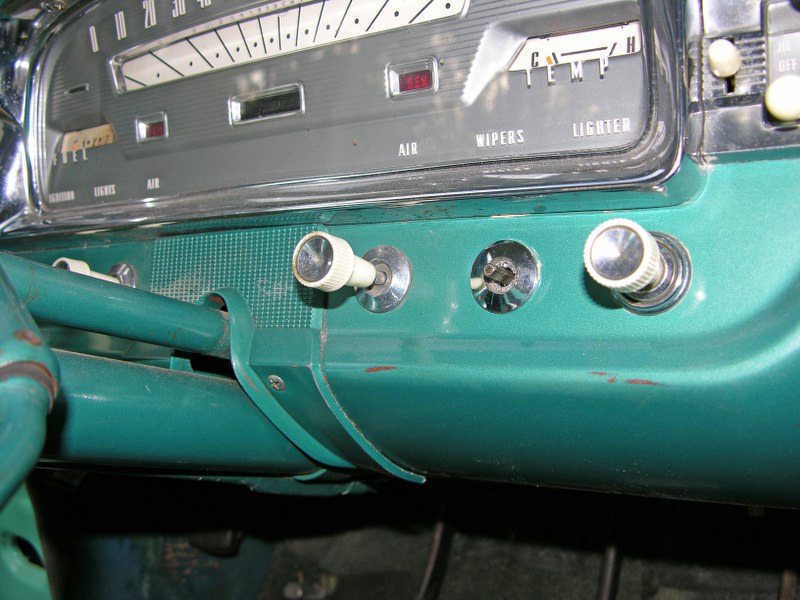 #29
#29 #30
#30
Wiring is easy because all the connectors are push-on. The hardest part
was trying to find a place
to attach a solid ground.
 #31
#31
I took this picture as I was
disconnecting the engine. Notice the tools
on the intake manifold.
The carburetor linkage and the power booster
vacuum hose are already disconnected. A new
292
with a Cruise-O-Matic is waiting to be stuffed.
I also installed power rack & pinion steering.
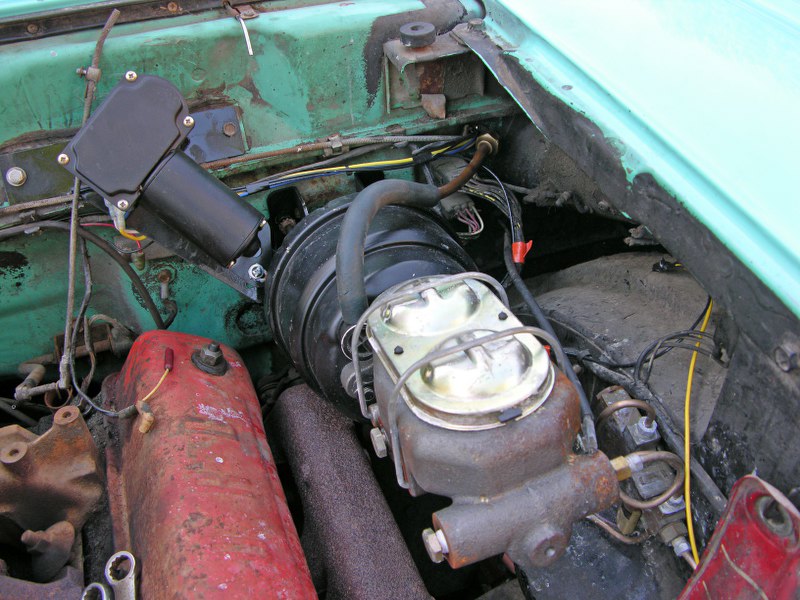
Here's the wiper motor after it has been installed
for a while. I was amazed how well it fit considering
the power brake booster's size. Actually, the wiper motor is tucked behind the booster with plenty
of clearance. Now, all I have to finish is the washers. I have an old washer bottle and
motor from a
Ford Tempo. In the Spring, I will tackle that.