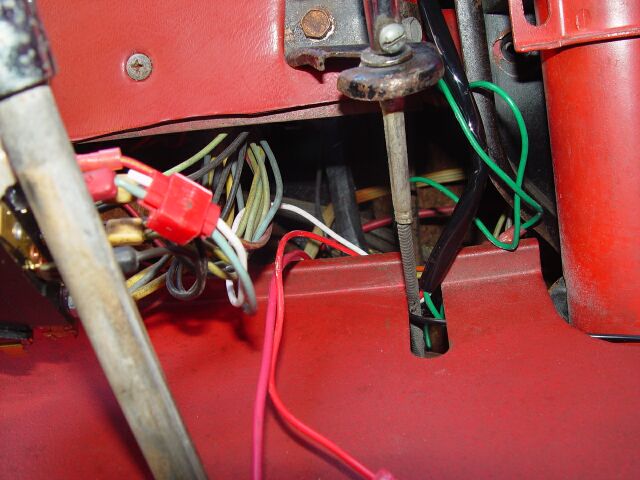
Red: power source
Green: negative coil
White: instrument dimmer
Black: ground
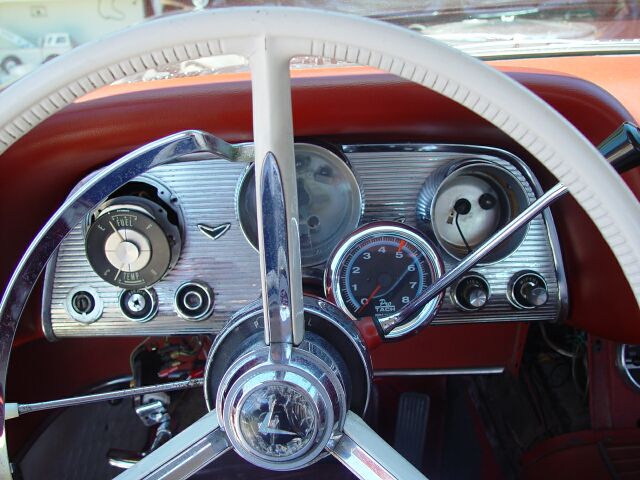
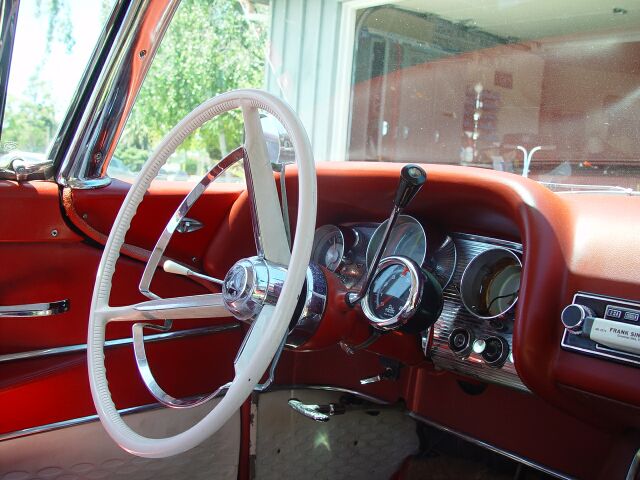
First, select a location for the tach. Since I want to keep the original clock, I chose to mount the tach to the steering wheel. As shown, I can see the upper part of the right turn signal indicator, and if I lean a tad to the right, I can see the generator light. Note that my speedometer and clock are off getting professional repair.
I placed the tach on the column, and ran its wiring harness through the dash underneath the speedo gauge. To connect the tach, you'll need to access the headlight switch. Remove the fuel/temp gauge. On the right hand side of the headlight switch, you'll see a spring loaded button. Use a screw driver to press this in, and pull out the headlight switch knob. Once the knob is removed, you can unscrew the bezel, and back the switch out underneath the dash:
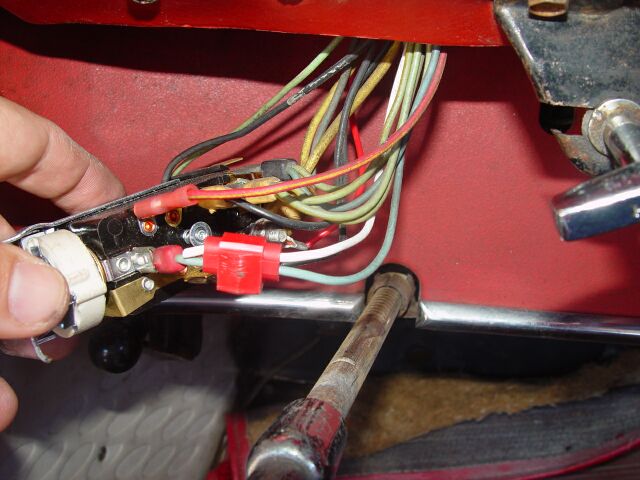
Here you can see the white lead from the tach spliced onto the instrument light wire. In the rear of the picture, you can see the red lead attached to the 12V power on the back of the switch. This will run the tach, but drain your battery, so forget that I ever mentioned it.
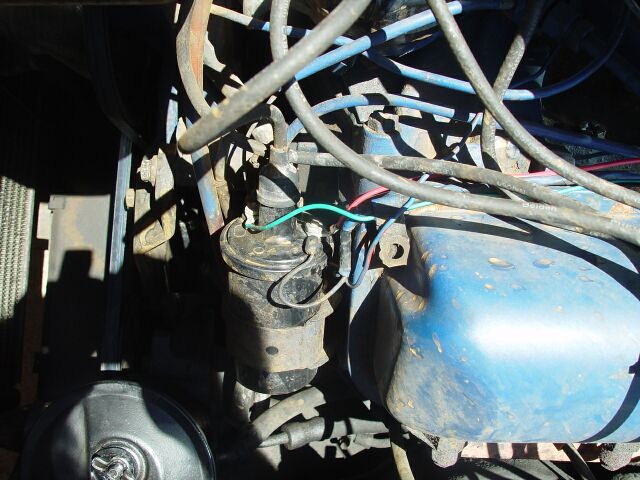
The green wire from the tach needs to be attached to the negative terminal on the ignition coil, and the red wire needs to be attached to a switched 12 V line that is only on when the ignition is on. I ran wires from the negative and positive terminals on the ignition coil under the dash, and connected them to the green and red wires from the tach. Note that it is much easier to push wires through the firewall from the engine side. Here's a picture of the green and red wires attached to the coil:
The final lead is the black ground connection. You'll want to find a good ground here or the tach may behave erraticly. I grounded my tach to the rear of the speedometer bezel. Now everything's back in place and we're ready to roll.
And, finally, a gratuitous picture of my bird:
