REPLACING THE REAR SHOCKS
By Eric Taylor ~ DKheld
This procedure applies to all three years of Squarebirds, with leaf springs, provided your 1958
has been modified for leaf springs and does not have the OEM rear coils. (1958 with coil springs will be different)
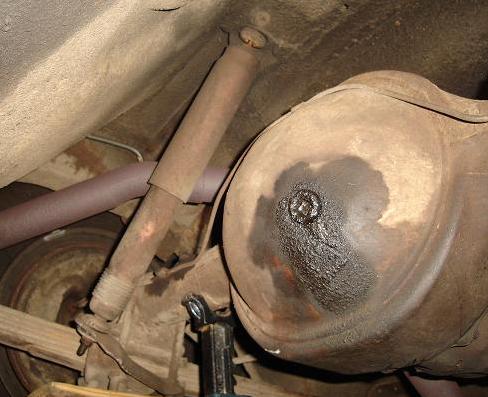
Old Sears Allstate shocks probably 30 years old.
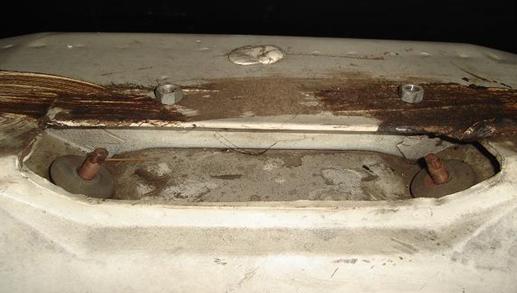
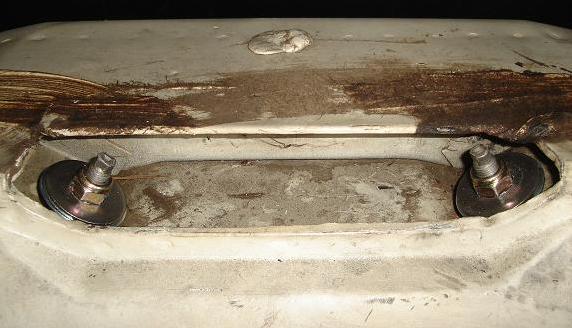
The top shock mounts are accessible just above and behind the spare tire inside the trunk.
Go ahead and get the spare tire out so you can pull the mat out of the way to remove the top shock mounting nuts.
In this case it was necessary to hold the shock stud with a wrench while taking the nut off.
Remove the lower shock mounting bolts. (for easier access you will probably find it necessary to jack up the car
and support it by the rear axle using jack stands).
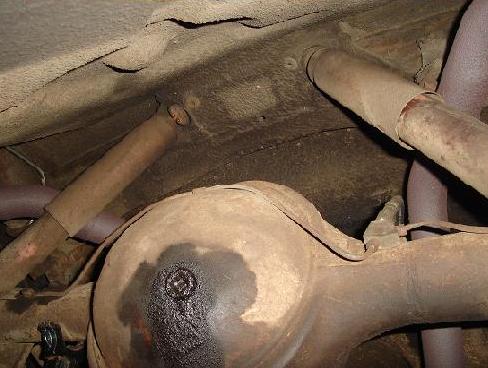
Depending on the brand of shock you may need a strap wrench or similar to keep the shock stud from spinning
After removing the nuts the old shock should pull right out.
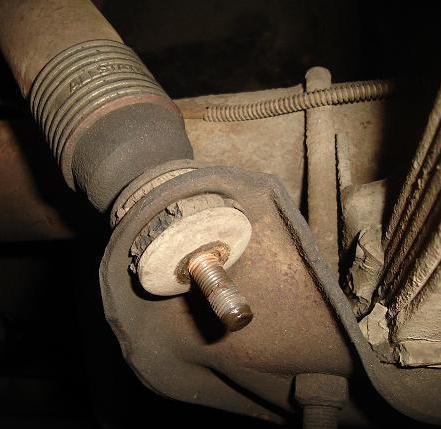
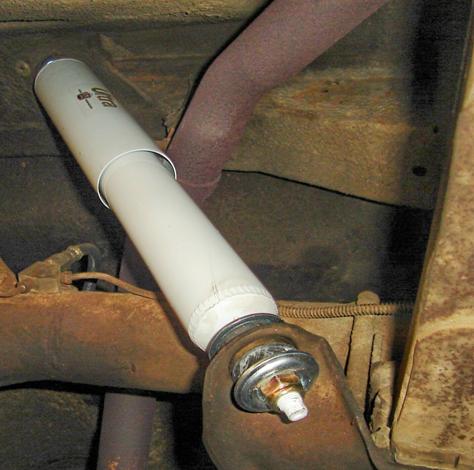
I decided to go with the Gabriel Land Rover replacements. Although not shown in the picture
they will compress to nearly the same length as the replacement Allstate's that were on my car.
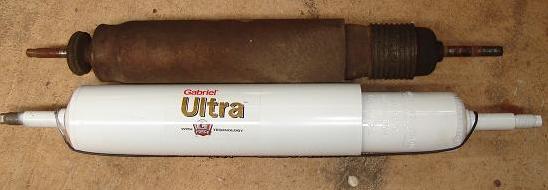
Notice below the end studs are much larger on the Gabriel shocks than the originals no worries -
there is plenty of room on the Thunderbird shock mounting points.
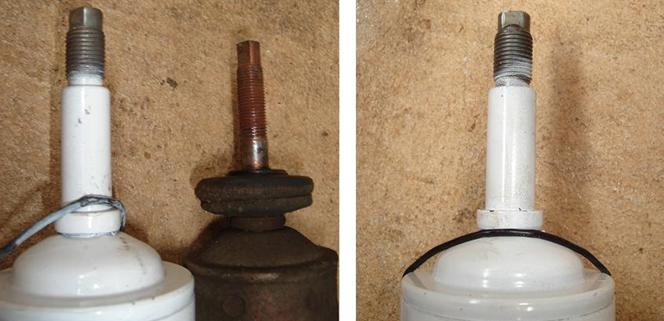
Also notice the wires holding the new shocks in a compressed state are riding up over the lip of the stud.
You may want to leave these wires in place while mounting as I did to keep the shocks compressed.
If so move the wires down off the stud so they don't get in the way when installing the bushing washers.
There are a couple of different bushing washer combos you can use. It might be obvious when installing
on the Land Rover but you'll just have to decide what combo is best for your Tbird.
Re-using the originals is not an option. The two large washers on the right fit together to make one.
The new lower center washer will not slide over the full length of the shock stud so it must be used as an outer washer.
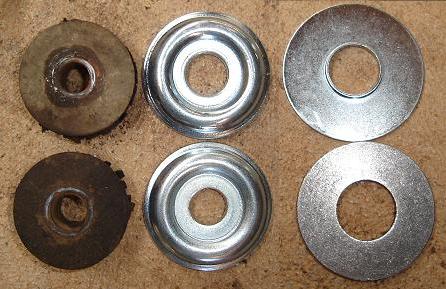
Shown below the new washer with the smaller hole is on top (although both washers are upside down
according to the picture on the box). I thought they were closer to how the originals were shaped using them this way.
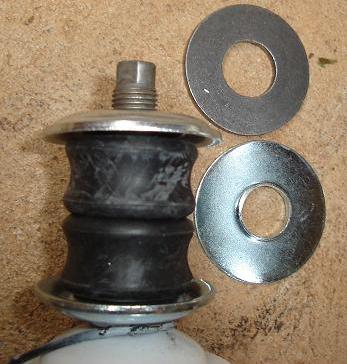
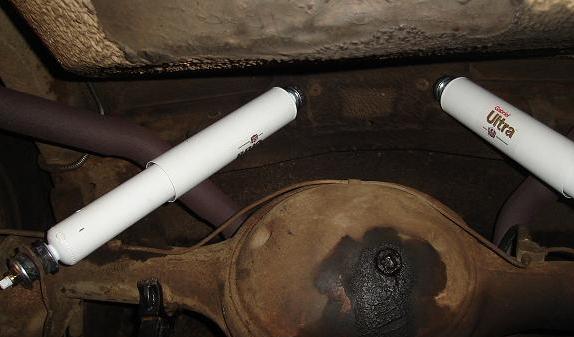
Of course you only need to install one bushing on each side of the mount both bushings and washers
installed in this picture for reference.
I installed the top portion of the shock first using the two stackable flat washers inside the trunk so that
the bushings would compress tightly.
With the shocks in position - I installed the first lower washer and bushing on the shock - cut the wires loose
compressing the shock and let the shock expand into the lower shock mount.
Finish up by installing the lower bushing, washer and nylock nut.
Ready for a test drive!
Created: 1 April, 2015
Last Edited: 1 April 2015
Email: webmaster@squarebirds.org
Return to Squarebirds Home.