![]()
Installation of a 1958 1959 1960 Thunderbird Detent Plate
These are instructions for installing a new detent plate which are available through Squarebirds.org. This will help keep your car more securely in park and allow for more precise gear selection. If the hole for the roll pin on your shift collar is oblong or enlarged, you need to replace this piece also. If the end of your shift lever is rounded off, this also needs to be repair. Both of these pieces are available in reproduction from the vendors..
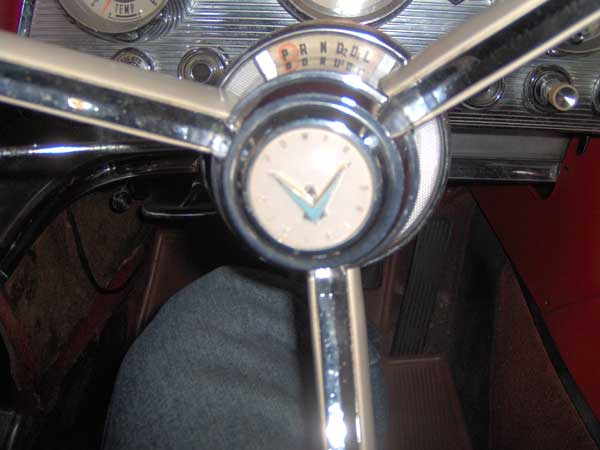
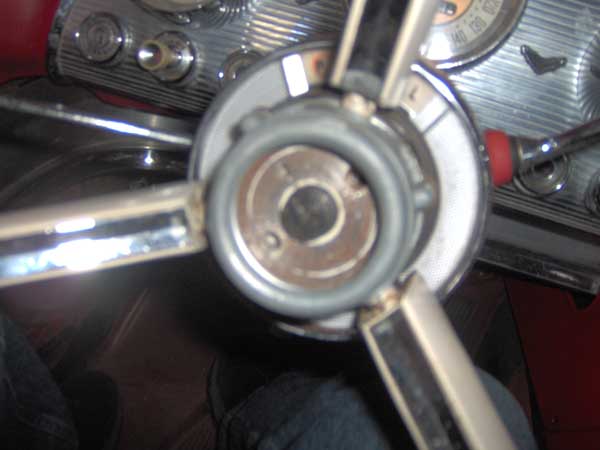
This
is your starting point. Make sure your parking brake is on and your wheels
are chocked, as you will be removing the device that keeps your car in park.
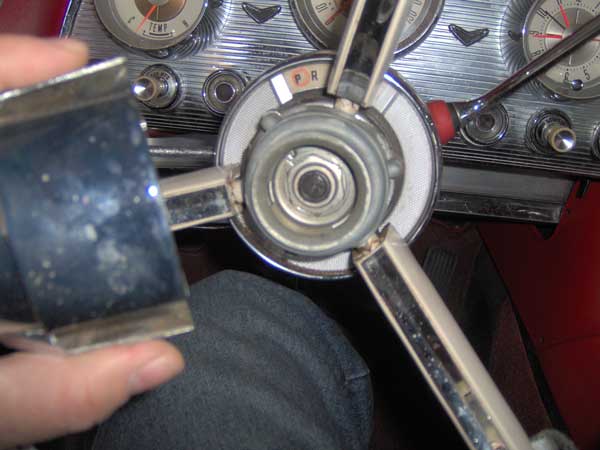
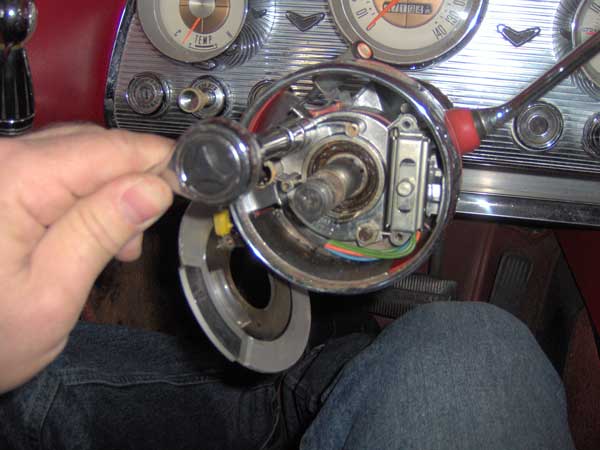
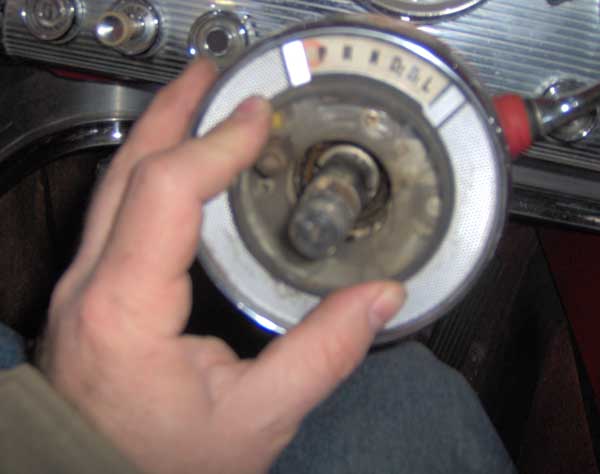
Pull off the center of the steering wheel.
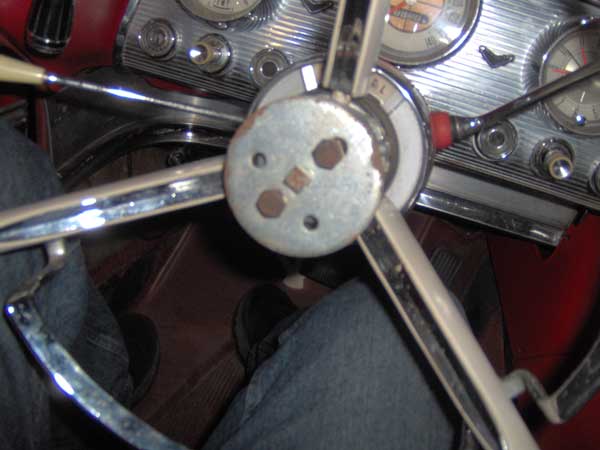
Scribe with a screwdriver or awl a mark towards the hole on the deep dish washer,
so you will know in what position to reinstall the steering wheel.
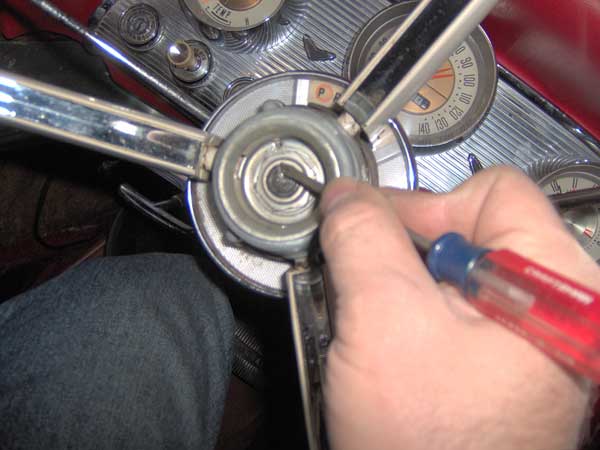
Remove the center nut using a 15/16 inch deep drive socket.
Upon removing the nut and the deep dish washer you will find two threaded holes
on either side of the center threaded rod.
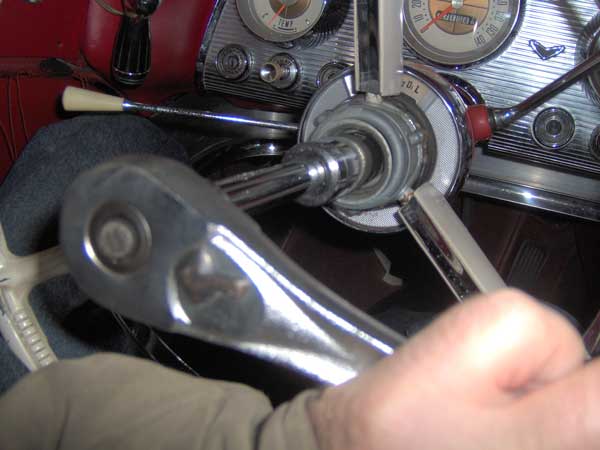
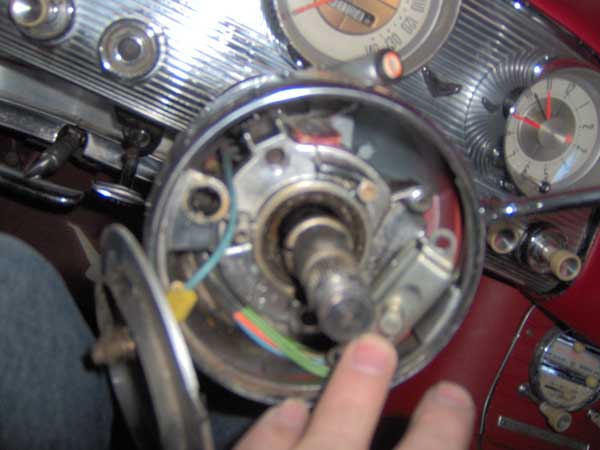
Thread the bolts of a steering wheel puller into the threaded holes. Use the
correct bolts. Turn the center bolt of the puller to pop the steering wheel
off. Remove the spring under the steering wheel.
Remove the screws at 9 o' clock and 1 o' clock holding the plastic shift indicator.
Lift off the plastic piece from the bottom.
The plastic shift indicator will remain attached by the horn wire. Unscrew
and remove the turn signal lever. Remove the spring on the turn signal switch
with a small screwdriver. Keep one finder over the spring to prevent it from
becoming a projectile. Pull out the plate assembly for the turn signal switch
( It connects the turn signal lever to the turn signal electrical switch.
Remove the nuts at 11 o' clock and 5 o'clock. Unscrew the turn signal electrical
switch.
Loosen and remove the center bushing by wedging and spreading the slot on the
bushing. It should take minimal force. It has a radial slot. Place a screw
driver in the slot and tap on the handle end of the screw driver with you
hand so as to rotate it. It just slides onto the steering wheel shaft. After
is freed up and can rotate, place the screw driver under the lip of the bushing
and pry it up a little. At this point, the bushing can be seen and delineated
from the other parts. Now just slide the bushing up the steering wheel shaft
by hand until it comes off.
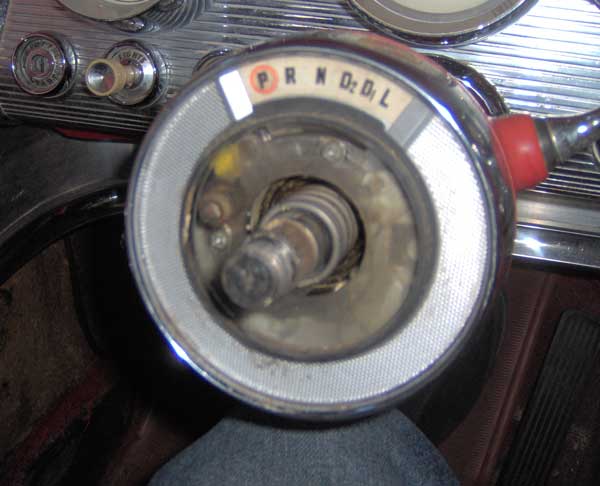
Open up and remove the shift indicator light access plate.
Unscrew the shift indicator light and move out it out of the way. Remove the
second screw which holds down the white shift indicator plate. Remove the
shift indicator plate. Be careful not to let these screws drop into the shift
column.
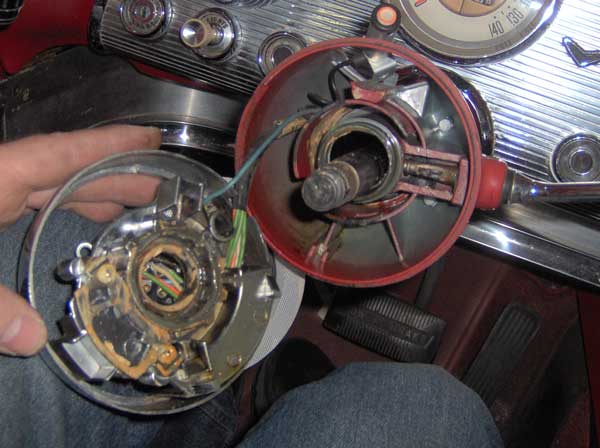
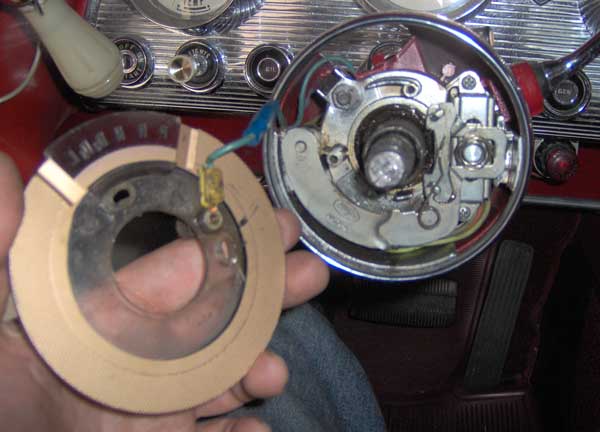
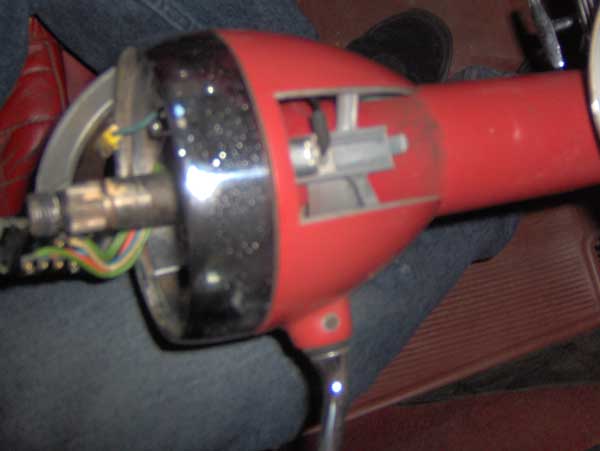
Pull forward the chrome shift indicator flange. Be careful not to lose the
two square head bolts which held down the chrome shift flange.The detent
plate is seen here on the chrome flange plate at 7 o'clock. Remove the two
screws
holding
down
the detent plate and remove the detent plate.
Reinstall the pieces in the reverse order. One tip on reinstallation: put in in the square head bolts into the chrome shift flange and then thread on the nuts a few threads.This will help prevent you from losing your mind when the bolts fall off into the shift column.
The two bolts with square heads at the 11am and 5pm position: They hold the flange to the column. When reinstalling the chrome bezel (which has the detent plate on the back), the two square heads need to go into the two square slots in the steering column tube at the 11am and 5pm position. When the chrome bezel is in place and the two bolts have the nuts run on them only about the thickness of the nuts, hold and wiggle the bolts as you tighten them so that the square bolt heads go into the slots. The bezel has stops that prevent the bolts from turning. As you tighten up the two nuts, the chrome bezel will tighten up against hemispherical shaped part of the steering column by sucking down the bezel to the steering column/square slots. The two bolts hold everything tight. If they are not secured in the two slots, everything will be loose and the shift lever will no go into the detents. And you cannot see if they are in the slots, you just have to feel it by the successful tightening of the assembly as you turn the nuts. It might be easier to have the shift lever in the large neutral slot for the bezel re-installation rather than the very small slot in the detent for Park as you try to tighten and hold everything at the same time.
While everything is apart, lubricate the bearing on the flange with bearing grease and put some lubricant on the detent plate. Remember to reinstall all the parts including the spring under the steering wheel. Torque down the steering wheel center nut to 40-60 foot-pounds.
Before tightening the screws holding the plastic shift indicator, rotate the plastic shift indicator so that the circle surrounds the "P" for Park. Off course your car should be in park when doing this.
Instructions by Alexander Sosiak with additions by Bill GWP.
Photos by Alexander Sosiak