![]()

*This procedure can be accomplished without removing the brake shoes but I found it a bit easier with them out of the way.
Of course – safety first! Chock the front wheels. Jack up the
rear of the car and support with jack stands. It will probably be
necessary to use the jack to lift the body for removal of the rear
tire. I used the front leaf spring mount as my body lift point
however the original bumper jack would probably work depending on
how high you have your jack stands set. Remove the fender skirt
first if you have those on your car.
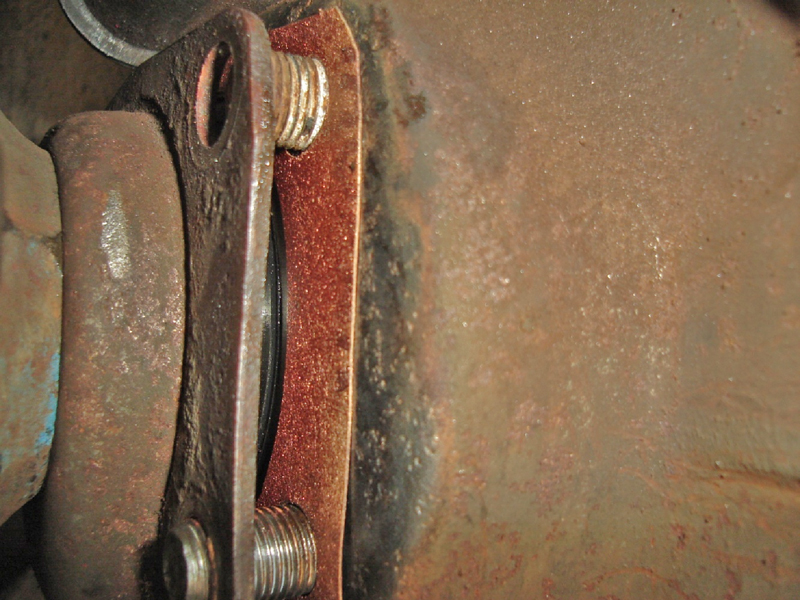
1. 1. Remove the tire/wheel then release the emergency brake to remove the drum. Remove the brake hardware* however the wheel cylinder need not be removed.
2. 2. Remove the 4 bolts behind the wheel flange that are holding the bearing retainer in place. They can be accessed with a socket wrench via the hole in the wheel flange or from the side with a standard wrench if the brake hardware has been removed.
2.
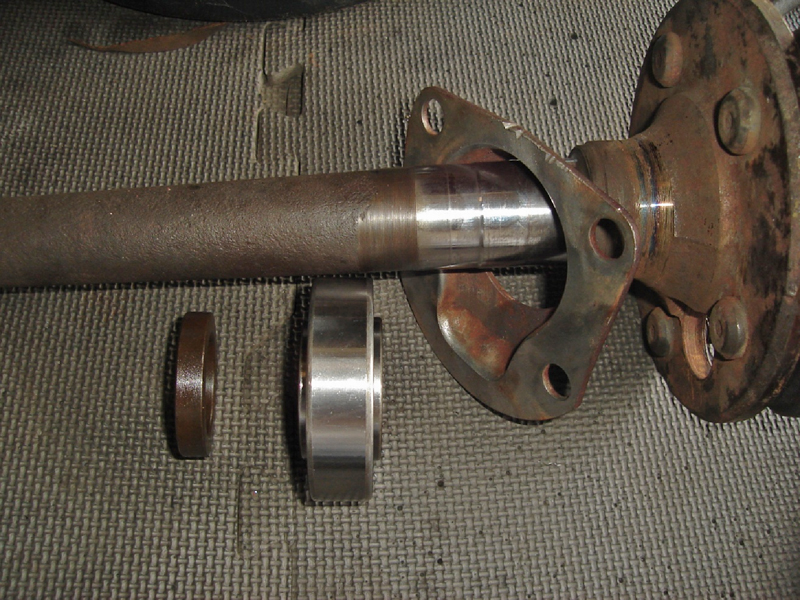
3. Using an axle puller remove the rear axle.
1.
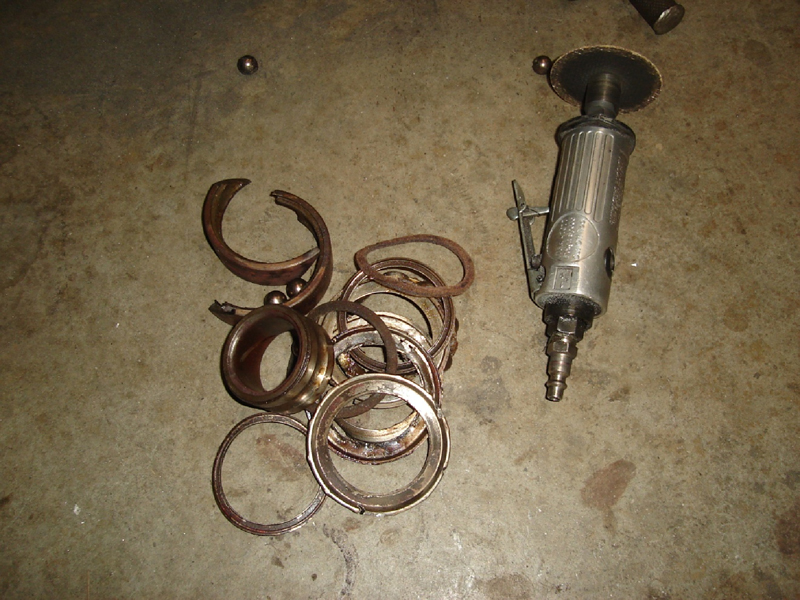
4. Once it’s out remove the spacer and bearing from the
axle. It may be necessary to have a machine shop press them off. As
an alternative they can be cut off however care should be taken not
to damage the axle when cutting them - particularly the oil seal
surface.
1.
5. Using a seal puller remove the old oil seal.
1.
6. Clean the oil seal and bearing surfaces inside the axle
housing. Might need some Scotchbrite to loosen the really stubborn
stuff. I used a brass wire wheel to clean the outside flanges for the
paper gasket.
1.
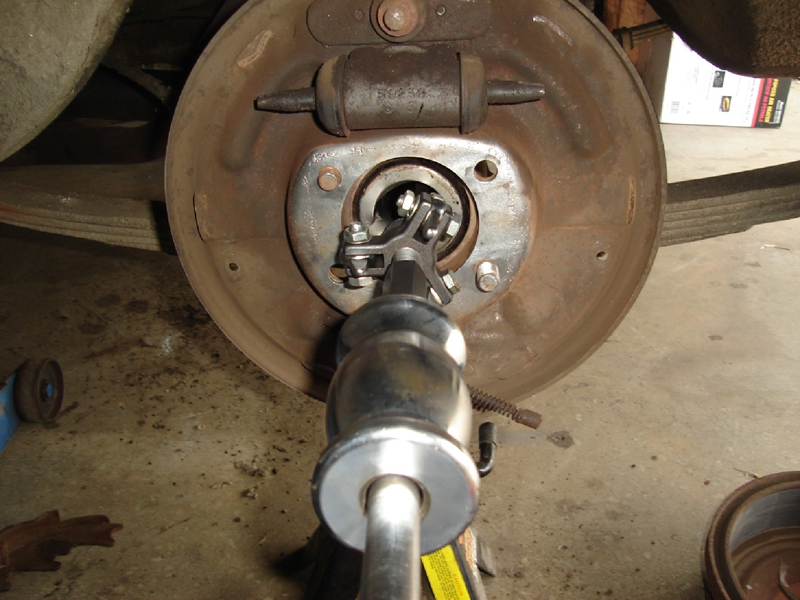
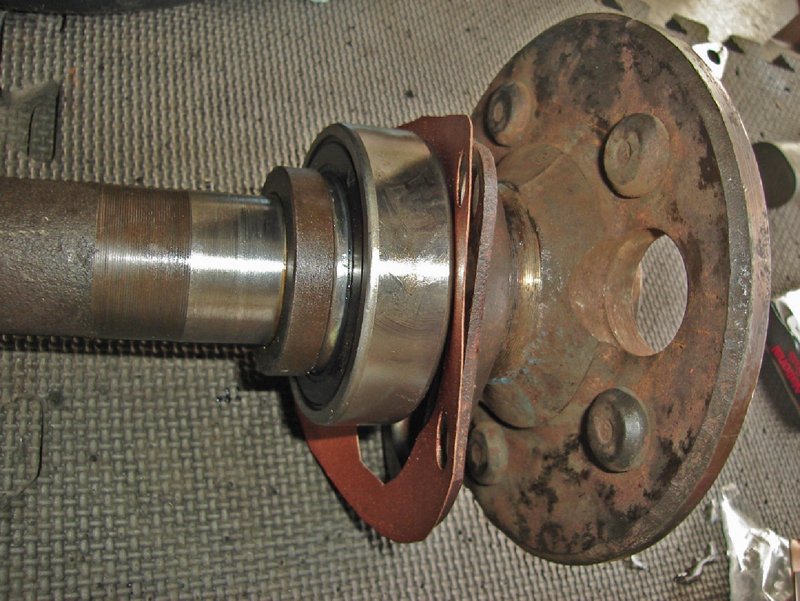
7. Install the new seal using a bearing driver or an XXL
socket. I used a National part # 51098 seal. Pre-lube the inner seal
flange with high temp grease where it will be riding on the axle.
1.
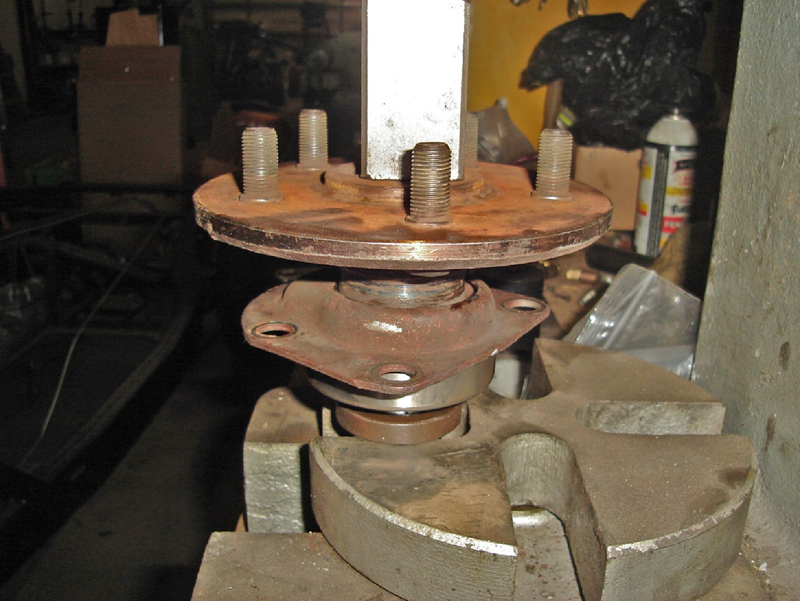
8. Install the bearing retainer, bearing and spacer using a 20
ton arbor press or similar. It may be necessary to have the machine shop
press these on if you don’t have a big press. Very important – don’t
forget the bearing retainer. If you forget the retainer you’ll be
cutting off your new bearing to re-install that forgotten retainer. I
used a National bearing part # 514003. My paper gasket for the bearing
retainer fit over the bearing so it was not necessary to have it in
place before I pressed on the bearing and spacer. Might double check
your gasket though just in case.
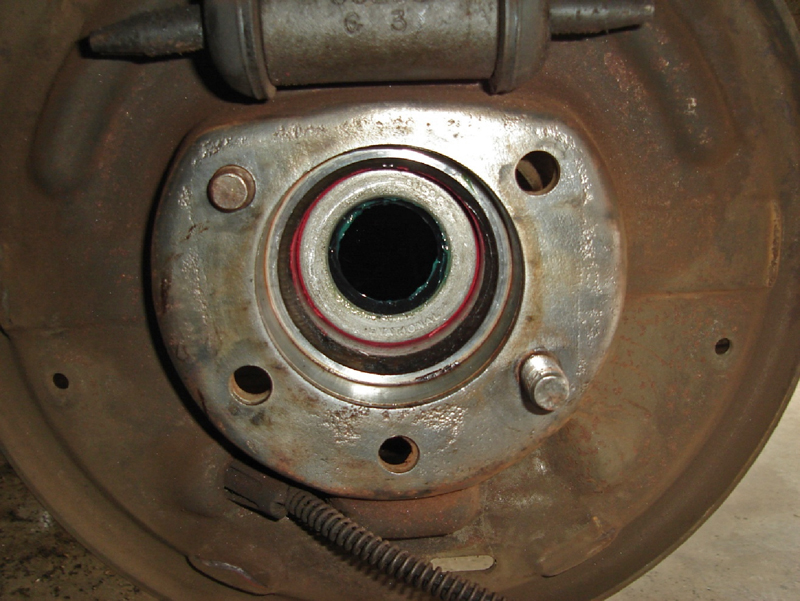
10. Make sure the bearing slides in all the way (this might
take a little tapping on the axle with a rubber mallet) and then
re-install the bearing retainer. Install the 4 nuts for the retainer on
the studs and tighten.
1.
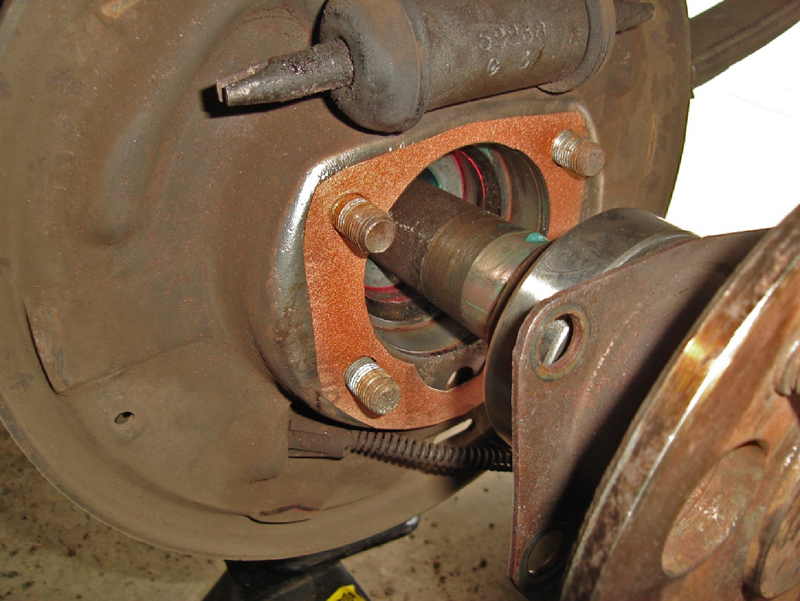
11. Re-install the brake hardware,
drum, tire and you’re done!
Don’t forget the hubcap.
Note: While you have the car on jack stands it a great time to
adjust the back brakes!!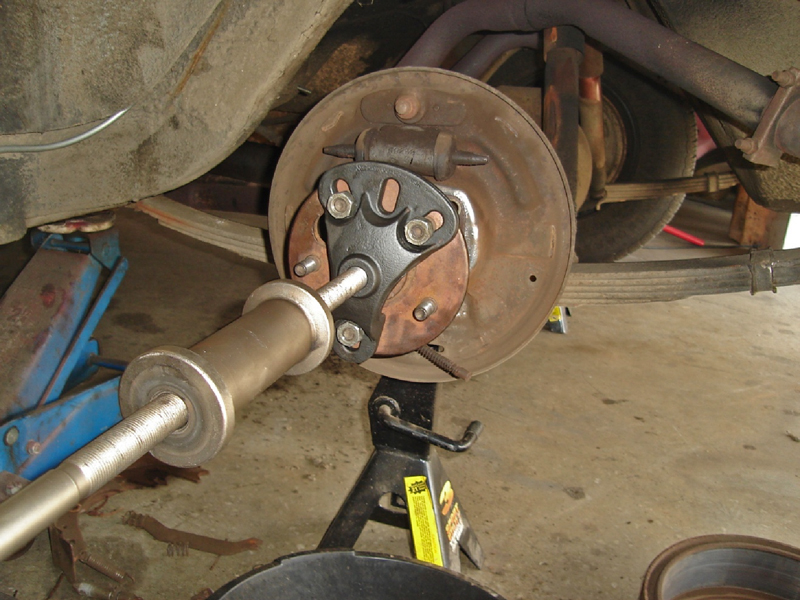
(Wear a mask – possibility of asbestos dust.)

- DKheld