SQUAREBIRDS POWER WINDOW SWITCH CLEANING TIPS
BY MIKE GAFFNEY ~ gaffney1951.
This procedure should also apply to the 1958 and 1959 Squarebirds. They should also apply to most older vehicles before they became a non-servicable part.
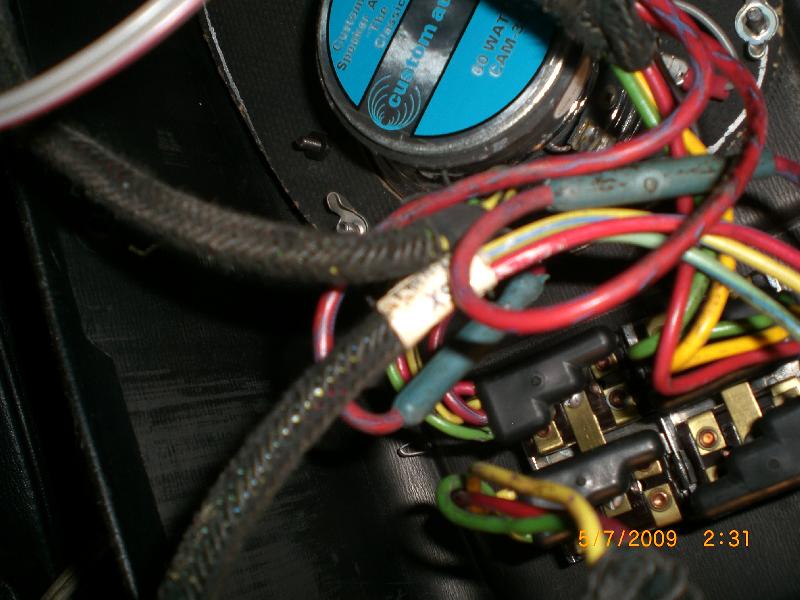
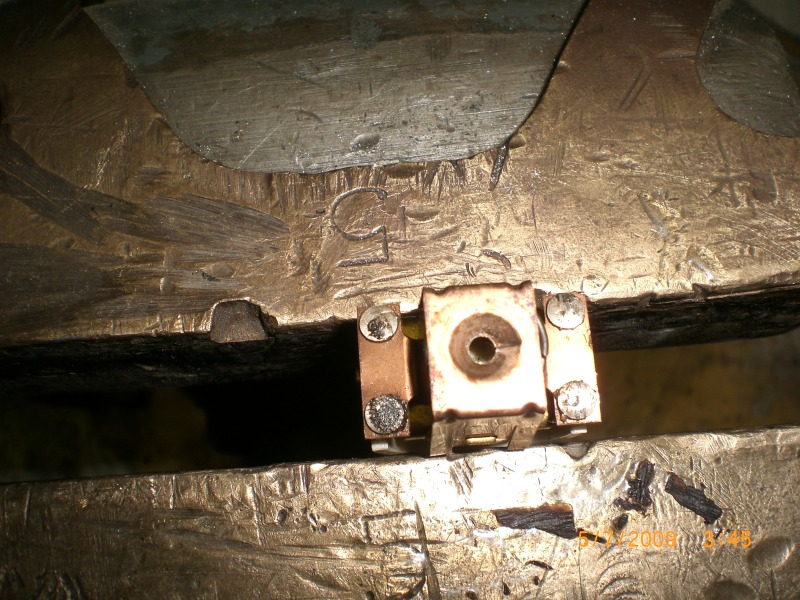
I went through my window switches as they were working inconsistantly and the toggles felt loose. Here are some pictures and comments on what I found. Here is the bottom of the switch assembly. I was removing the console anyway but it can be accessed through the ashtray opening. Just reach in and push up on one side.
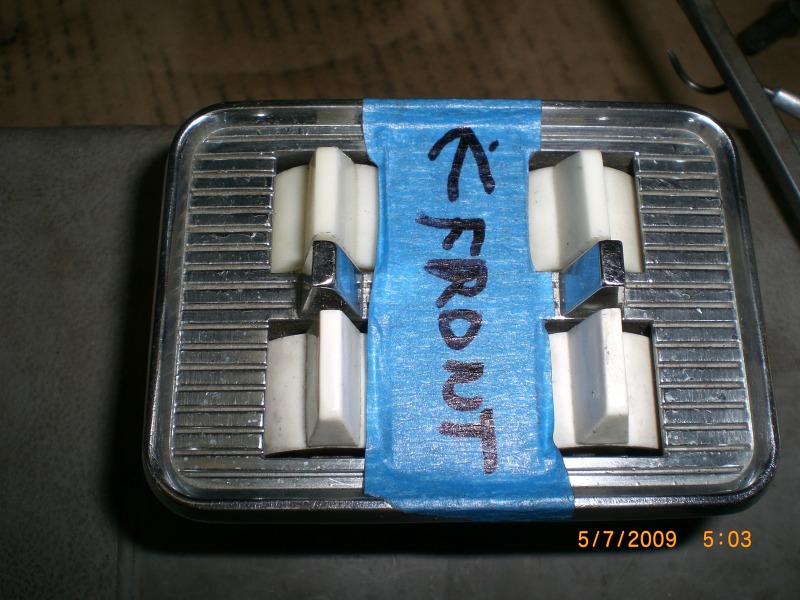
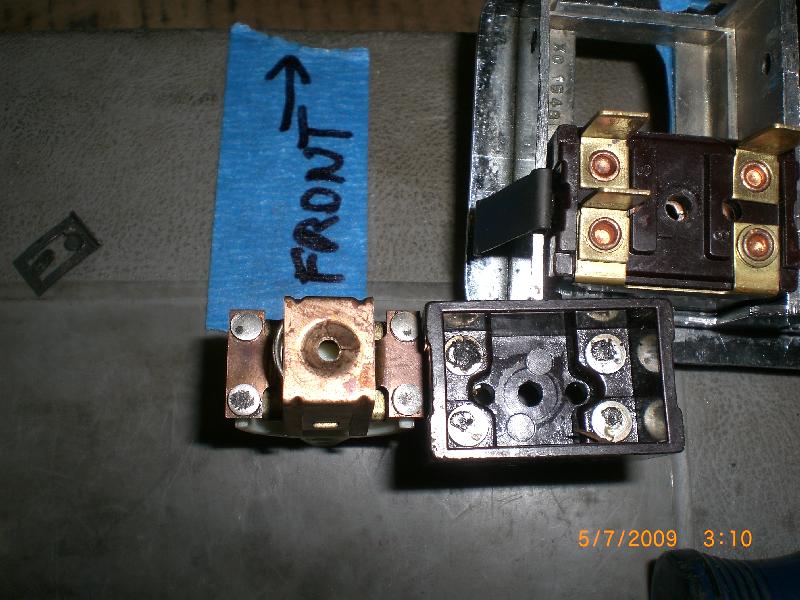
Before removal, put a piece of tape between the switches indicating direction for reinstallation. Remove wiring connections. Now would be a good time to tighten up the the female spade connecters to insure a good connection. Just give them a little squeeze with a pliers.
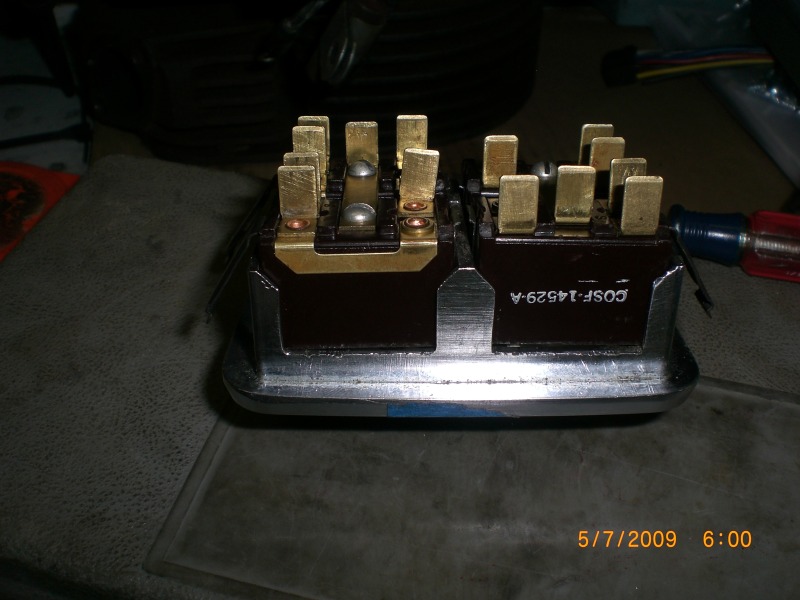
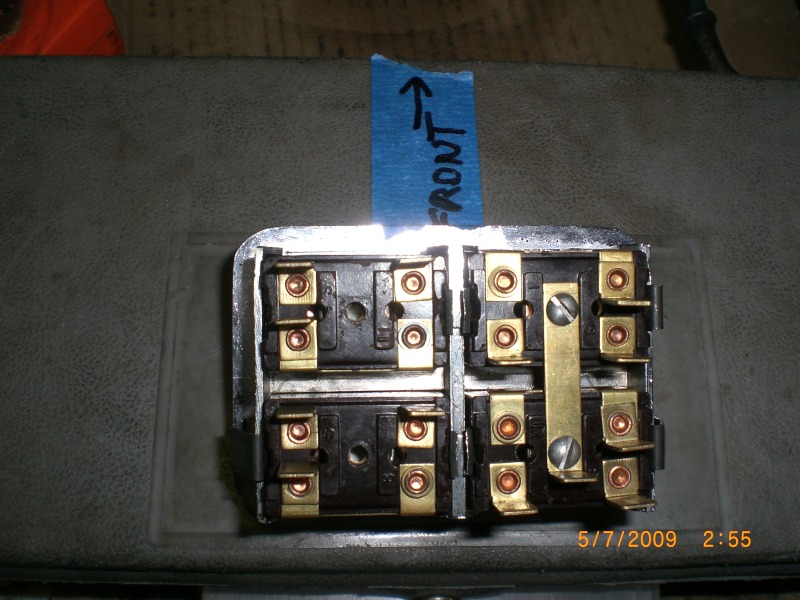
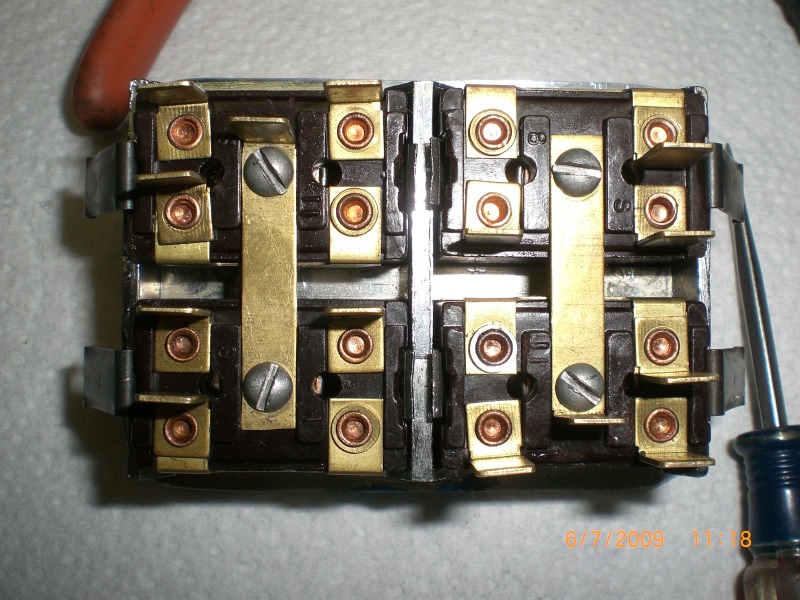
Reference pictures for proper switch location. I did one at a time to keep things straight in my simple mind. Remove all four screws and set aside the common strips.
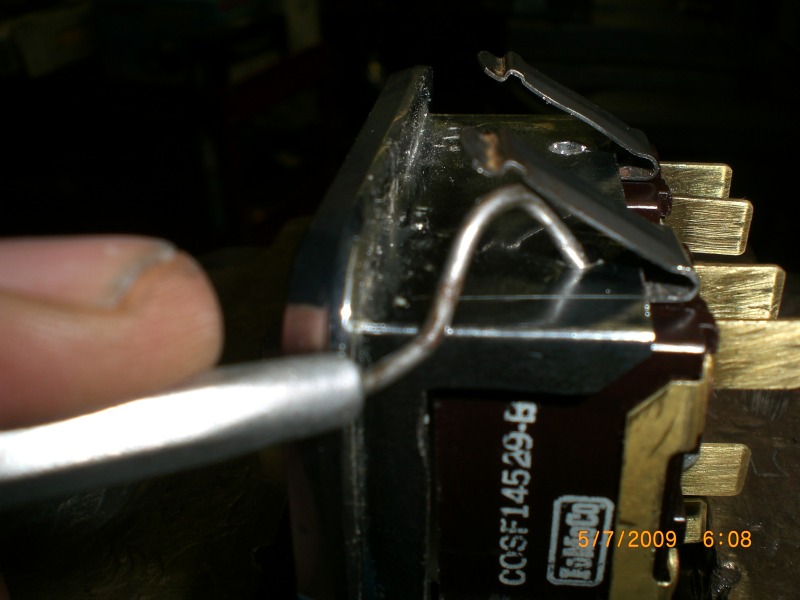
Insert a curved probe in the hole in the switch housing under the retaining clip and depress while pushing up on the exposed part of the clip.
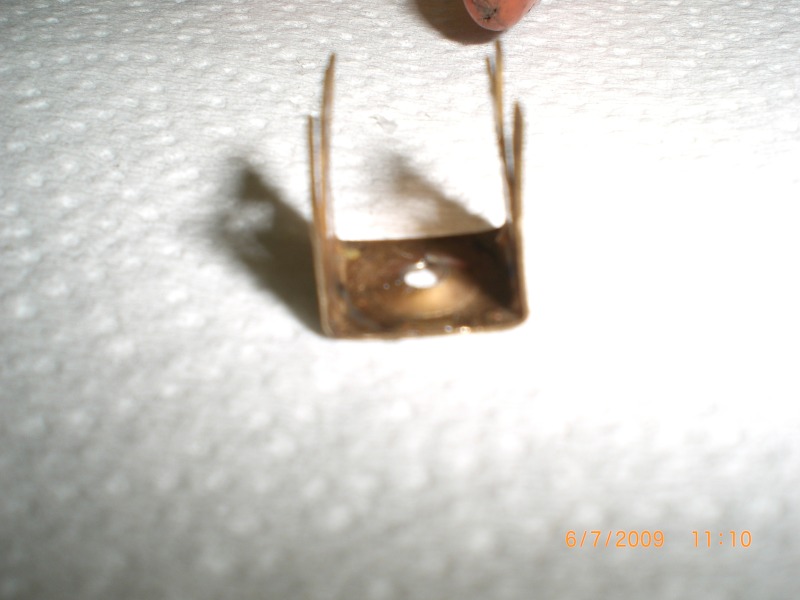
With the outer clip removed place a small screwdriver between the switch and the switch housing and gently pry the switch out. The small clip will come out with the switch. Set the two retaining clips aside.
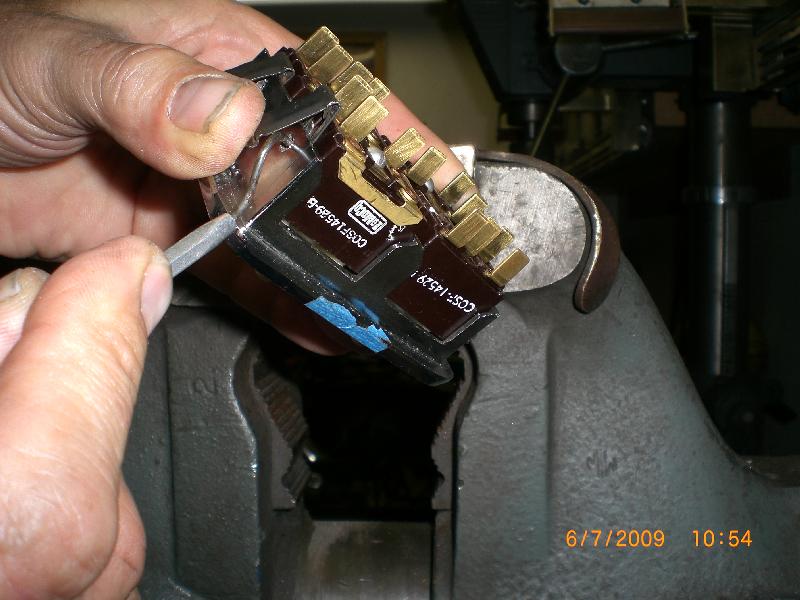
Seperate switch components and clean all eight contacts. I used a small screw driver to remove the corrosion and lightly filed the four accessable contacts.
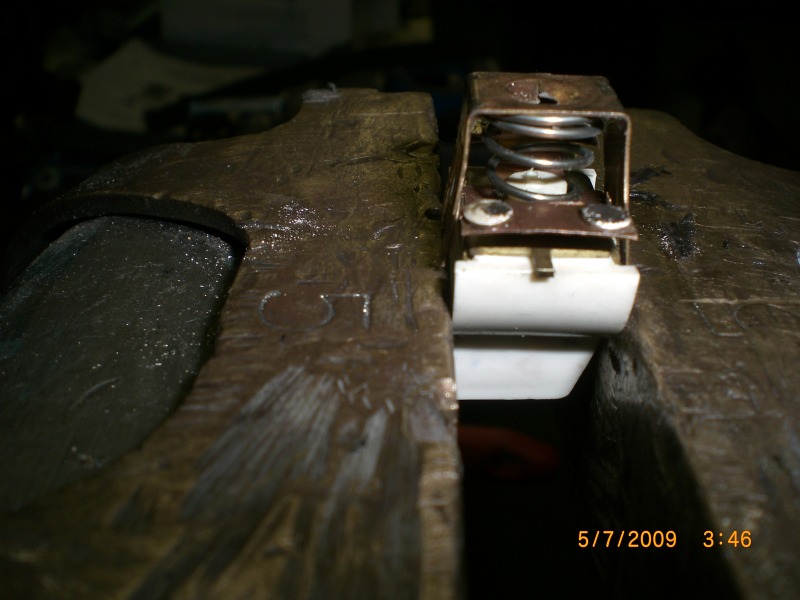
Here is an end view of the switch and contacts. All of the contact plates were bent down at the corners. I used two needlenose pliers to straighten them out.
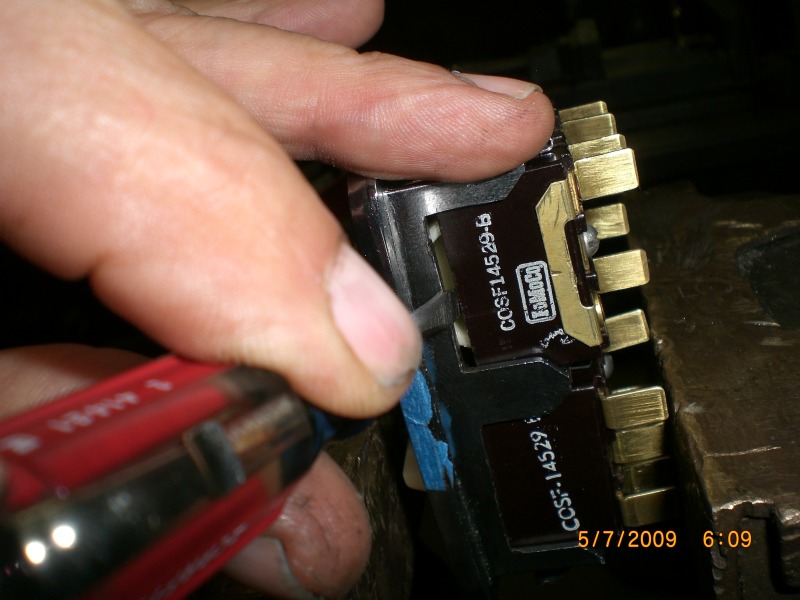
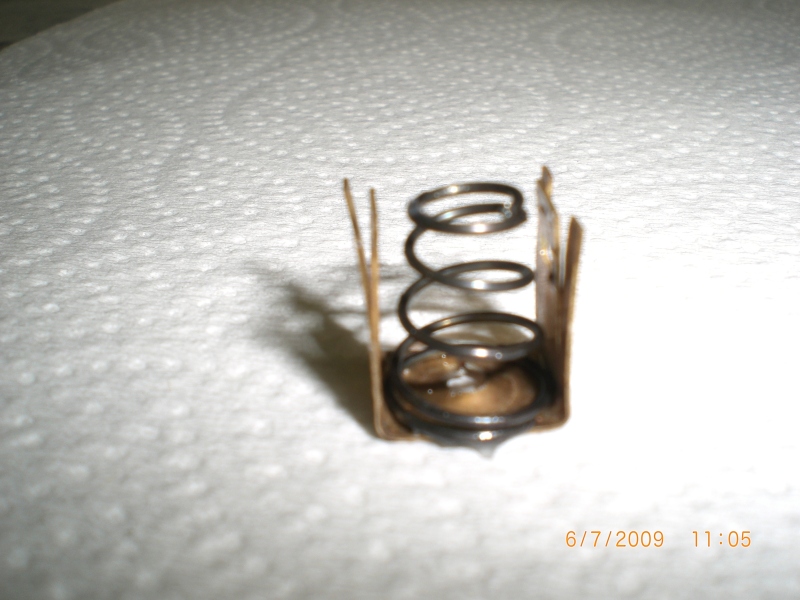
Next remove the contact plate retainer and spring.
Just pry out on one side and the retainer and spring will come out. I bent the sides of the spring retainer in a little to insure a good fit on reassembly.
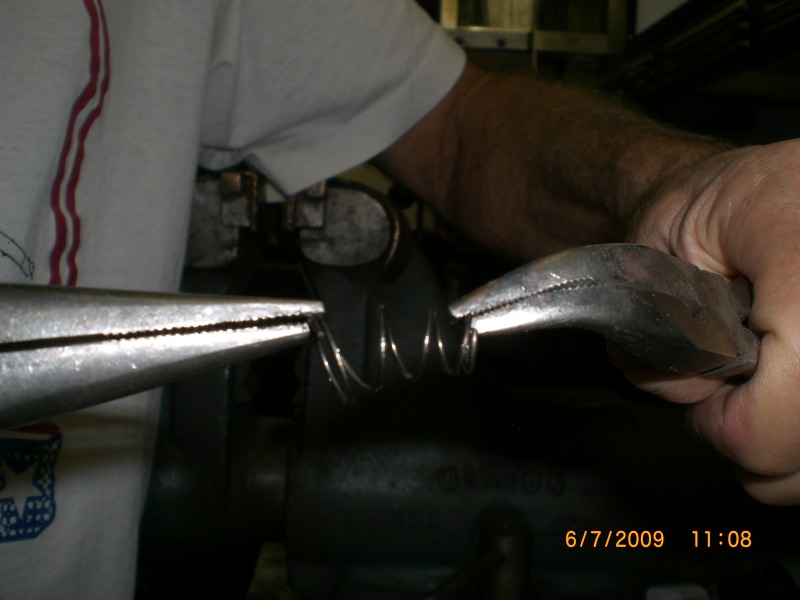
Remove the spring from the retainer and stretch it out. It can be done by hand but they're tough little buggers and unless you've got the Vulcan death grip down, pliers might be easier. I found this step to be necessary after testing on the first switch I did. It takes a lot of play out of the switch and prevents the contacts from sticking, i.e. power staying on when switch is released.
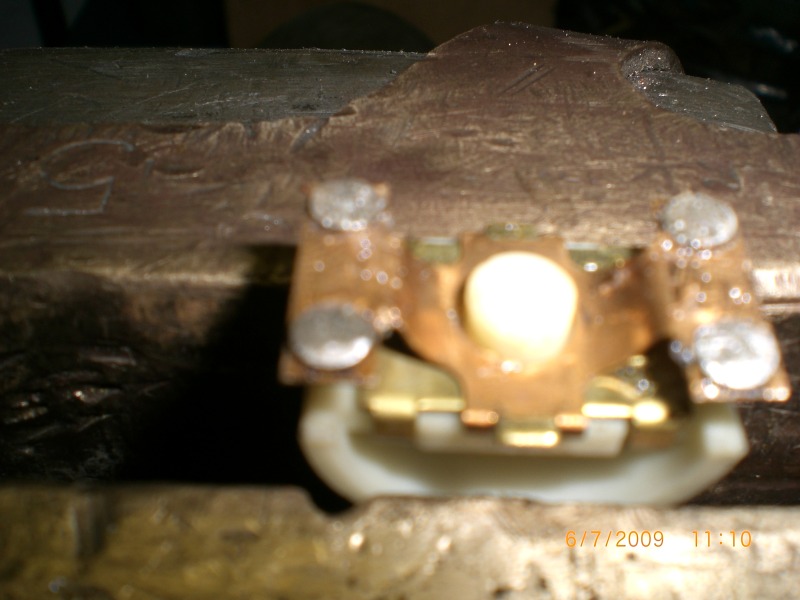
In the assembled picture with the contacts on either side, they should be straight across or bent slightly upward. They can be bent with your fingers pulling up from both sides across the top of the spring retainer. I put a small amount of dialectric silicone grease on all the contacts before assembly.
Time for reassembly.
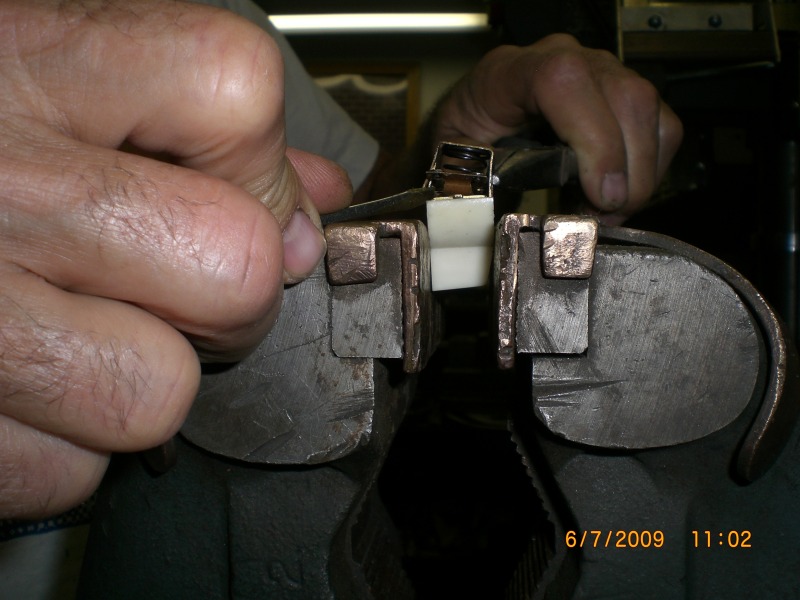
Make sure the switch and switch housing are properly oriented. The white plastic toggles should all have the angled surface pointing toward the outer edge of the four switch housing and the side with the holes toward the center. Insert switch in housing and install the small clip first. Hold down on the switch and push the clip in with a small screwdriver until you hear it click into place. Now insert the outer clip and push it in until it clicks. I bent the outer clips outward a little to insure a snug fit in the console. This will also hold the switches tighter in the switch housing. Before reinstalling in the car I tested the switch function with an ohmmeter. O.K., all back together! Have a libation of choice and watch the windows go up and down. Mike
Created: 15 July, 2009
Last Edited: 31 July, 20109
Email: webmaster@squarebirds.org
Return to Squarebirds Home.