
The following is a step by step procedure, with pictures, for replacing the carpeting in your 1958-1960 Ford Squarebird. This information was presented by Squarebirds member Phil Garvey for those who will need this information in the future. Thank you, Phil.
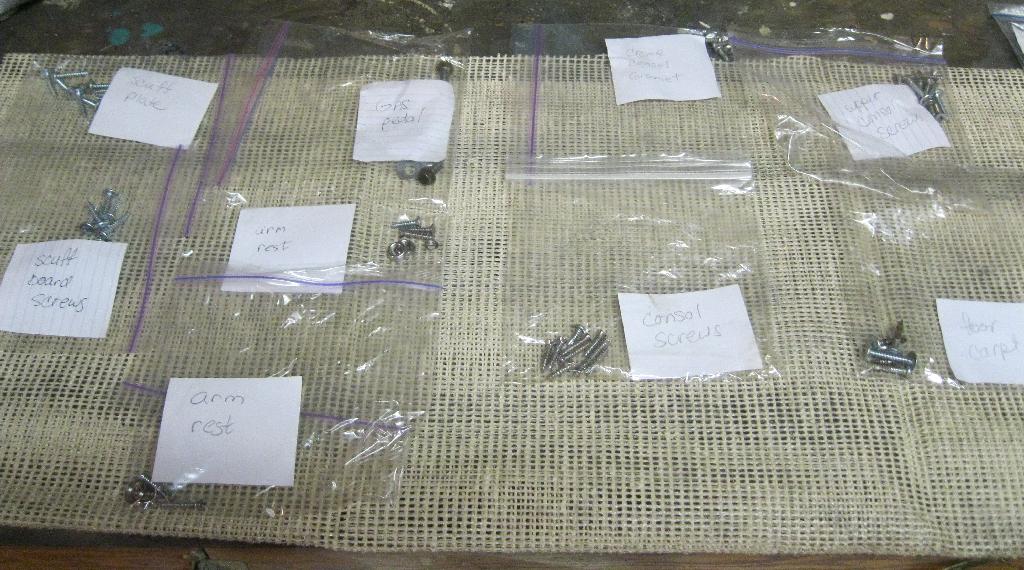
As you do your disassembly ziplock bag your parts and mark them.
In the event you cannot read the writing on the baggie labels they are:
On the top row: Scuff Plate Gas Pedal Console Grommet Upper Console Screws
Second row: Scuff Board Screws Arm Rest Console Screws Floor Carpet
Bottom row: Arm Rest
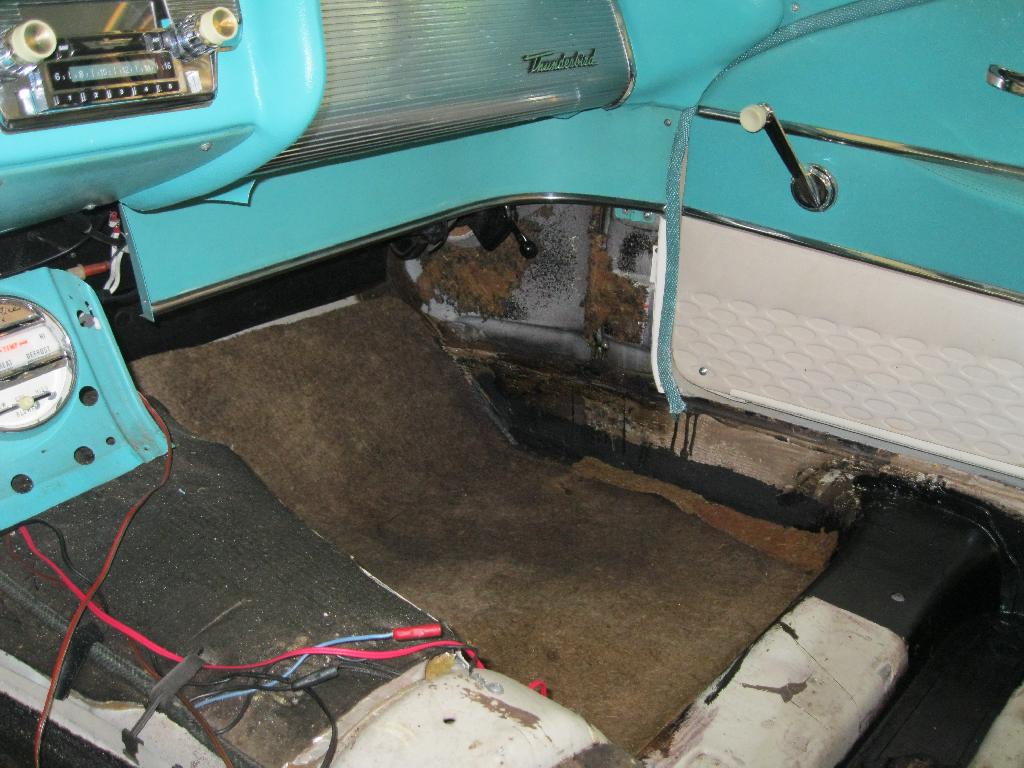
Remove the driver and passenger seats.
Next the back seat comes out.
The bench seat is not bolted in place. The front of it is held in with clips.
Pull up on it with a hand on each side of the center console and it should come loose.
Once the bench seat is out, next the center console comes out.
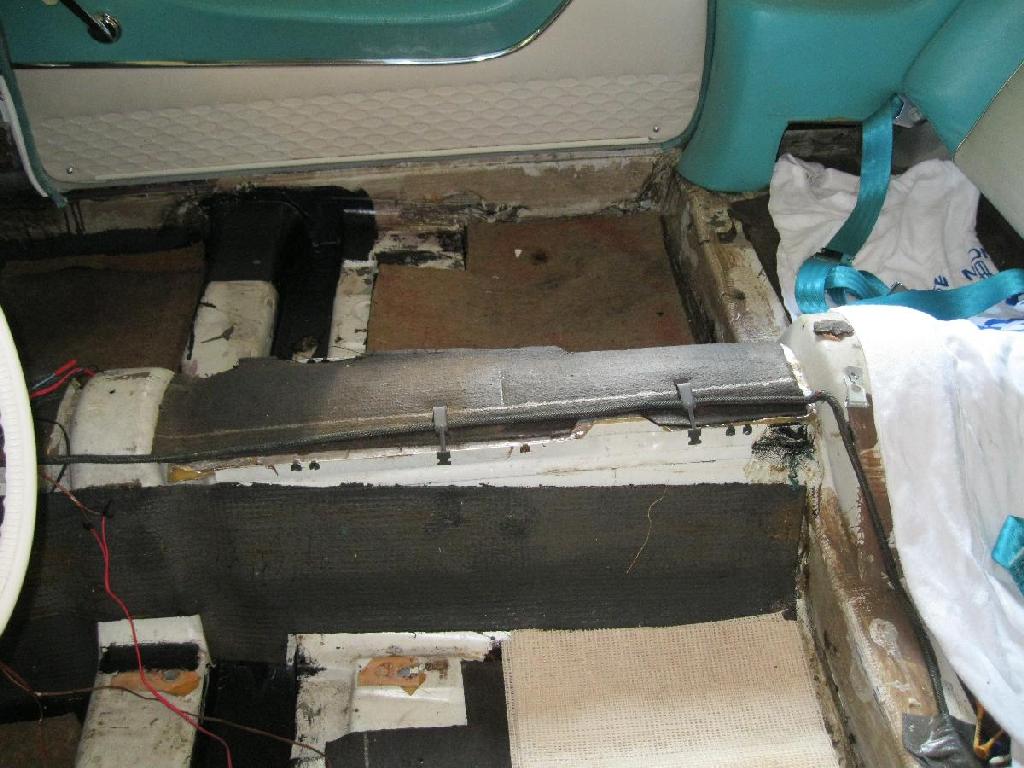
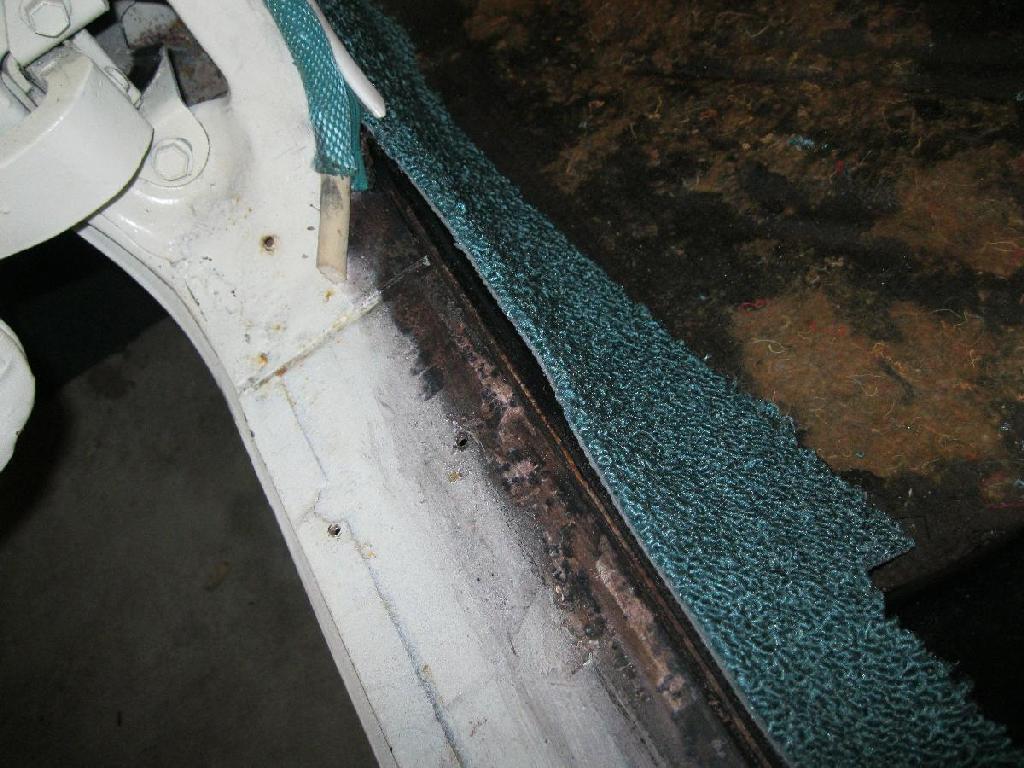
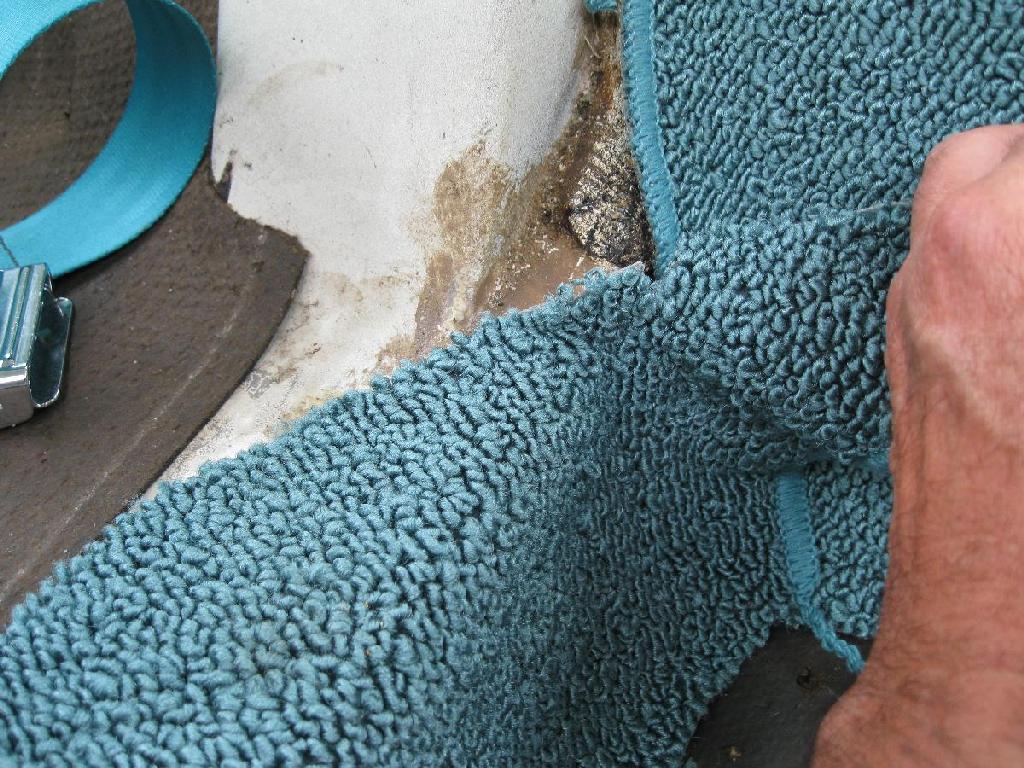
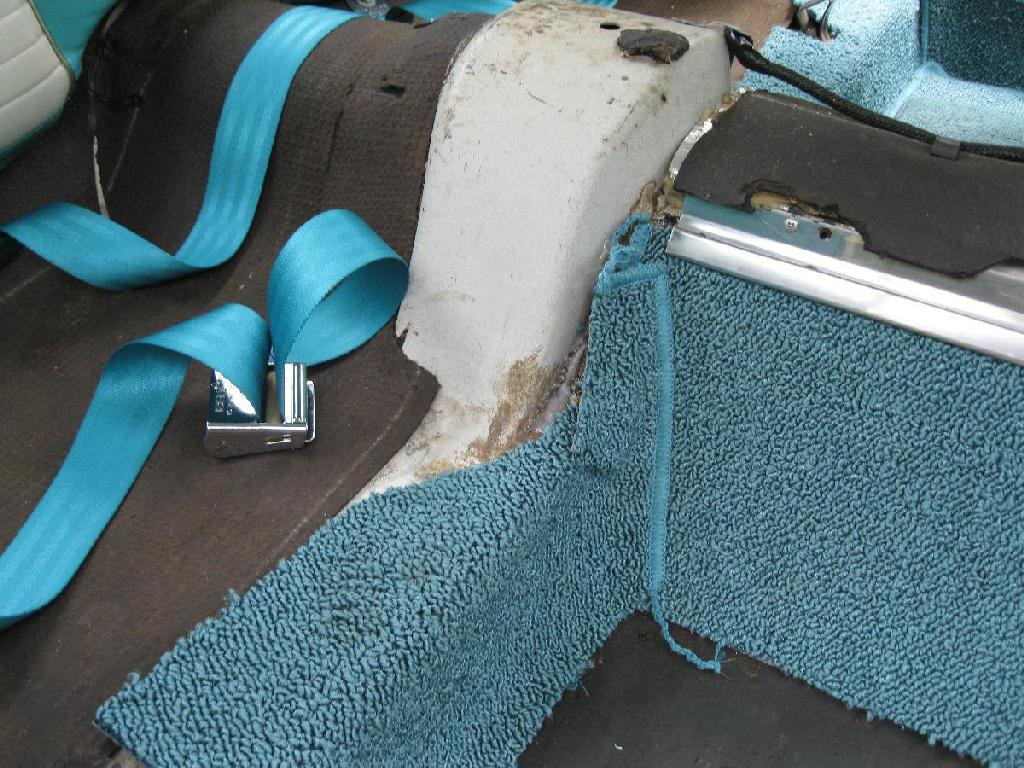
The scuff plates come out next and the kick panels come out.
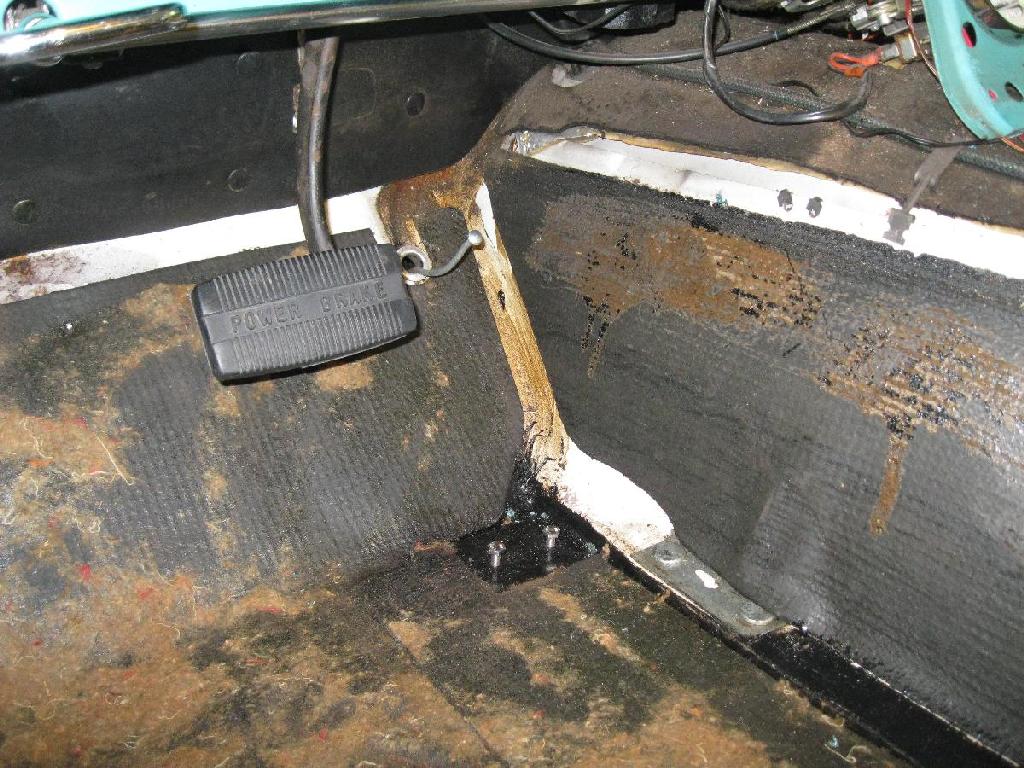
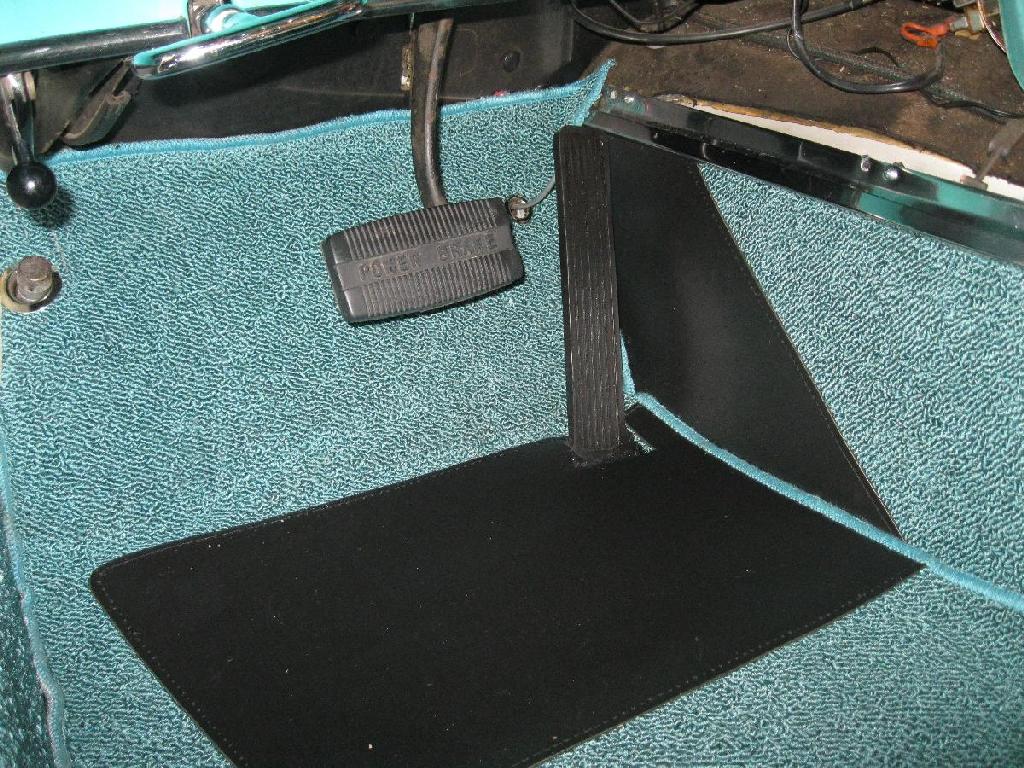
The gas pedal is bolted to the floor. To remove the gas pedal pull it straight up
and it will come off after you have unbolted it from the floor.
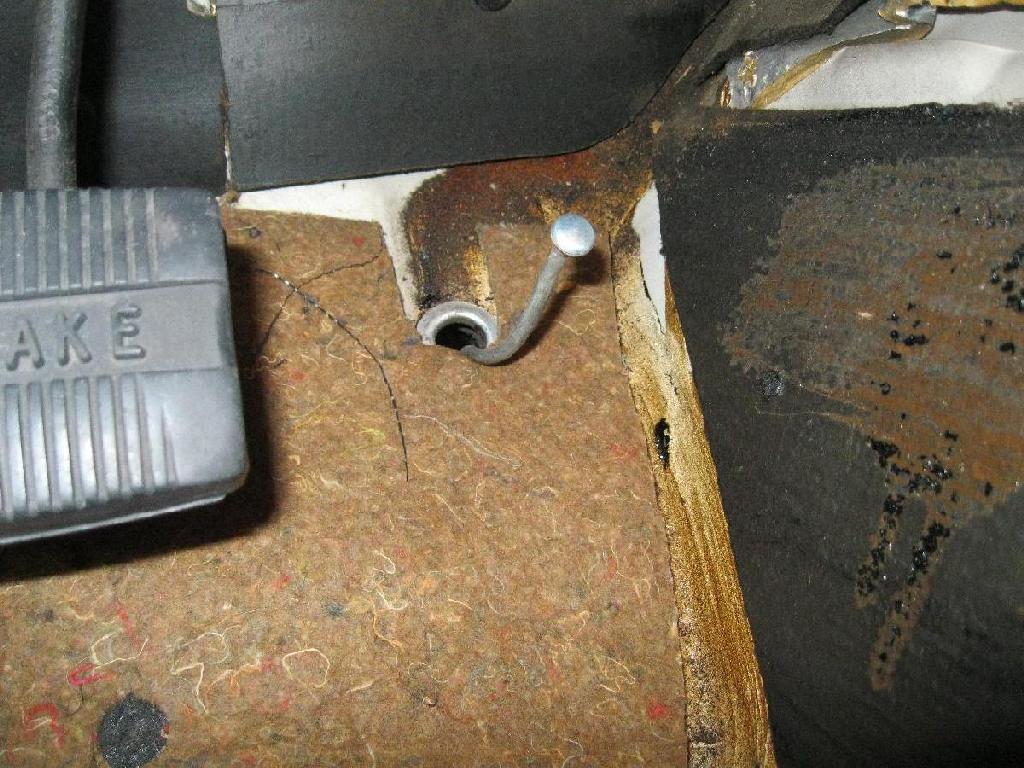
This is what the accelerator rod looks like up close.

Check the wire bundle going to the tail lights. Repair any damage to it.
Now you can start the install.
YellowRose Note: The question has come up as to what to use to put the carpeting down and keep it in place. I just talked with the company that did my interior installation for my Yellow Rose. They said they first glued down the padding onto the floor panel. They use 3M Yellow Contact glue and use a commercial Glue Pot sprayer to do so. But that is not a cheap piece of equipment. They said you should be able to brush it on. They said it was important to do one section at a time, and once you have that done, go to the next section. You put the glue down on the surface that you are going to glue to AND on the back of the section of carpeting you want to put in place. Then they wait for about 5 minutes or so and then put the carpeting in place. Make sure that the carpeting does not have any wrinkles in it when you put it in place. I notice that in one of Phil's pictures there was a block of wood. He might have been using that to smooth out the carpeting as soon as he put it in place. In a message he just sent me, Phil said this. No adhesive is necessary. There are holes (thats how it came from the factory) in the corners of the floor carpets to put screws. As for the carpet under the door panels the carpet is tucked under the door plates and kick panel.
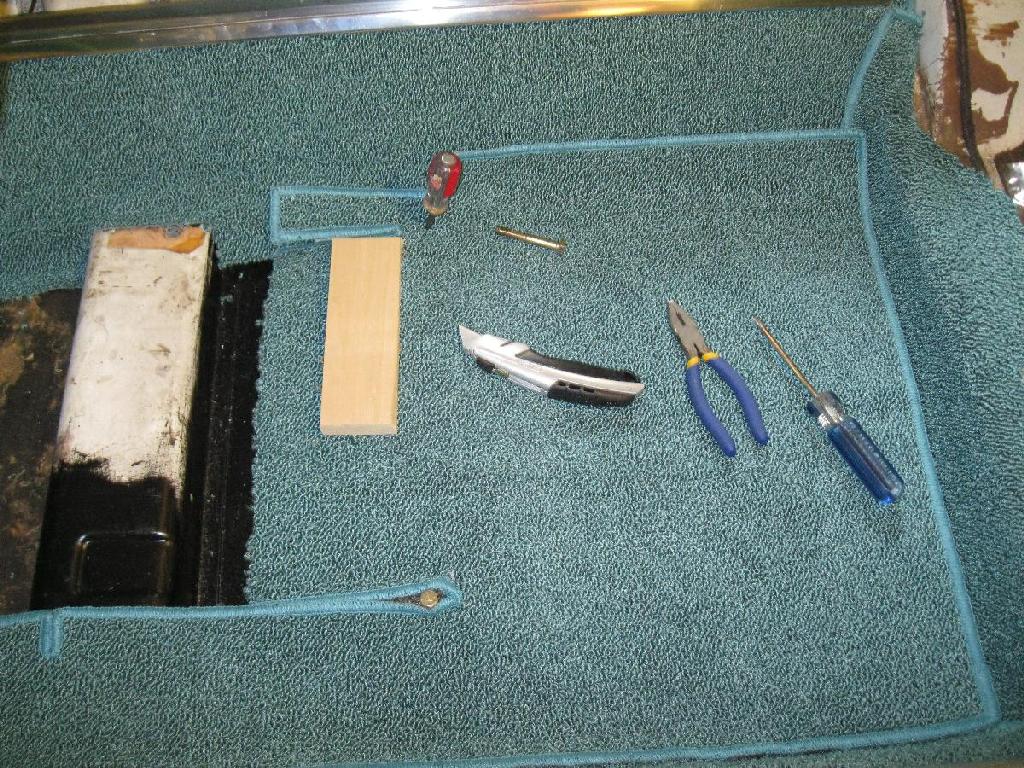
If things don't line up exactly, you can make adjustments.
The center console carpet goes in next.
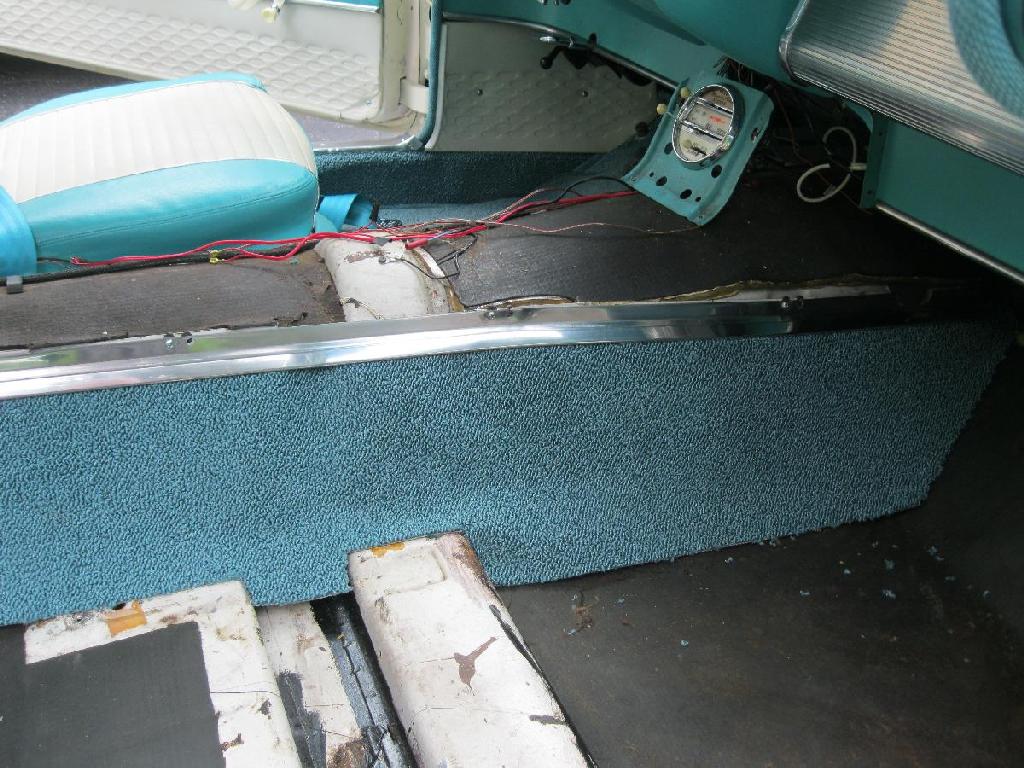
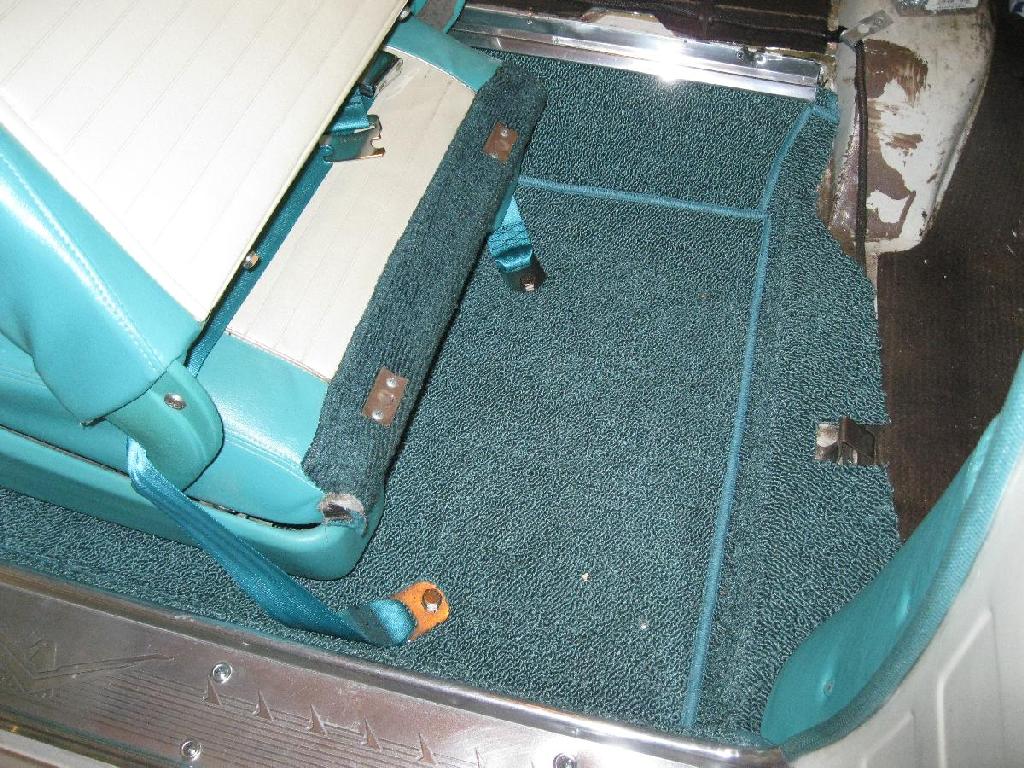
Next you can put the carpet in that goes under the bench seat.
You may have to make a slight adjustment at this location.
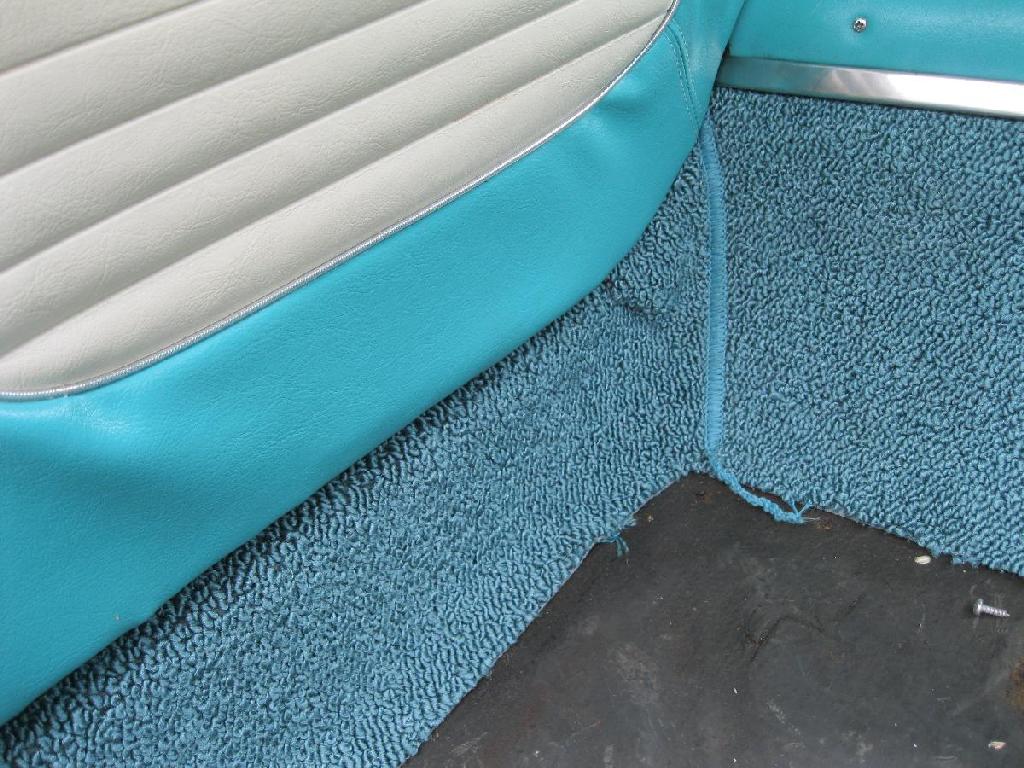
What it looks like with the bench seat back in place.
After the back seat, door frame, center console, do the floor area.
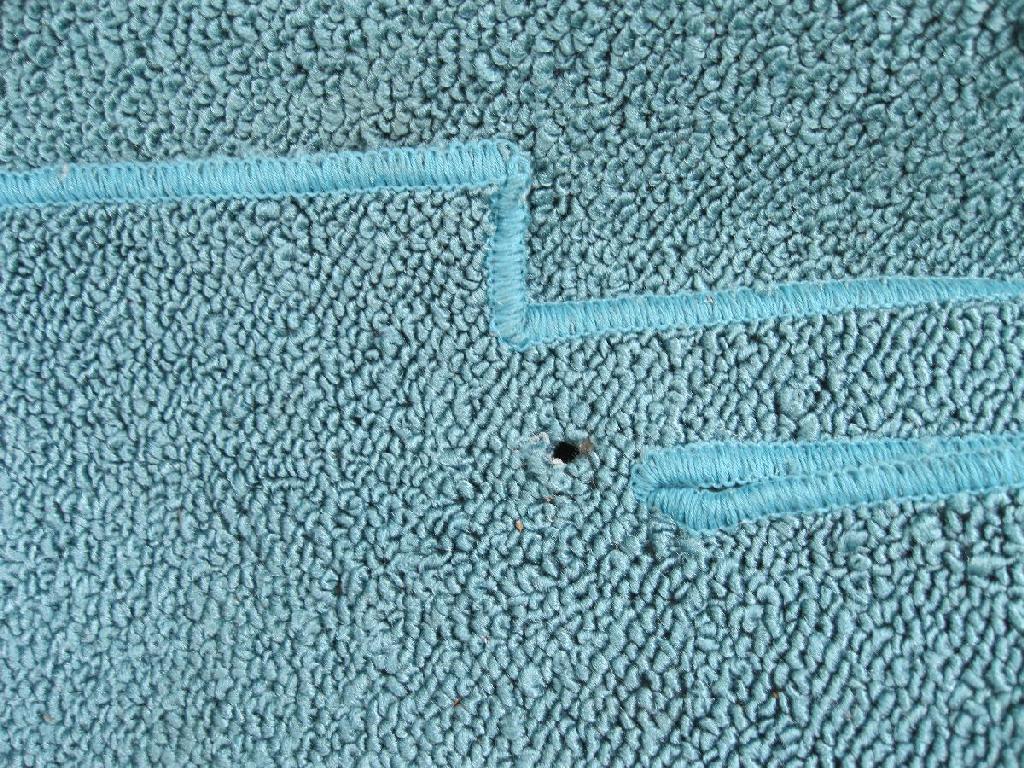
Picture below shows use of an awl to line up the seat bolt holes.
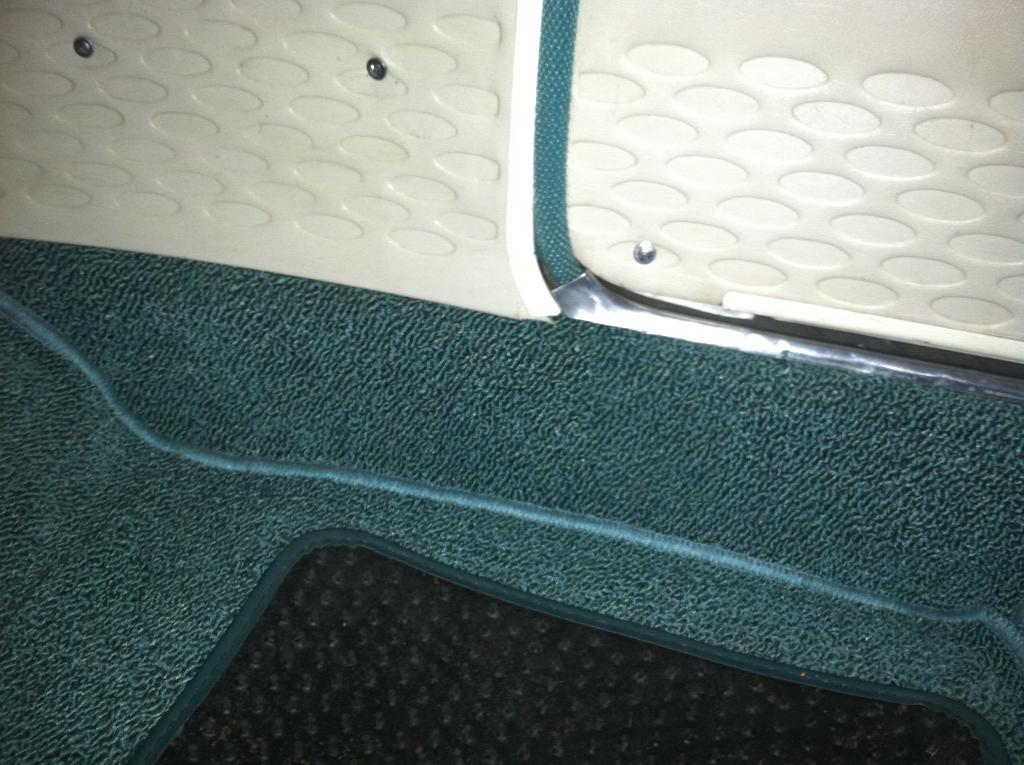
The carpet is tucked under the door plates and kick panel.
Adjustment might be necessary to line up holes.
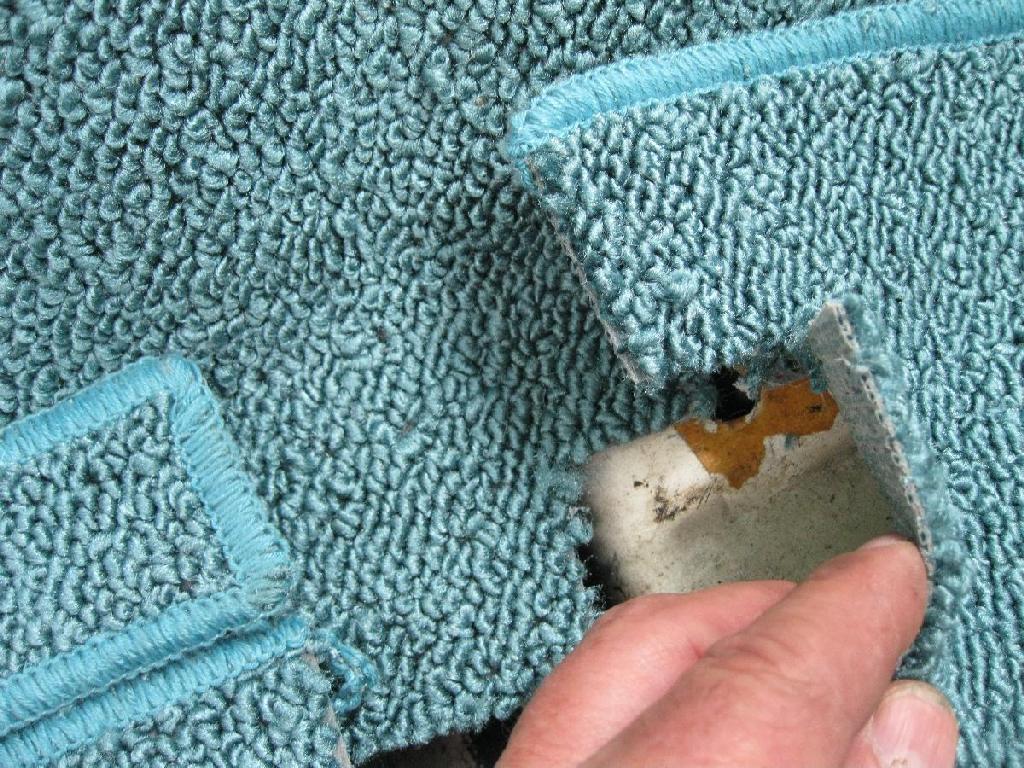
The drivers' side floor carpet was my biggest problem. I had difficulties getting the
gas pedal bolted down and moving smoothly, but I got it.
Lastly the seats go in.
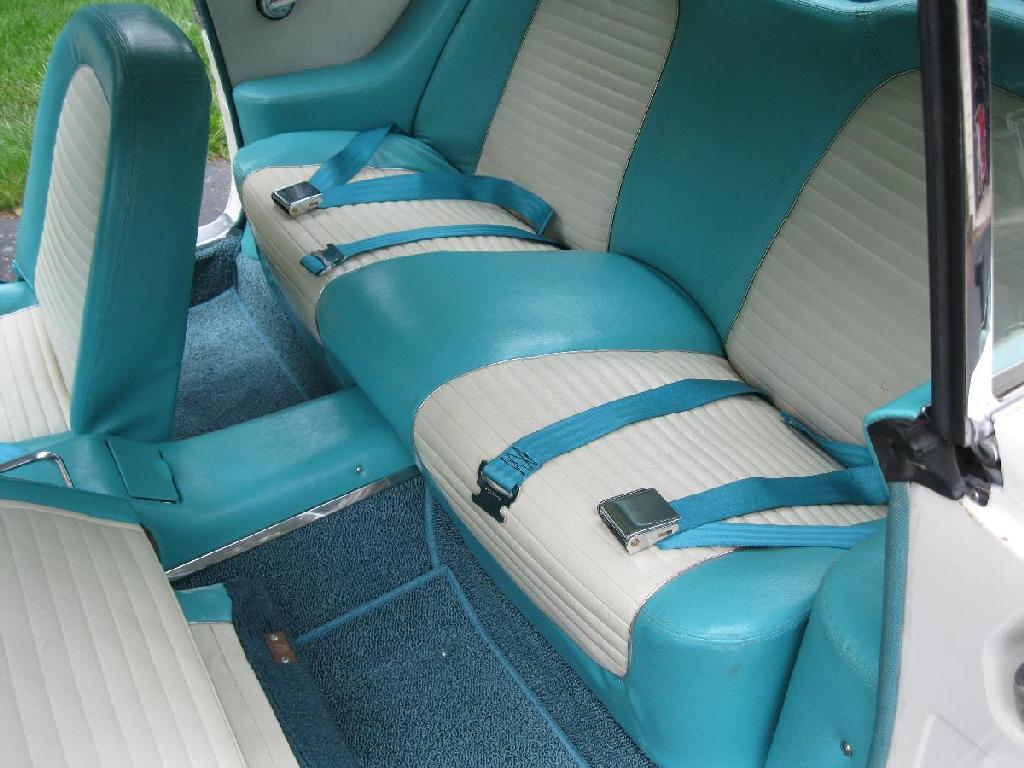
Seat bench installed back in car.
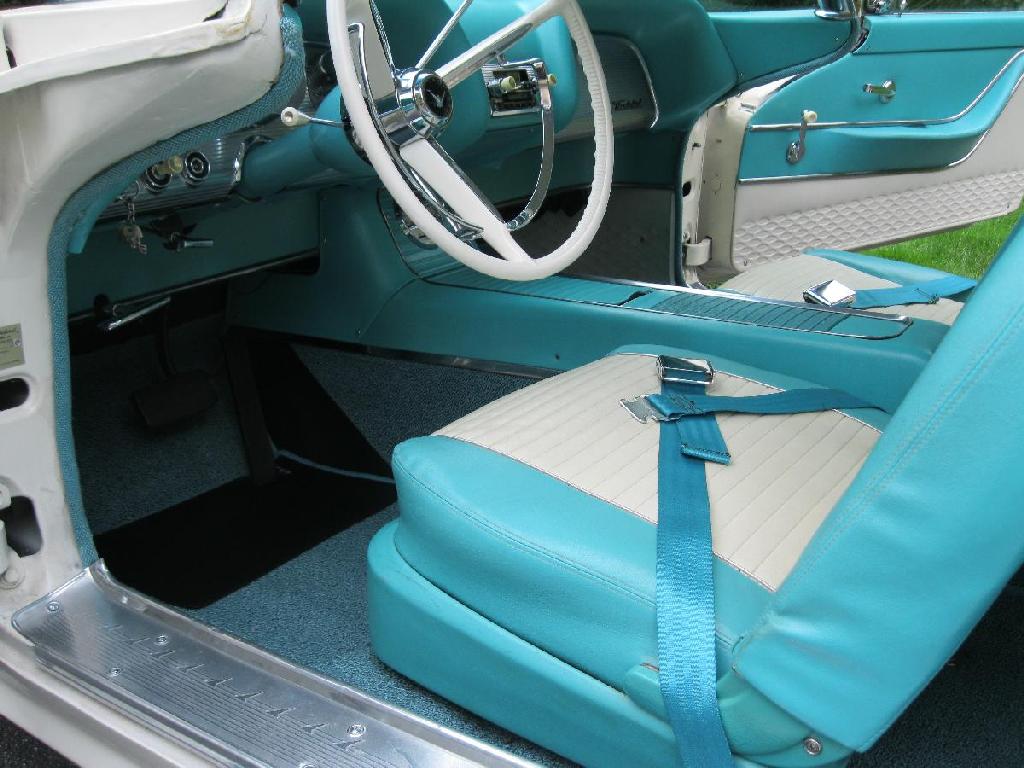
Driver side front seat back in car.
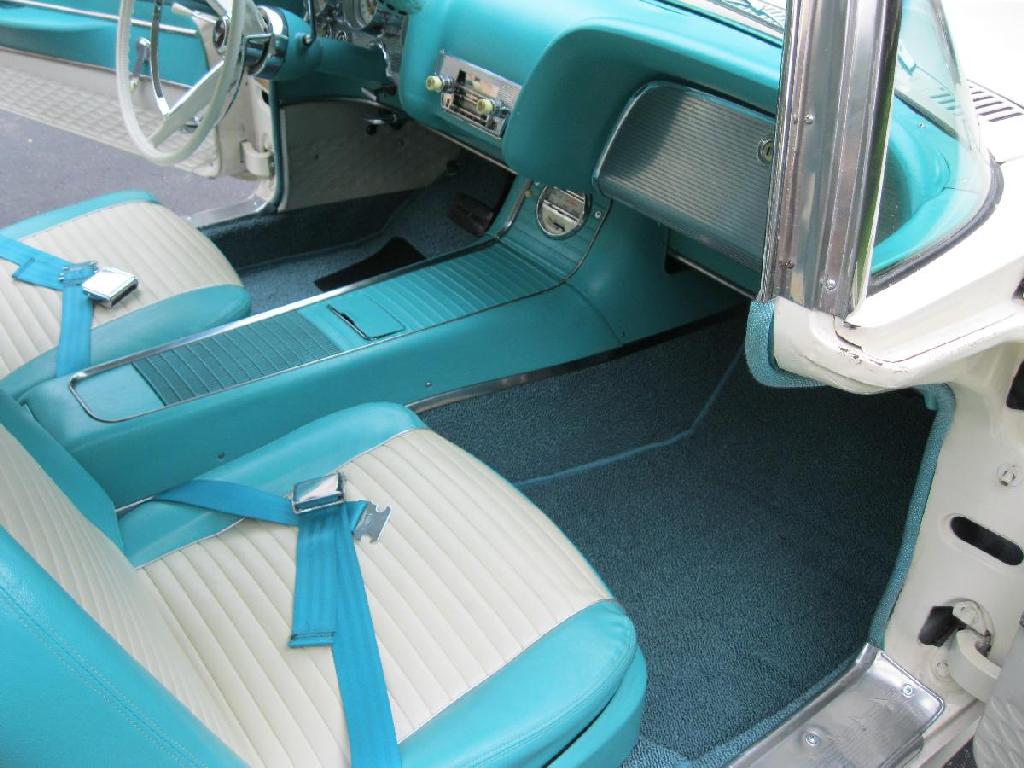
Passenger side front seat back in car.
Created: 29 June, 2012
Last Modified: 7 October, 2014
To return to the Technical Resourcel Library,
Click HERE: TRL
Email me at: rayclark07"at"att.net (Replace the "at" with @)